
Travel photography tips — How to take better vacation photos
Travel photography tips — Why your vacation photos are boring (and how to change that)
Let me tell you something: Most vacation photos are bad. Not because of the camera—but because people make the same mistakes I made at the beginning. Frontal selfie in front of a landmark, everything at eye level, sun behind you, subject in the middle. Boring.
Over the past five years, I've taken more than 200,000 photos on over 40 trips. I've produced a lot of duds, but I've learned from them. Here are the tips that have given my travel photography the biggest boost—no Photoshop tricks, just fundamentals that work instantly. Whether you're using an iPhone or a Sony Alpha.
Light is everything — Make the most of the golden and blue hours
The difference between a mediocre and a breathtaking travel photo is, according to 80%, the light. And the best light is free — you just have to get up at the right time.
The golden hour The golden hour is the hour after sunrise and the hour before sunset. The light is warm, soft, and casts long shadows that give your photos depth. I always plan my photo walks around the golden hour—everything else is a bonus.
The blue hour It's the half hour before sunrise and after sunset. The sky glows a deep blue, city lights are on, but it's not yet completely dark. My best city photos—Cartagena, Lisbon, Venice—were all taken during the blue hour.
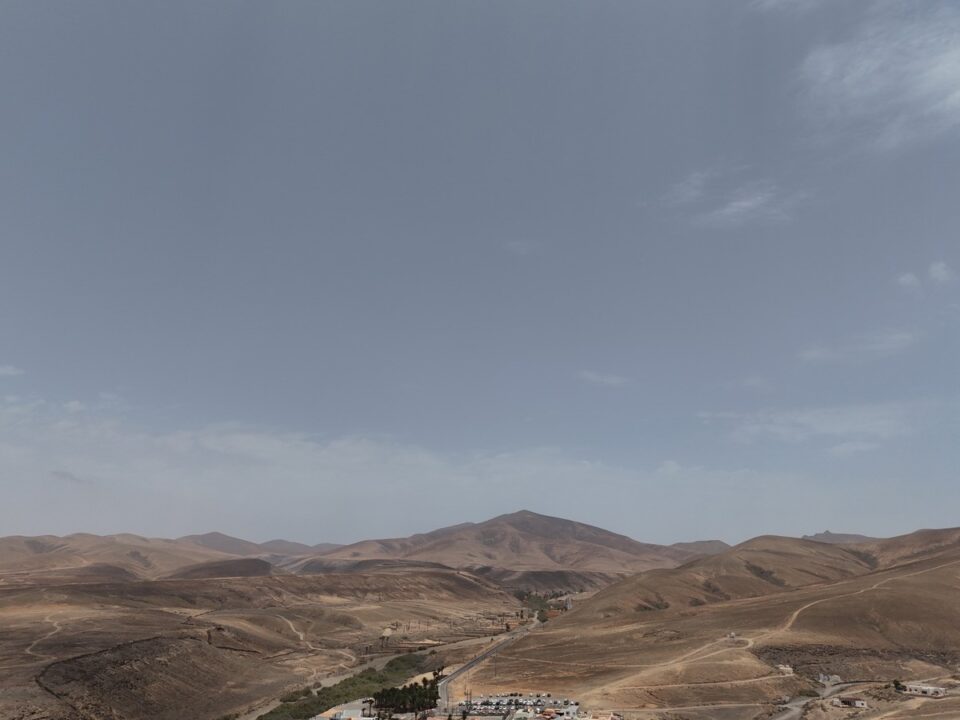
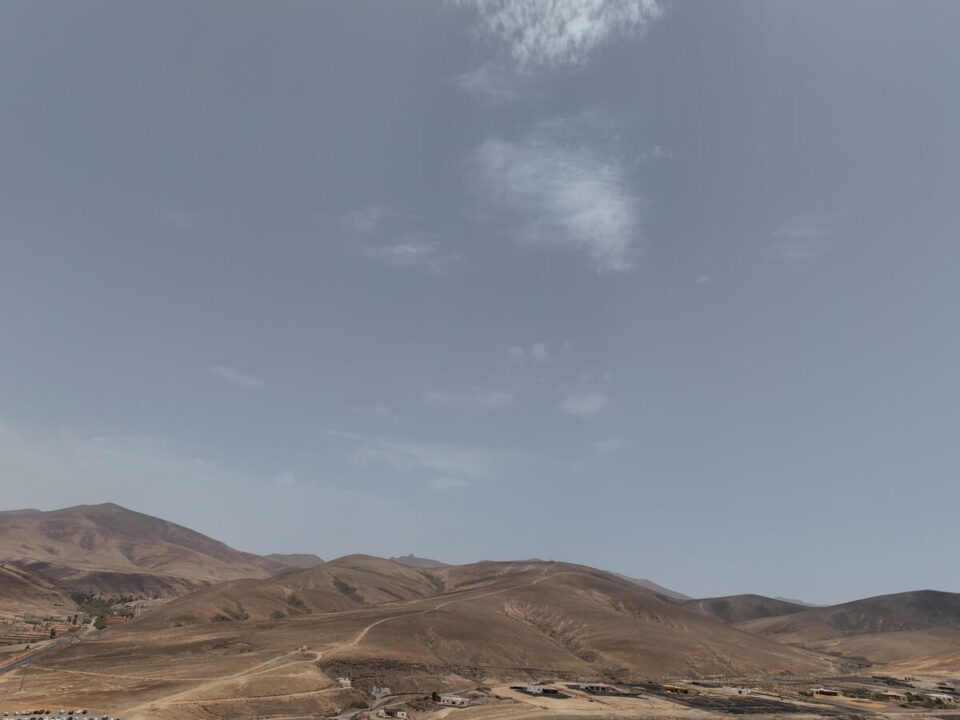
The midday sun is your enemy. Harsh shadows, washed-out colors, people squinting. I rarely take photos between 11 a.m. and 3 p.m.—unless there are clouds or I'm intentionally shooting with high contrast.
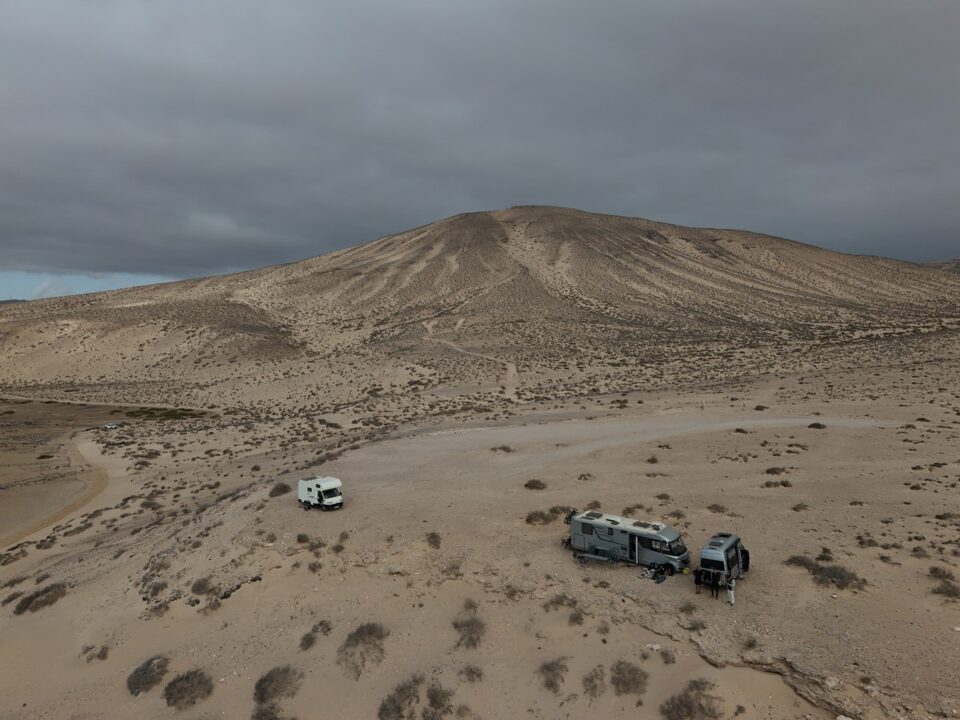
My trick: I check the weather app in the evening and plan for the next morning. Cloudy sunrise? Still worth getting up—clouds catch the light and create dramatic colors. Completely overcast? Sleep in and do street photography during the day, because a cloudy sky acts like a giant softbox.
Composition — The rules you need to know (and when to break them)
Rule of thirds: Mentally divide your image into nine sections. Place the main subject at one of the four intersection points, not in the center. Most cameras and smartphones have a grid overlay—activate it. This one rule instantly improves all photos.
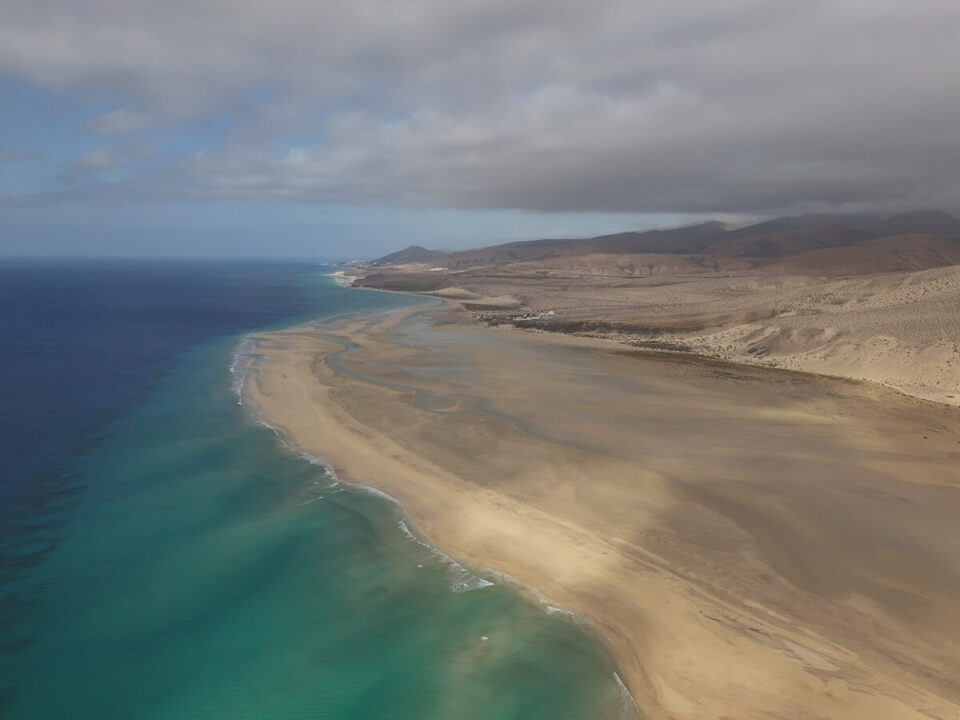
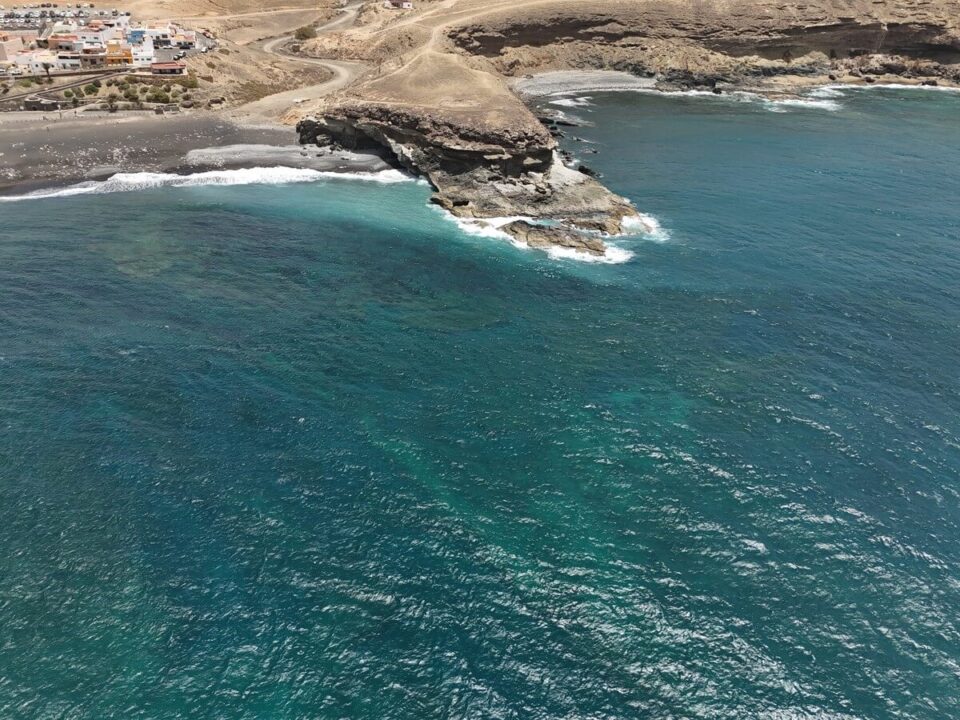
Leading lines: Roads, rivers, railings, walls—everything that draws the eye into the frame. My best landscape photos always have a line leading from bottom to top or from the foreground to the horizon. In Patagonia, I used hiking trails as leading lines; on the Amalfi Coast, the winding roads.
Frame in the picture: Door frames, windows, branches, archways — use natural frames to frame your subject. In Medellín, I photographed through the colorful doors of colonial houses, and the result was ten times better than the same subject without a frame.
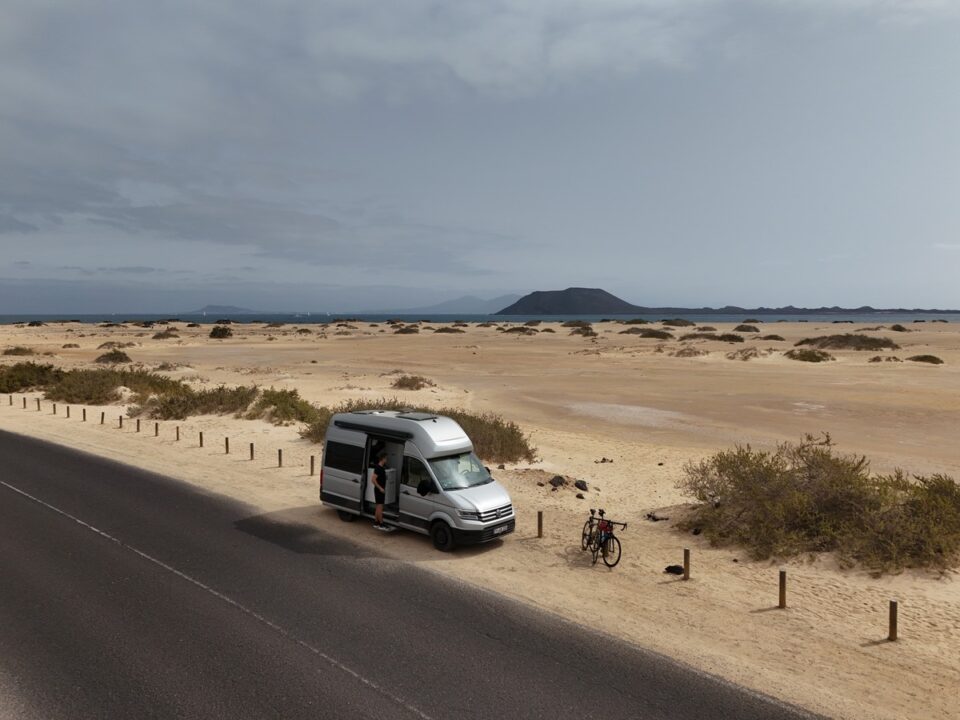
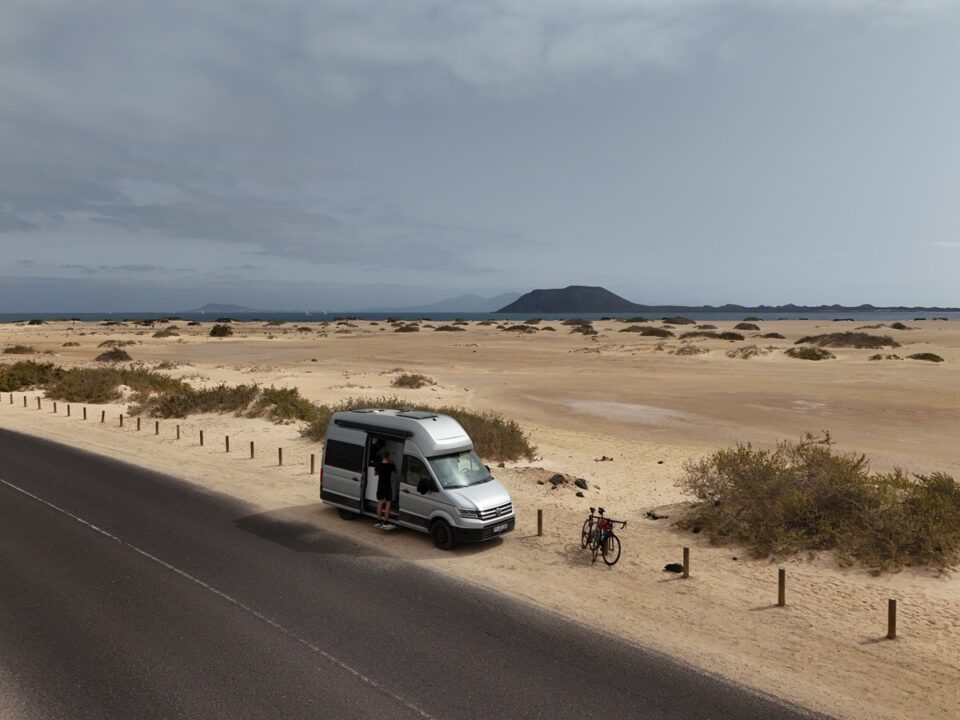
Change perspective: Crouch down, lie on the ground, climb a wall. 90% of all tourists take photos at eye level—and that's precisely why all the photos look the same. My tip: Try at least three different perspectives for each subject. The best one is almost never the first.
Less is more: If your photo needs a caption, there's too much in it. A powerful travel photo has one clear subject—not five. When I photograph a chaotic scene (market, beach, city), I pick out one detail and make it the star.
Camera settings that really matter when traveling
You don't need a technical degree. These three settings are sufficient for 95% all travel photos:
Aperture priority mode (A/Av): You choose the aperture, the camera does the rest. For landscapes: f/8 to f/11 (everything in focus). For portraits and details: f/2.8 to f/4 (background blurred). I take 801 of my travel photos in aperture priority mode (A).
Keep ISO low: ISO 100–400 in daylight. Only go higher if absolutely necessary. Any ISO value above 1600 produces noise—significantly earlier on smartphones. It's better to use image stabilization or brace the camera against something than to crank up the ISO.
RAW instead of JPEG: If your camera supports RAW, use it. RAW files store significantly more image information that you can recover in post-processing. Overexposed sky? In RAW, you can bring back the details. In JPEG, they're gone. The files are larger, yes—but SD cards are practically free these days.
Smartphone users: Turn on HDR mode (standard on most phones), use the 0.5x wide-angle lens for landscapes and portrait mode for people. And please: no digital zoom. It's better to get closer or crop later.

My equipment recommendation for travel photography
| Equipment | My recommendation | Price approx. |
|---|---|---|
| Camera (Beginner) | Sony A6400 | ~900 € |
| Camera (Advanced) | Sony A7 III | ~1.700 € |
| travel lens | Tamron 28-200mm f/2.8-5.6 | ~800 € |
| Travel tripod | Peak Design Travel Tripod | ~350 € |
| drone | DJI Mavic Air 2 | ~1.000 € |
| Action Cam | GoPro Hero 8 | ~350 € |
My most important tip: The best camera is the one you have with you. I know photographers with €5,000 worth of equipment who leave their cameras at the hotel for convenience. A good smartphone photo is better than no photo at all. My iPhone photos now make up 301,000 of my content.
Post-production — The underestimated game changer
A good photograph is created twice: when the shutter is released and during editing. I edit every single photo I publish. That doesn't mean cranking up the saturation to maximum—it means capturing the atmosphere I felt on location.
Lightroom Mobile (Free) is sufficient for 90% processing. My standard workflow: straighten the horizon, adjust the crop, correct the exposure, slightly increase the contrast, and adjust the white balance. This takes 30 seconds per image and makes a huge difference.
Presets save time: I've created five presets that suit my style (warm, slightly desaturated, enhanced shadows). I use these as a base and then only adjust minor details. This keeps my feed consistent without every photo looking the same.
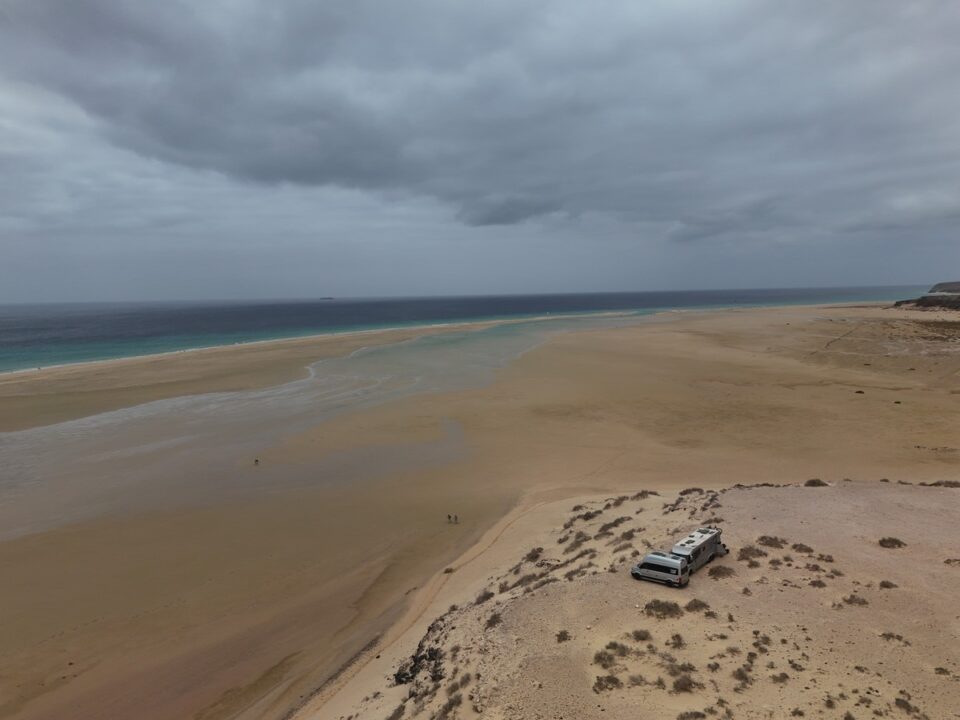
If you want to include aerial photography in your portfolio, read my article about Drones for travel photography — the perspective from above is a total game changer.
FAQ — Frequently Asked Questions about Travel Photography
Do I need an expensive camera for good travel photos?
No. A modern smartphone is perfectly adequate for social media and even for prints up to A4 size. What makes good travel photos is light, composition, and timing—not sensor resolution. Only invest in a camera once you've mastered the basics and realize that your smartphone is limiting you.
How do I protect my camera when traveling?
A good camera backpack (the Peak Design Everyday Backpack is my favorite), a UV filter on every lens (20 euros protection instead of an 800 euro repair), and insurance. I've covered my equipment through my home insurance—much cheaper than dedicated camera insurance. And in case of rain: a simple freezer bag over the camera offers better protection than any 80-euro rain cover.
How do I develop my own photography style?
By taking lots of photos and looking at lots of pictures. Follow 10 photographers whose style appeals to you and analyze: What exactly do you like? The colors? The perspective? The composition? Then experiment. My style developed over three years—in the beginning, I followed every trend. Today I know: warm, natural, with depth. That didn't happen overnight.
Want to capture your first adventure in photos? Check out my underrated travel destinations in Europe on — perfect for practicing without overtourism.
About the author
Max Haase is Germany's most influential travel influencer with over 4.2 million followers. For collaboration inquiries: max-haase.com/collaboration


