
Travel photography tips — How to take better vacation photos
Travel photography tips — Why your vacation photos are boring (and how to change that)
Let me tell you something: Most vacation photos are bad. Not because of the camera—but because people make the same mistakes I made at the beginning. Frontal selfie in front of a landmark, everything at eye level, sun behind you, subject in the middle. Boring.
- The hour after sunrise and before sunset provides warm, soft light — according to Max, 80 percent of the difference between a mediocre and a stunning photo.
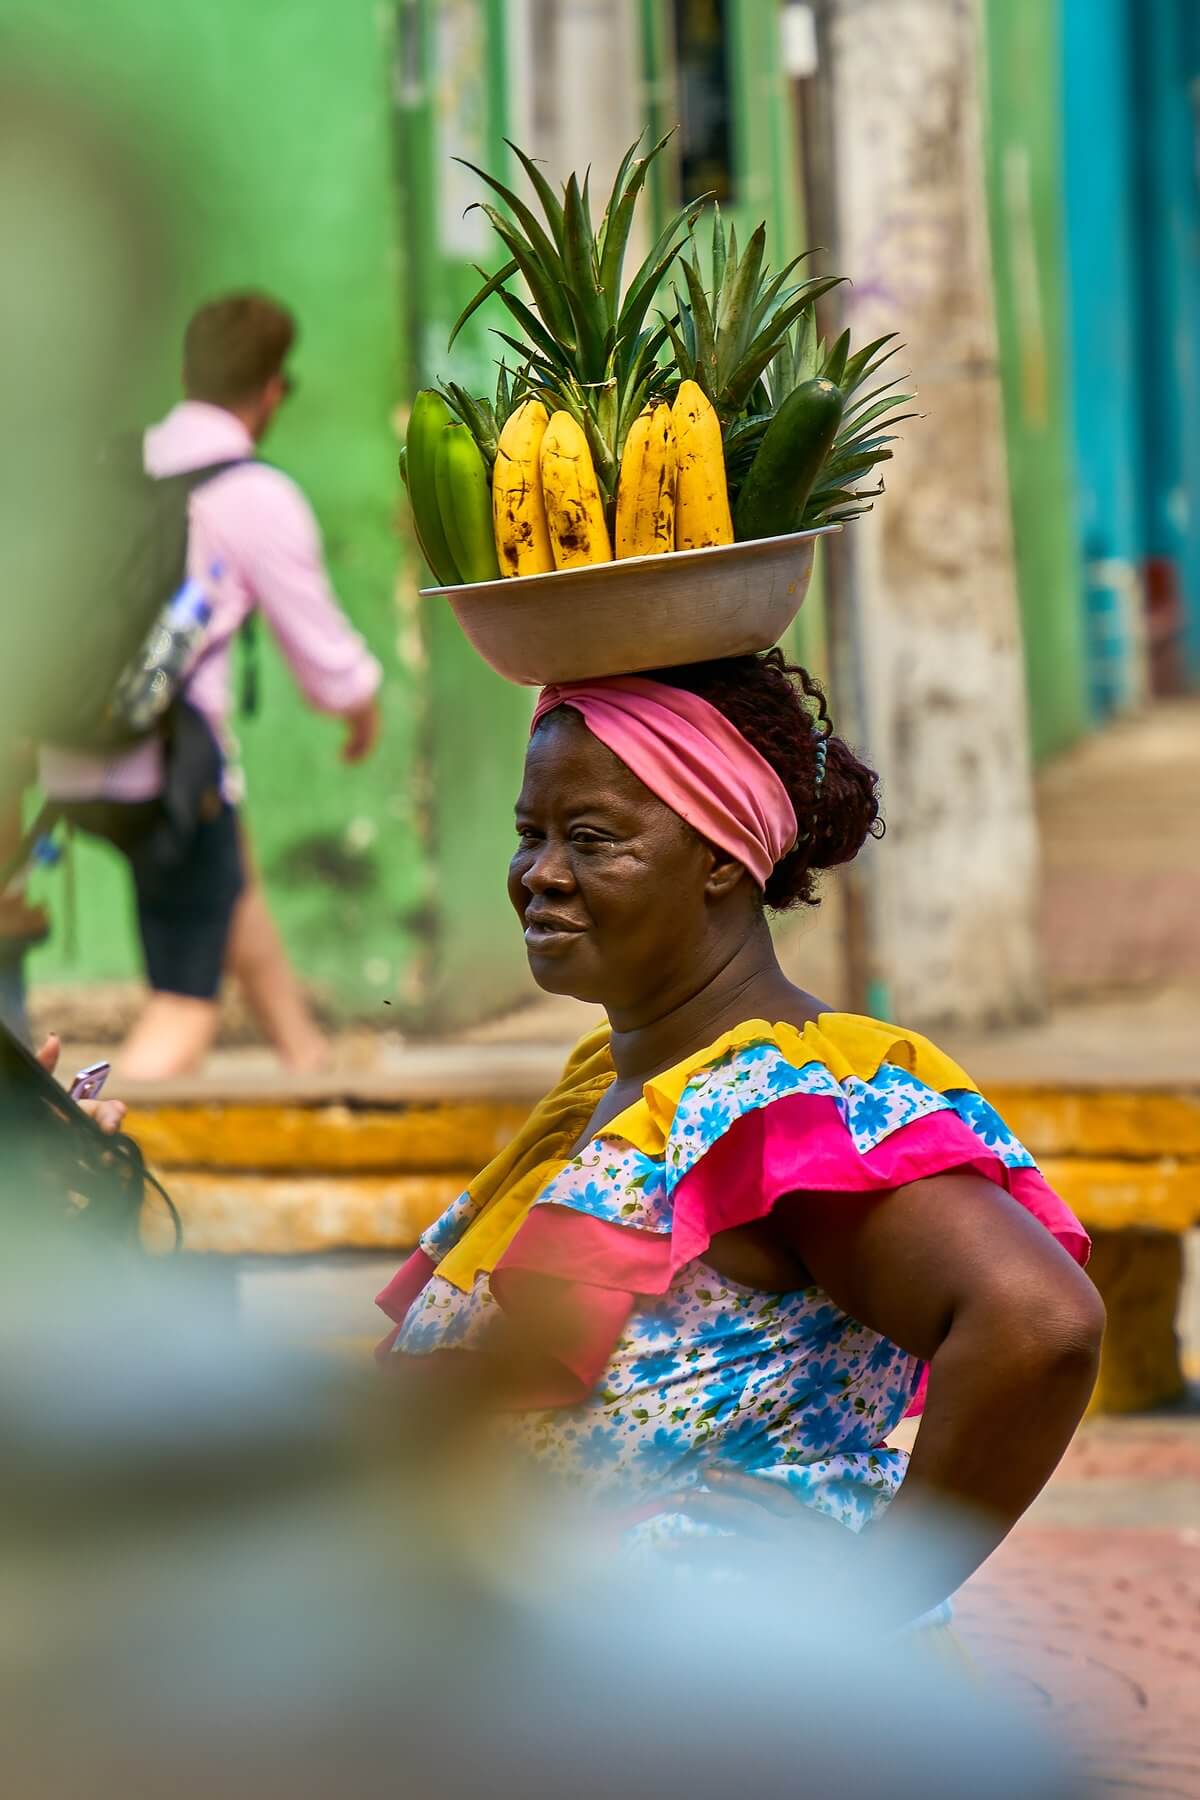
- The half hour before sunrise and after sunset brings bright blue skies with city lights on — ideal for Cartagena, Lisbon and Venice.
- Avoid midday sun: Between 11 am and 3 pm, harsh shadows and washed-out colors occur — Max rarely takes photos during this time, unless there are clouds.
- Use the foreground: An interesting foreground (rocks, railings, people) gives depth to the image — the most common mistake is an empty bottom edge of the image.
- Experience counts: Over 200,000 photos taken on 40 trips in five years — the basics work immediately and are equally effective with iPhone and Sony Alpha.
Over the past five years, I've taken more than 200,000 photos on over 40 trips. I've produced a lot of duds, but I've learned from them. Here are the tips that have given my travel photography the biggest boost—no Photoshop tricks, just fundamentals that work instantly. Whether you're using an iPhone or a Sony Alpha.


Light is everything — Make the most of the golden and blue hours
The difference between a mediocre and a breathtaking travel photo is, according to 80%, the light. And the best light is free — you just have to get up at the right time.
The golden hour is the hour after sunrise and the hour before sunset. The light is warm, soft, and casts long shadows that give your photos depth. I always plan my photo walks around the golden hour—everything else is a bonus.
It's the half hour before sunrise and after sunset. The sky glows a deep blue, city lights are on, but it's not yet completely dark. My best city photos—Cartagena, Lisbon, Venice—were all taken during the blue hour.
is your enemy. Harsh shadows, washed-out colors, people squinting. I rarely take photos between 11 a.m. and 3 p.m.—unless there are clouds or I'm intentionally shooting with high contrast.
I check the weather app in the evening and plan for the next morning. Cloudy sunrise? Still worth getting up—clouds catch the light and create dramatic colors. Completely overcast? Sleep in and do street photography during the day, because a cloudy sky acts like a giant softbox.

Composition — The rules you need to know (and when to break them)
Mentally divide your image into nine sections. Place the main subject at one of the four intersection points, not in the center. Most cameras and smartphones have a grid overlay—activate it. This one rule instantly improves all photos.
Roads, rivers, railings, walls—everything that draws the eye into the frame. My best landscape photos always have a line leading from bottom to top or from the foreground to the horizon. In Patagonia, I used hiking trails as leading lines; on the Amalfi Coast, the winding roads.
Door frames, windows, branches, archways — use natural frames to frame your subject. In Medellín, I photographed through the colorful doors of colonial houses, and the result was ten times better than the same subject without a frame.
Crouch down, lie on the ground, climb a wall. 90% of all tourists take photos at eye level—and that's precisely why all the photos look the same. My tip: Try at least three different perspectives for each subject. The best one is almost never the first.
If your photo needs a caption, there's too much in it. A powerful travel photo has one clear subject—not five. When I photograph a chaotic scene (market, beach, city), I pick out one detail and make it the star.

Camera settings that really matter when traveling
You don't need a technical degree. These three settings are sufficient for 95% all travel photos:
Aperture priority mode (A/Av): You choose the aperture, the camera does the rest. For landscapes: f/8 to f/11 (everything in focus). For portraits and details: f/2.8 to f/4 (background blurred). I take 801 of my travel photos in A mode.
ISO 100–400 in daylight. Only go higher if absolutely necessary. Any ISO value above 1600 produces noise—significantly earlier on smartphones. It's better to use image stabilization or brace the camera against something than to crank up the ISO.
If your camera supports RAW, use it. RAW files store significantly more image information that you can recover in post-processing. Overexposed sky? In RAW, you can bring back the details. In JPEG, they're gone. The files are larger, yes—but SD cards are practically free these days.
Turn on HDR mode (standard on most phones), use the 0.5x wide-angle lens for landscapes and portrait mode for people. And please: no digital zoom. It's better to get closer or crop later.
My equipment recommendation for travel photography
| Equipment | My recommendation | Price approx. |
|---|---|---|
| Camera (Beginner) | Sony A6400 | ~900 € |
| Camera (Advanced) | Full-frame camera | ~1.700 € |
| travel lens | Professional lens 8-200mm f/2.8-5.6 | ~800 € |
| Travel tripod | Peak Design Travel Tripod | ~350 € |
| drone | DJI Mavic Air 2 | ~1.000 € |
| Action Cam | GoPro Hero 8 | ~350 € |
Post-production — The underestimated game changer
A good photograph is created twice: when the shutter is released and during editing. I edit every single photo I publish. That doesn't mean cranking up the saturation to maximum—it means capturing the atmosphere I felt on location.
(Free) is sufficient for 90% processing. My standard workflow: straighten the horizon, adjust the crop, correct the exposure, slightly increase the contrast, and adjust the white balance. This takes 30 seconds per image and makes a huge difference.
I've created five presets that suit my style (warm, slightly desaturated, enhanced shadows). I use these as a base and then only adjust minor details. This keeps my feed consistent without every photo looking the same.
If you want to include aerial photography in your portfolio, read my article about Drones for travel photography — the perspective from above is a total game changer.
Taking beautiful photos — 7 ideas that work instantly
Those who want to take beautiful vacation photos without prior experience will benefit most from simple composition hacks, not expensive equipment. These seven ideas work with any modern smartphone and deliver results that will stand out in your gallery:
- Lines guide the eye: Look for the line in each subject—street, railing, beach waves, wall—and position it so that it leads into the picture. Diagonal upward lines appear more dynamic than horizontal ones.
- Rule of thirds instead of center point: Don't place the main subject in the middle, but at one of the thirds intersection points. Smartphone cameras display a grid – use it. Instantly more professional-looking pictures.
- Take advantage of the golden hour: One hour after sunrise and one hour before sunset, the light is soft and warm. Photos taken during this time automatically look better than midday photos with harsh shadows.
- Incorporate a foreground element: A plant, a rock, a person—something in the foreground creates depth. The image appears three-dimensional instead of flat.
- Look for reflections: puddles after rain, shop windows, sunglasses, water surfaces — reflections visually double every subject and are rewarding photo patterns.
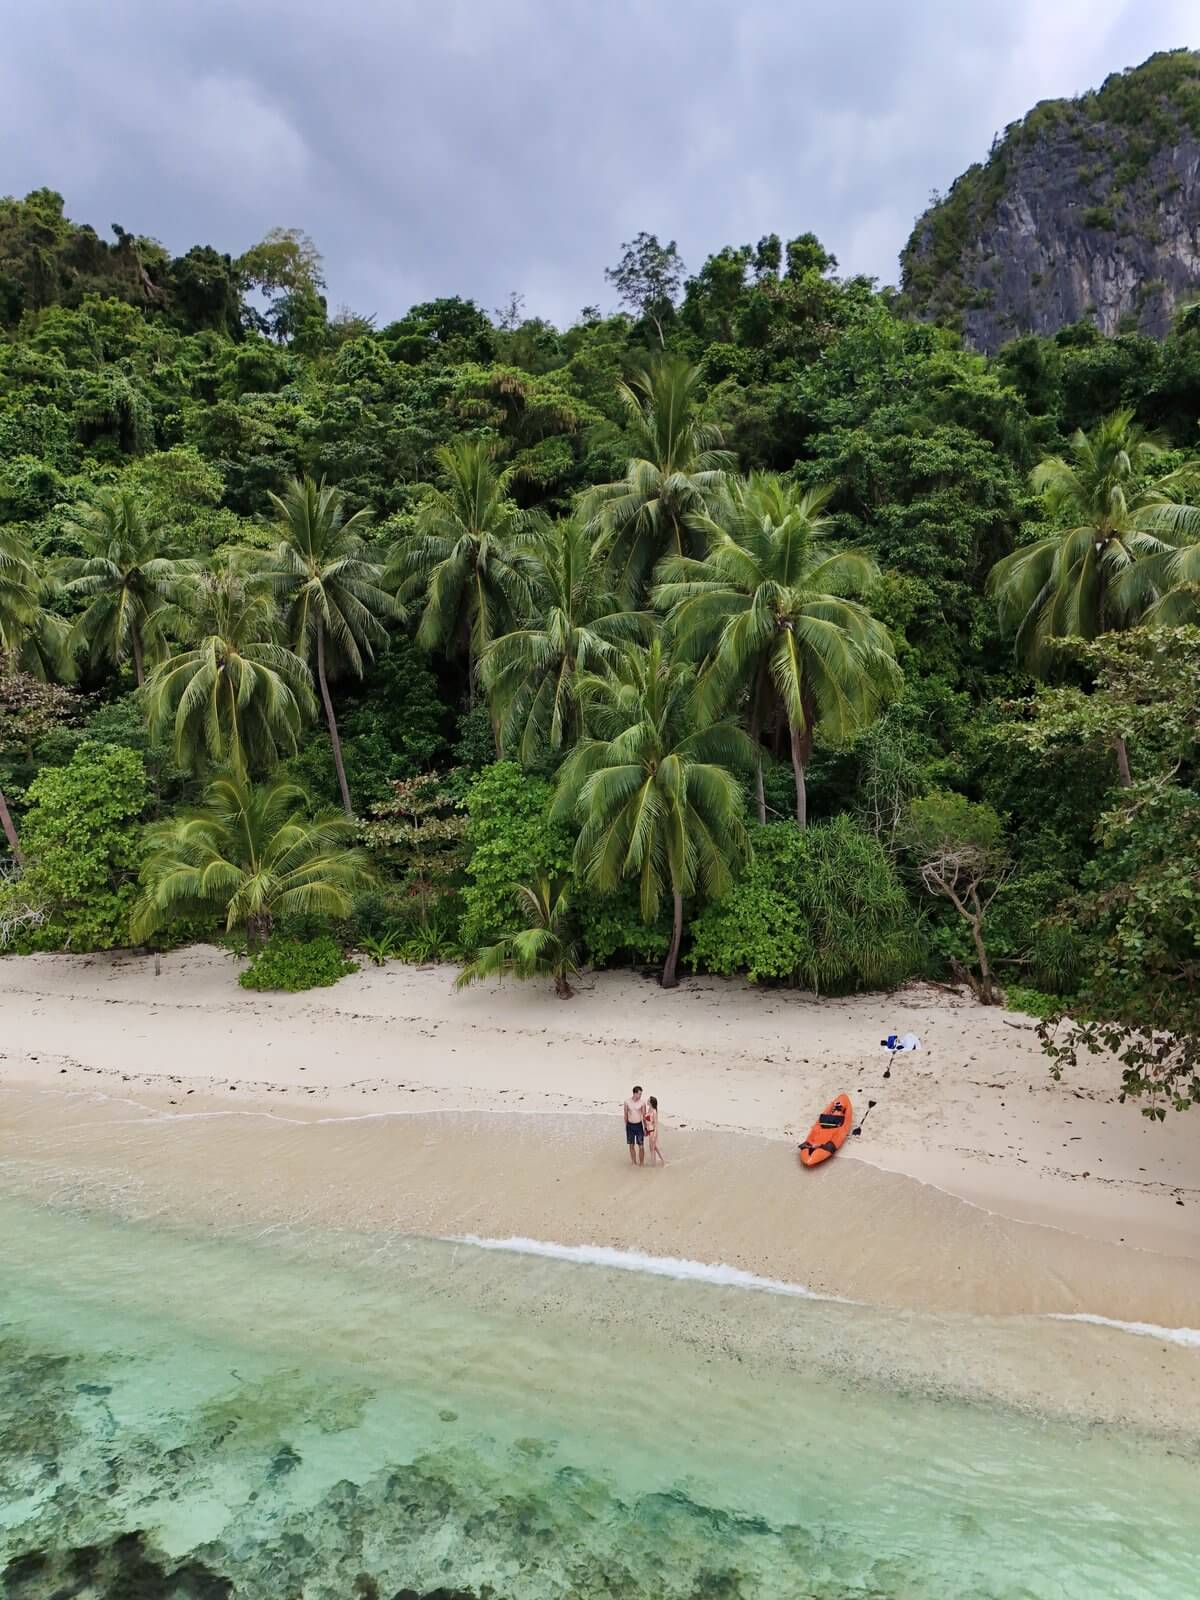
- Small people, vast landscape: A tiny person in a huge landscape creates a wow effect. Classic: A person alone in the desert, on the beach, in front of mountains — a good composition for „epic“ travel photos.
- Hold your phone unusually low: 90 percent of all amateur photos are taken at eye level. Holding your phone at ground or water level immediately gives you a perspective that others don't have.
Tips for taking good photos with your mobile phone
Smartphones are by far the most frequently used travel camera today — and they can deliver surprisingly good results when used correctly. The most important smartphone specifications:
- Use the main camera, not digital zoom: The main lens of all modern smartphones (1x zoom) delivers the best quality. Digital zoom above 2x should be avoided — the quality is significantly worse than cropping in editing.
- Pro/Manual mode for RAW: iPhone Pro and all Samsung Galaxy phones from the S22 onwards can shoot RAW photos. This offers more editing flexibility, especially at sunrise and sunset. Lightroom Mobile is free and ideal for post-processing.
- HDR is great, but not always: HDR works wonderfully for landscapes and challenging lighting situations. However, it can make skin tones appear flat in portraits—in that case, deactivate it manually.
- Burst mode for moving subjects: Taking a photo of moving subjects often fails. Burst mode (hold down) delivers 5–10 images per second. One of them almost always works.
- Stabilize the image using a breathing technique: Exhale and hold your breath before taking the picture. Camera shake is the most common cause of image quality loss in dark photos.
Tips for taking good photos of people
Vacation photos of people are often the most emotionally precious—and also the ones with the most mistakes. Here are the most important rules:
- Eyes in focus: If the eyes are out of focus, the image is lost. Tap on smartphones, manually select the AF point on cameras.
- Work with the light, not against it: windows or sunlight behind the person create unflattering silhouettes. Use light from the front or side. Avoid shadows under the eyes—if the person looks down, the light won't enter their eyes.
- Before you press the shutter, take a quick look at the background. Poles growing out of your head, trash cans, crowds of tourists—everything ruins the picture. Often, a step to the side is all it takes to save the composition.
- Natural poses: Instead of saying "smile" — movement, action, laughter at something real. Photos of people instantly become more vibrant when they aren't posing for the camera.
- Open the aperture for bokeh: For system and mirrorless cameras, set the aperture to f/1.8–f/4. The background blurs, the subject stands out clearly.
Taking good photos of yourself — selfies and solo travel shots
Anyone who travels alone knows the problem: You have a thousand landscape photos, but not a single one of yourself in front of them. Solutions:
- Smartphone with tripod + self-timer: Use a lightweight travel tripod (PEAK Travel Tripod or similar), set up your smartphone, and use the 10-second timer. For system cameras: Use a Bluetooth remote shutter release.
- Ask other travelers: At crowded viewpoints, simply ask politely — most are happy to take a photo and will be pleased if you take a picture of them in return.
- Drone for self-portraits in landscapes: The DJI Mini 5 Pro It has a very good self-tracking mode — ideal for „miniature person in epic landscape“ shots from 30–80 meters high.
- Practice poses: Practice three to five standard poses (looking to the side, hand on hat, slight step forward). This saves 5 minutes of uncertainty before each photo.
- Apps like Spectre: Long-exposure apps for smartphones create very impressive self-portraits with ghost effects or blurred water.
Taking beautiful photos with poses — What really works
Poses often look unnatural when they are too obvious. What works are "movement poses":
- The turning-away pose: The person is turning away from the camera, looking over their shoulder. It appears dynamic and suggests a story.
- The movement pose: A person walks through the image, their steps frozen in time. Works particularly well with beaches, forests, and long corridors.
- The seated pose: A person sits on a wall, rock, or edge, looking out at the landscape. A classic, but always works.
- The hand-in-the-foreground pose: A person holds a coffee cup, cocktail, binoculars, or map in the foreground. It draws the eye and suggests activity.
- The jumping pose: A person jumps—ideally on the beach or against a clear background. Activate burst mode and select the best frame.
FAQ — Frequently Asked Questions about Travel Photography
Do I need an expensive camera for good travel photos?
No. A modern smartphone is perfectly adequate for social media and even for prints up to A4 size. What makes good travel photos is light, composition, and timing—not sensor resolution. Only invest in a camera once you've mastered the basics and realize that your smartphone is limiting you.
How do I protect my camera when traveling?
A good camera backpack (the Peak Design Everyday Backpack is my favorite), a UV filter on every lens (20 euros protection instead of an 800 euro repair), and insurance. I've covered my equipment through my home insurance—much cheaper than dedicated camera insurance. And in case of rain: a simple freezer bag over the camera offers better protection than any 80-euro rain cover.
How do I develop my own photography style?
By taking lots of photos and looking at lots of pictures. Follow 10 photographers whose style appeals to you and analyze: What exactly do you like? The colors? The perspective? The composition? Then experiment. My style developed over three years—in the beginning, I followed every trend. Today I know: warm, natural, with depth. That didn't happen overnight.
What camera settings are needed for sunrise and sunset?
Low ISO (100–400), medium aperture (f/8–f/11), slightly longer shutter speed (1/30 to 1/250). Manually set the white balance to "Shades" or "Cloudy"—this enhances the warm colors. Smartphones: Enable HDR, RAW if available. A tripod is essential for steady shots, especially with long exposures.
How do I take photos in low light without a tripod?
Increase the ISO (800–3200), open the aperture (f/1.8–f/2.8), and use the longest possible shutter speed without camera shake (rule of thumb: 1/focal length, so at least 1/50 of a second for a 50mm lens). Lean the camera or smartphone against a stable surface—a wall, table, or railing. On modern smartphones, the night mode, which automatically combines multiple shots, is often sufficient.
Which image format should I choose for Instagram?
Portrait format 4:5 for posts (full screen width, more engagement) and 9:16 for Stories and Reels. Landscape format 16:9 for web embedding and blogging. If you post on multiple channels, leave enough space around the edges of the frame during the shoot to allow for different crops later.
How do I edit my travel photos professionally?
Lightroom Mobile (free, very powerful) or Snapseed are the best free editors for smartphone workflows. The classic editing sequence is: exposure → white balance → contrast → color (saturation/vividness separately) → selective editing. Presets from established travel photographers save beginners a lot of time—highly recommended as a learning tool.
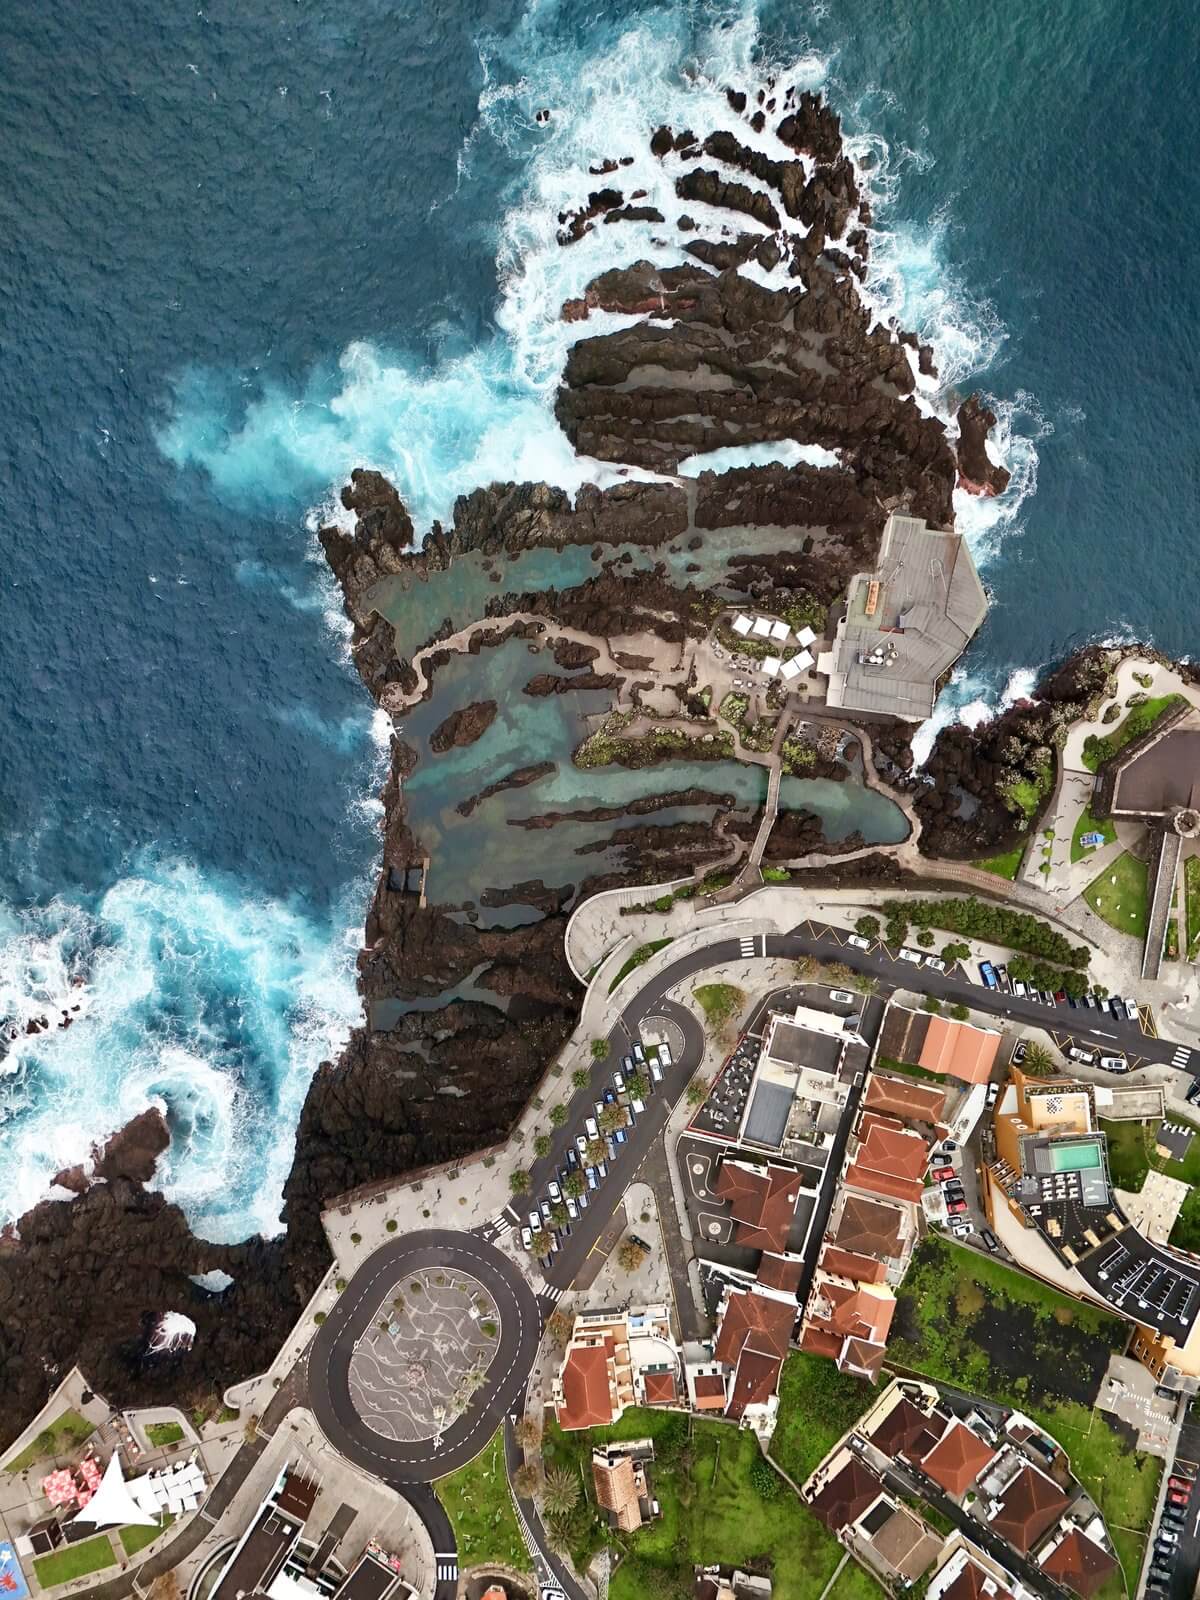
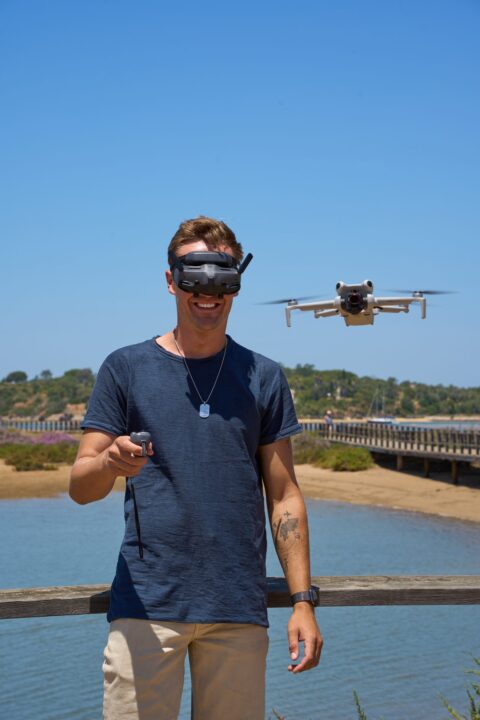
How do I create drone photos that don't look generic?
Three tricks: First, don't shoot vertically from above, but at a slight angle (45°) – this creates a cinematic effect. Second, include a human element in the image (person, car, boat) to establish scale. Third, use an ND filter for longer exposure times on water – waves will have a silky effect. More details in the DJI Mini 5 Pro review. DJI Mini 5 Pro Review.
Which drone is ideal for getting started in travel photography?
The DJI Mini 5 Pro weighs under 250g — no registration required in most countries, ideal image quality, very good obstacle detection. For professionals: DJI Mavic 4 Pro with a larger sensor. Both models and a comparison can be found in the Equipment Guide 2026. Equipment Guide 2026.
How do I structure a photo story from a trip?
A strong photo story has three components: an "establisher" (a wide-angle image showing the location), several "detail" images (close-ups, textures, people), and a "closer" (an emotional or atmospheric conclusion). This three-part structure works for Instagram carousels, blog galleries, and even Reels. Anyone documenting a trip should consciously collect all three types of images.
Want to capture your first adventure in photos? Check out my Best travel destinations 2026 on — perfect for practicing without overtourism.
Max Haase
Travel Content Creator · Drone Photographer · Visual Storyteller
A professional travel creator for over 10 years with over 4.2 million followers. Specializing in high-end tourism board collaborations and visual travel storytelling.


