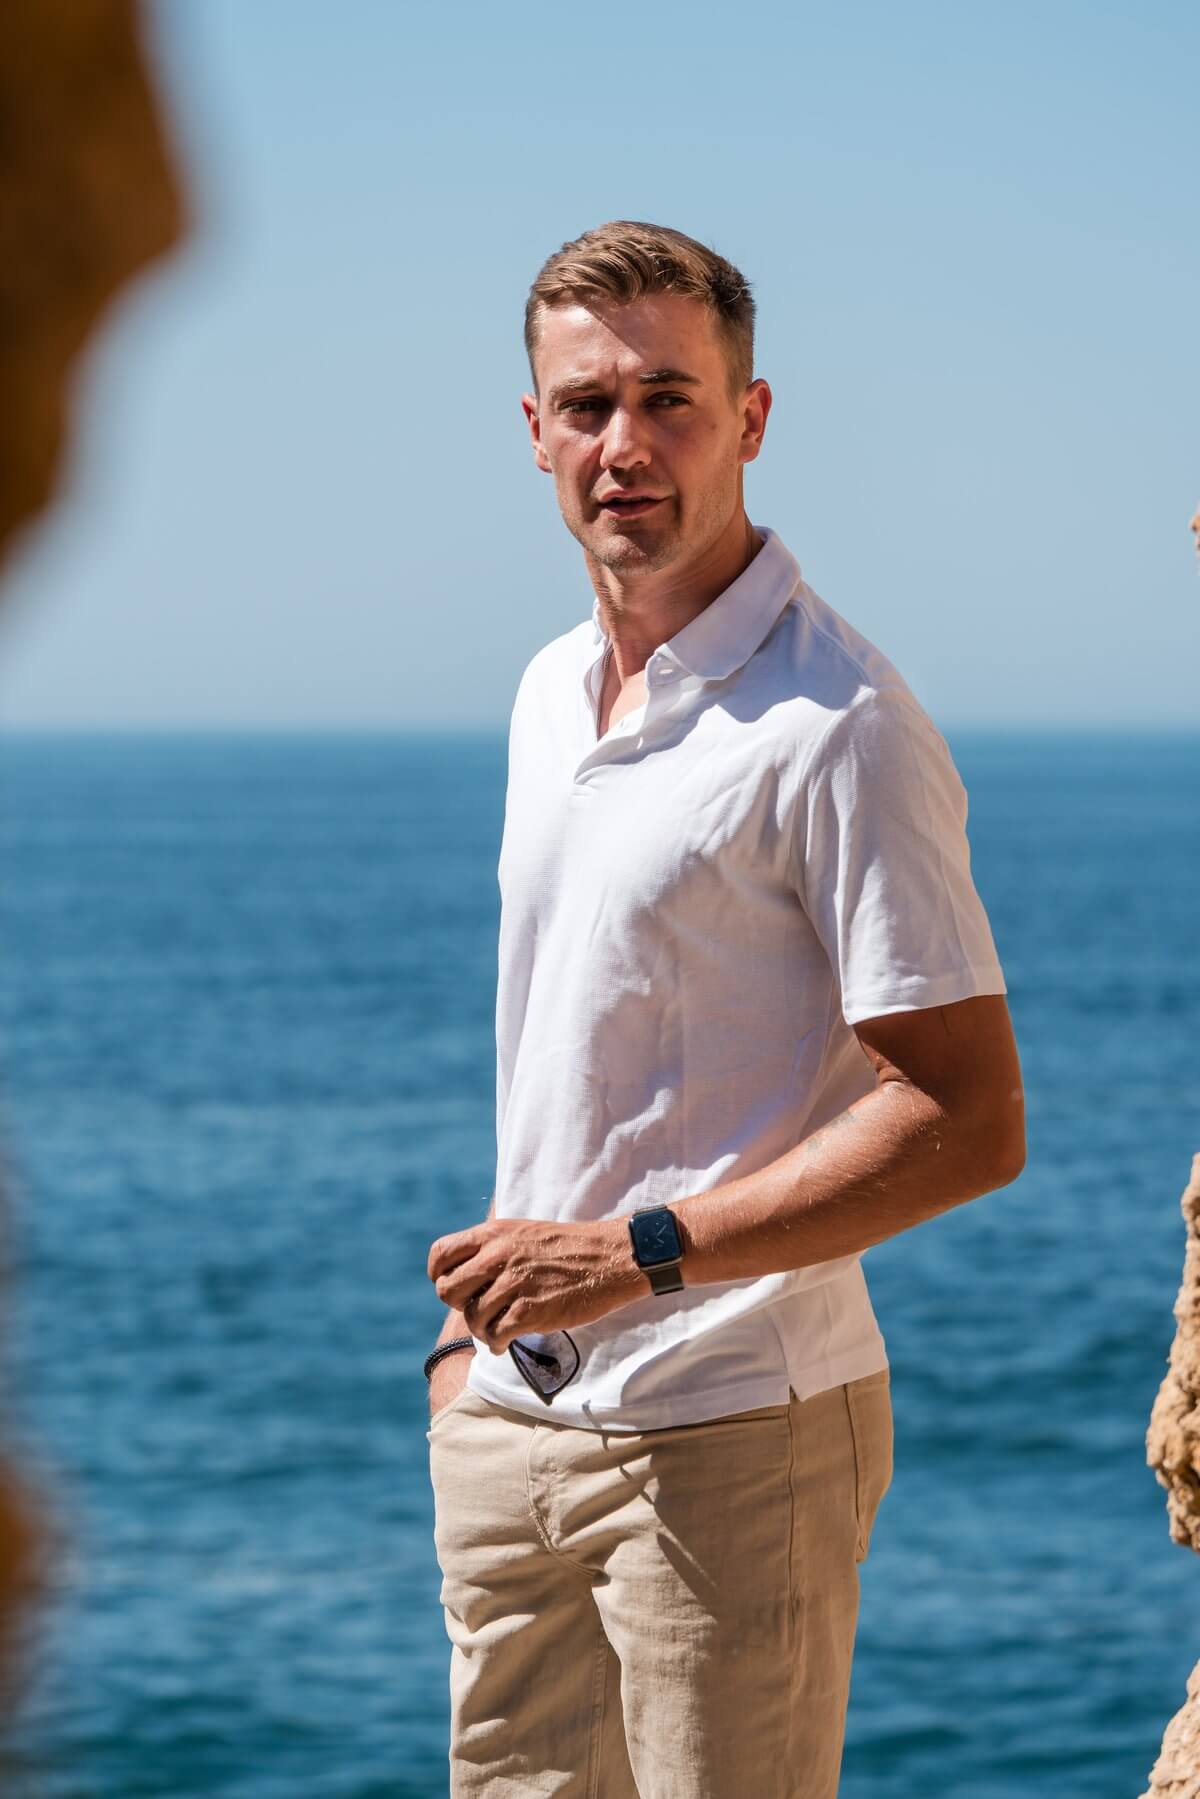
My 2024 travel review — 12 countries in 365 days
My 2024 travel review — 12 countries in 365 days
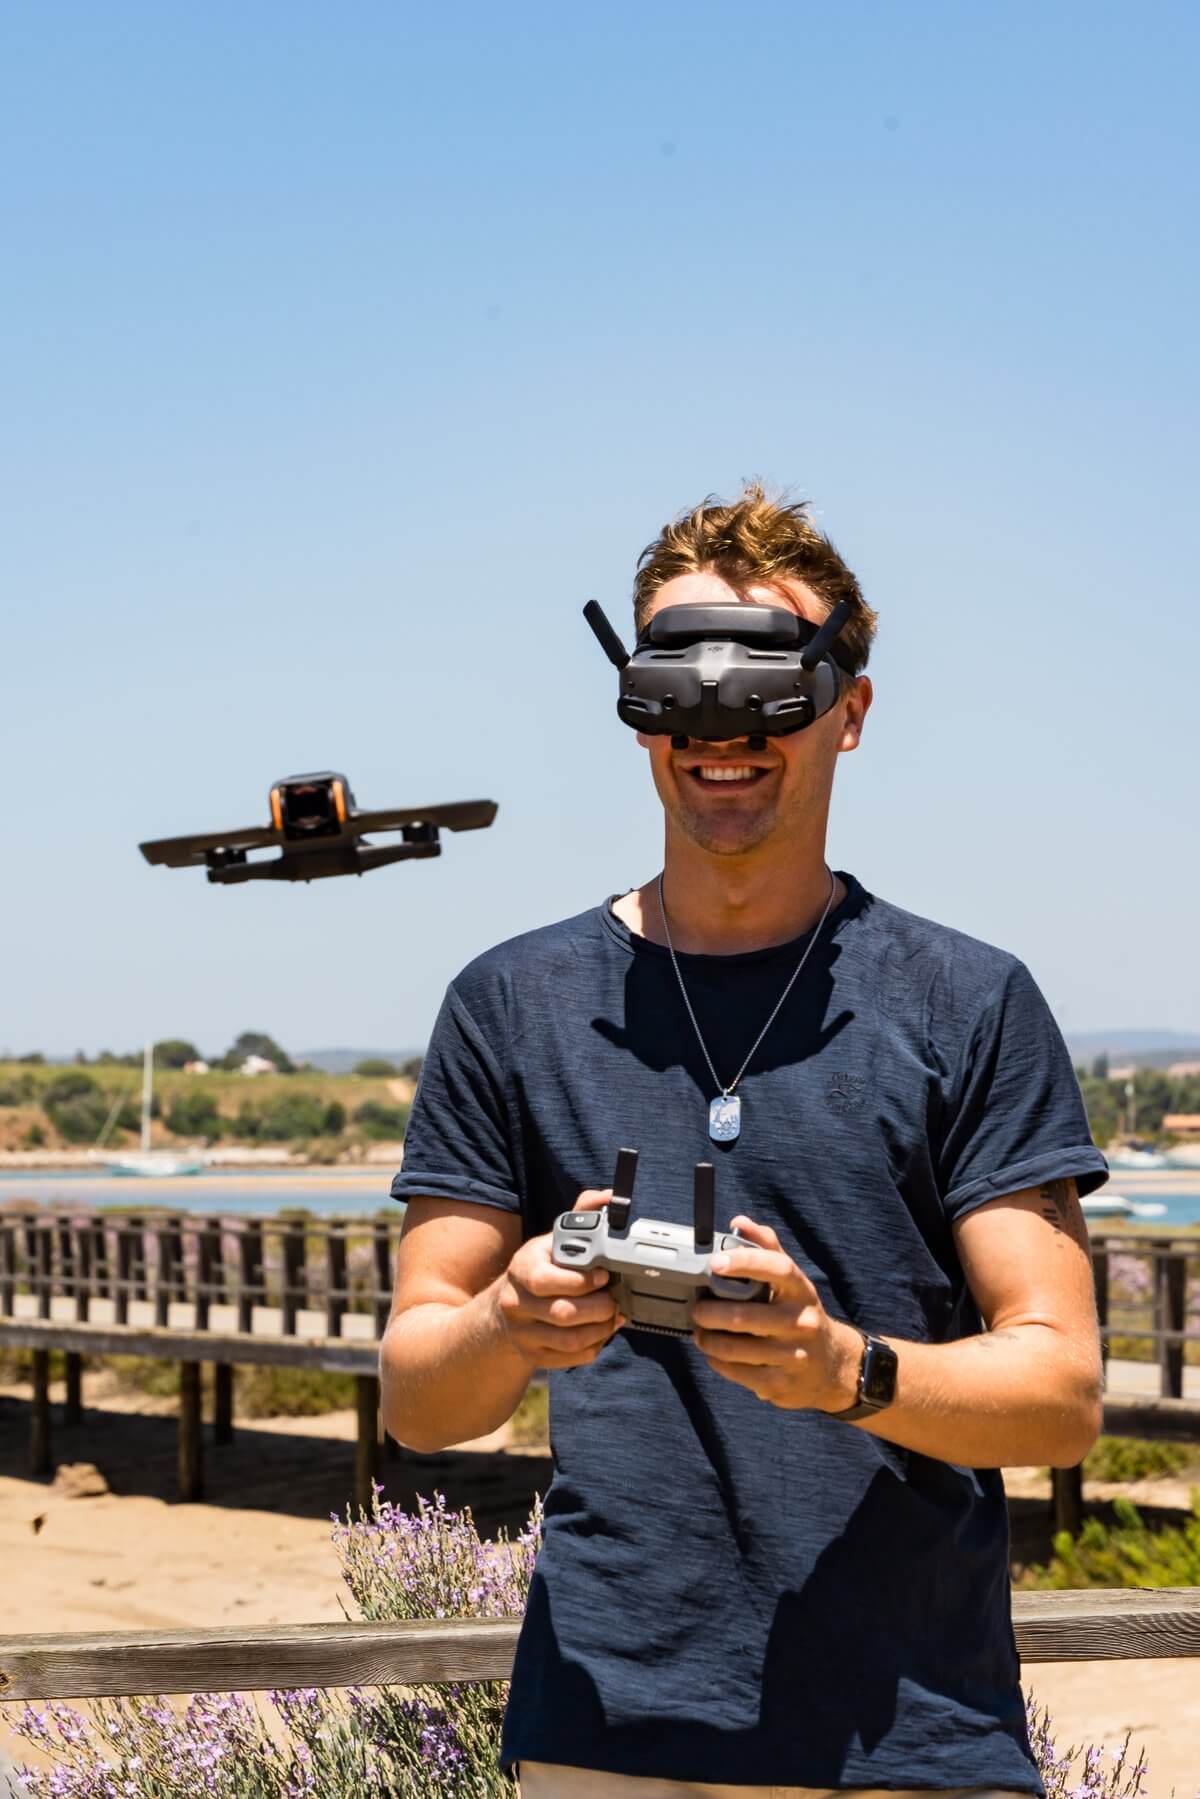
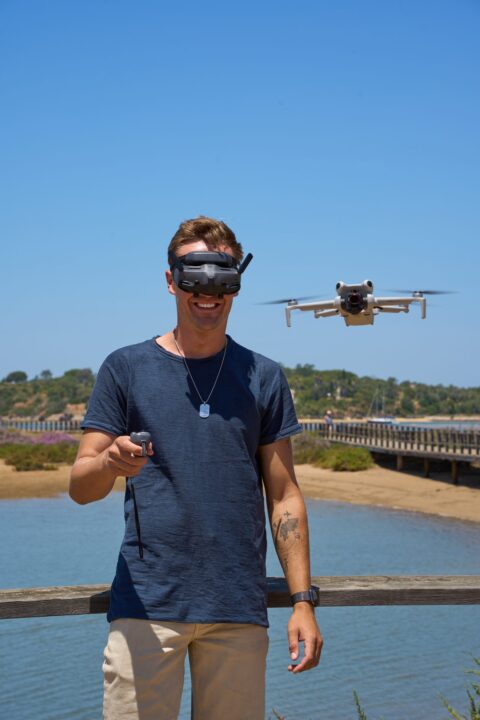
2024 was my most intense year of travel ever. 12 countries, over 200 flying days, 47 flights, 23 hotels, countless drone flights with my drone, and a camera, which is slowly reaching its limit. From the snow-covered peaks of the E5 Alpine crossing to the volcanic landscapes of Madeira and the dreamy islands of the Philippines — here is my complete recap with the highlights, flops and honest costs.
- Scope: 12 countries in 365 days with over 200 travel days, 47 flights and 23 hotels — the most intensive travel year with drone footage from every month.
- Half-year highlight: E5 Alpine crossing Oberstdorf–Merano: 6 days, 100 km, 5,000 meters of elevation gain — physically toughest route, book huts 6 months in advance.
- Top destination: Madeira exceeds all expectations — levadas, laurel forests and the drone shot of Ponta de São Lourenço with over 120,000 likes on Instagram.
- Cost: January Canary Islands/Madeira approx. €2,800, March Portugal €3,200, June/July Italy €4,500, E5 Alps only €1,400 for 6 days including huts.
- Insider tip: Northern Cyprus in August as a largely undeveloped alternative to Greece — Karpaz beaches, ruins of Famagusta, prices at a fraction of the level.
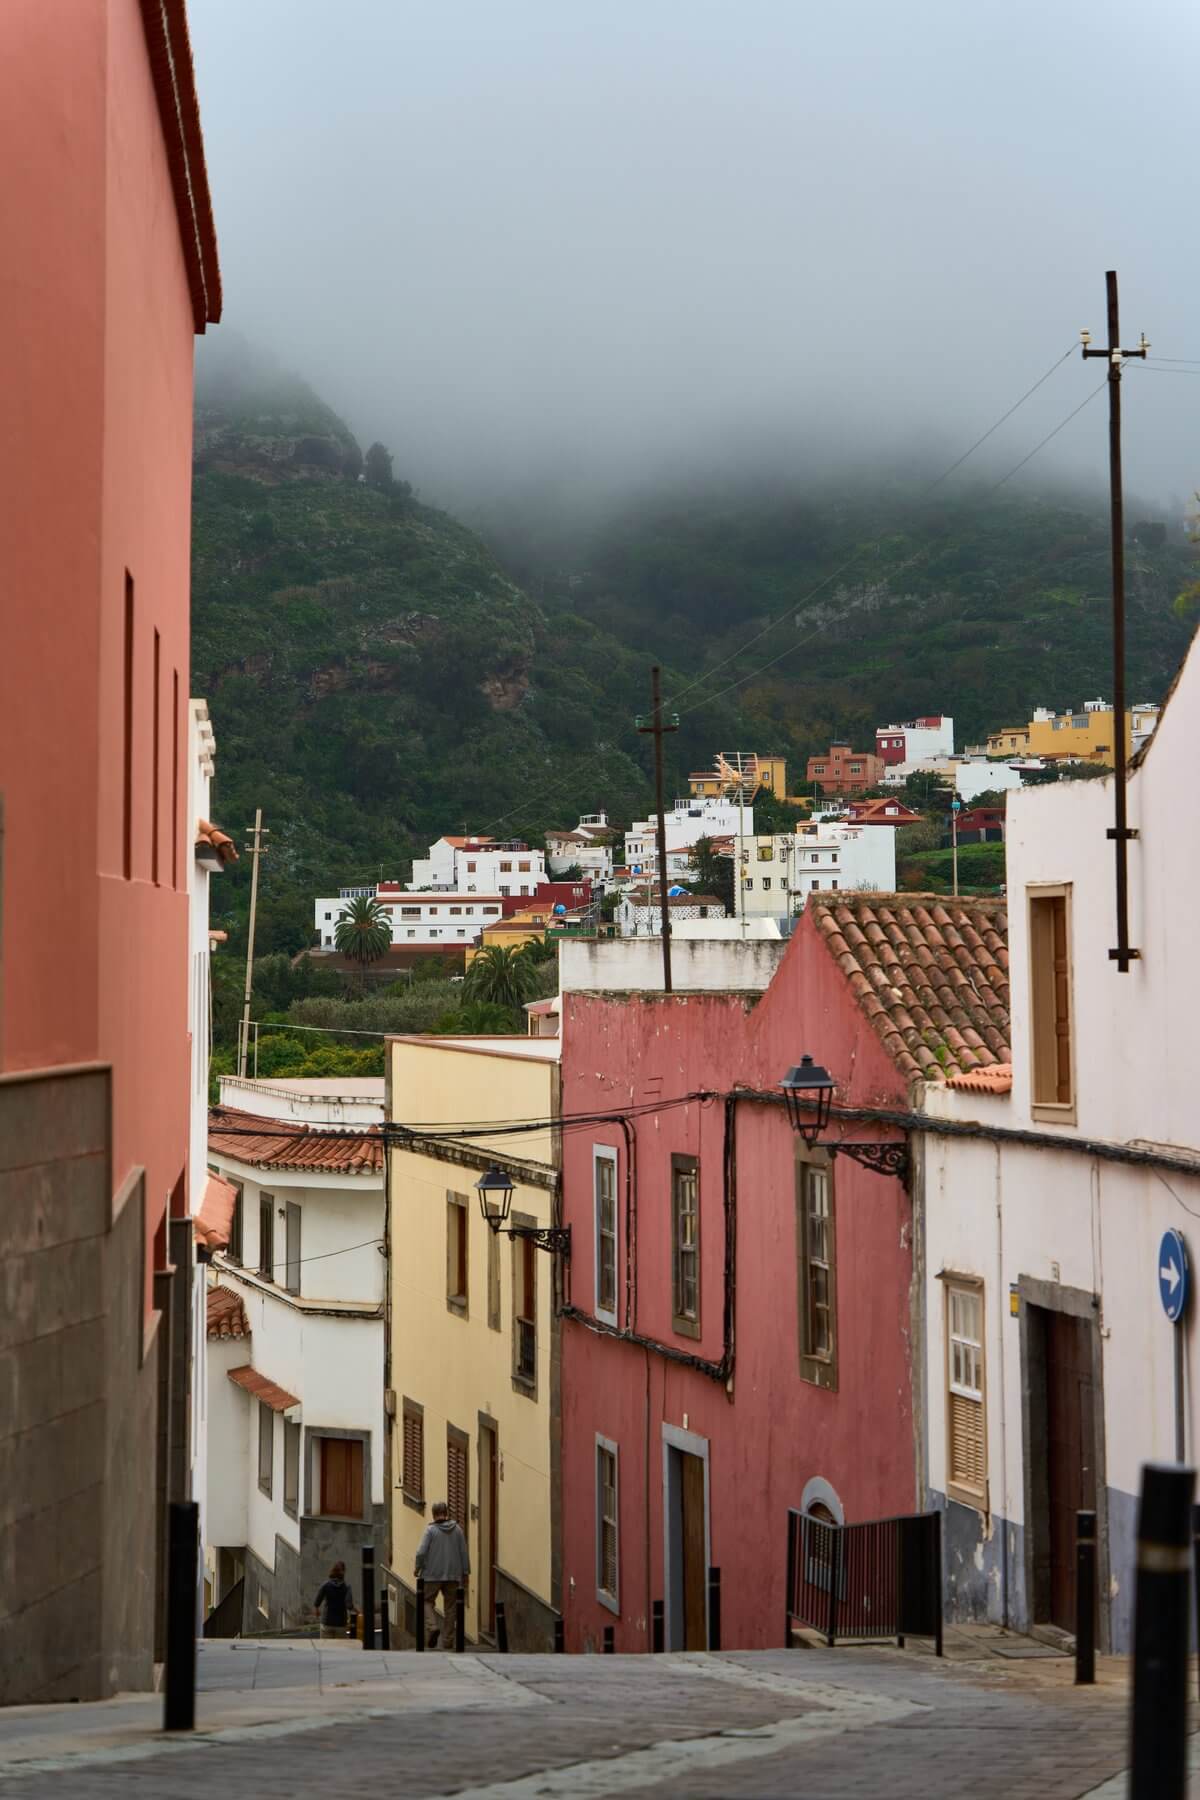
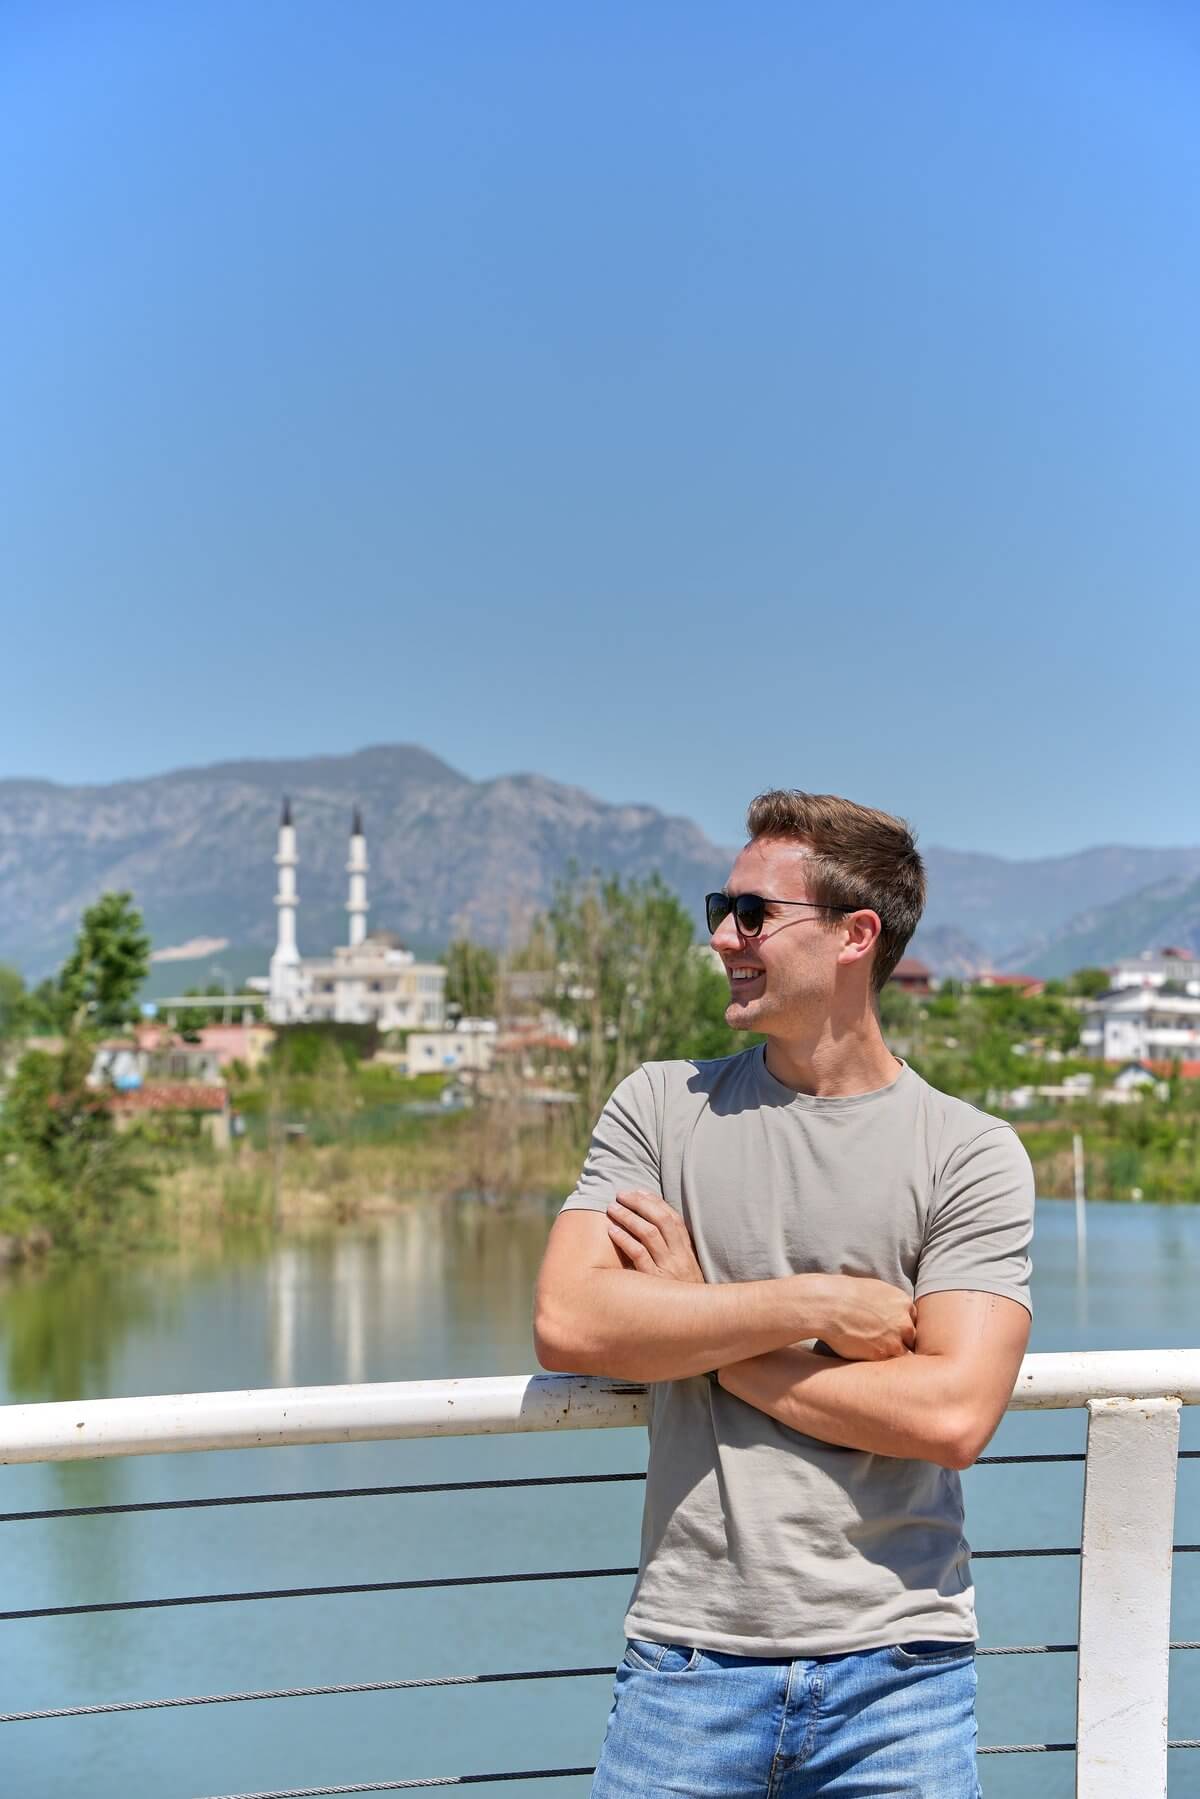
January — Canary Islands and Madeira
The year started with warmth: first Gran Canaria (January 4-6), then over to Madeira (January 8-11), a side trip to Lanzarote (January 12), and back to Gran Canaria until January 20. The Canary Islands were my work base camp—producing content in the mornings, relaxing on the beach in the afternoons.
Madeira completely surprised me. The levada walks, the cliffs, the laurel forests—this island is on another level photographically. My drone shot of the coast near Ponta de São Lourenço got over 120,000 likes on Instagram. The combination of Atlantic light, lush green vegetation, and dramatic cliffs is simply perfect.
January costs: ~€2,800 (flights €620, accommodation €1,200, rental car €480, food/activities €500)
Two weeks in Germany — visiting family
February: Family visit to Germany, post-processing content, responding to collaboration requests, equipment maintenance. My editing workflow: Lightroom for photos (batch processing with custom presets), DaVinci Resolve for videos. Edited 340 photos from January, prepared 12 Instagram posts.
In addition, three cooperation requests were negotiated — including a large one. Tourism Board, which ultimately materialized for Q3. Negotiations in this industry take months.
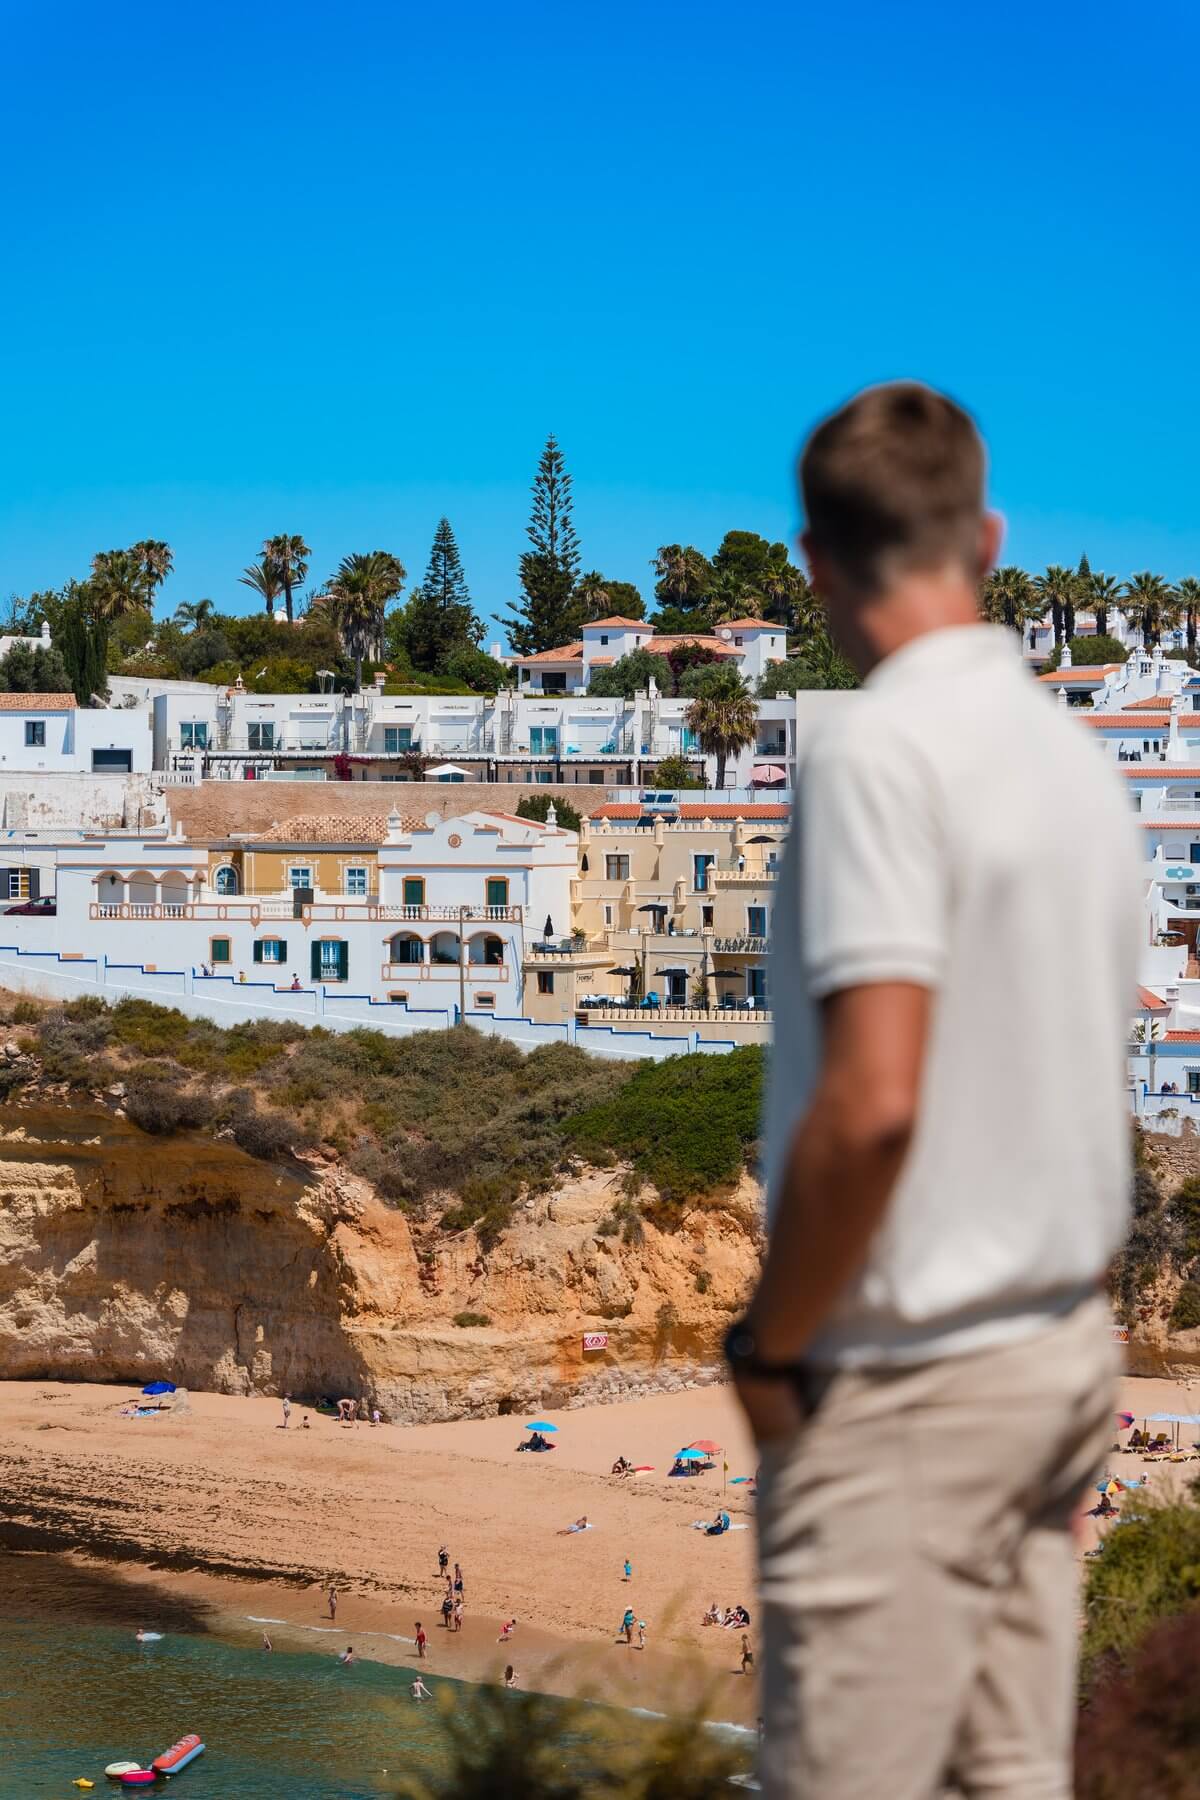
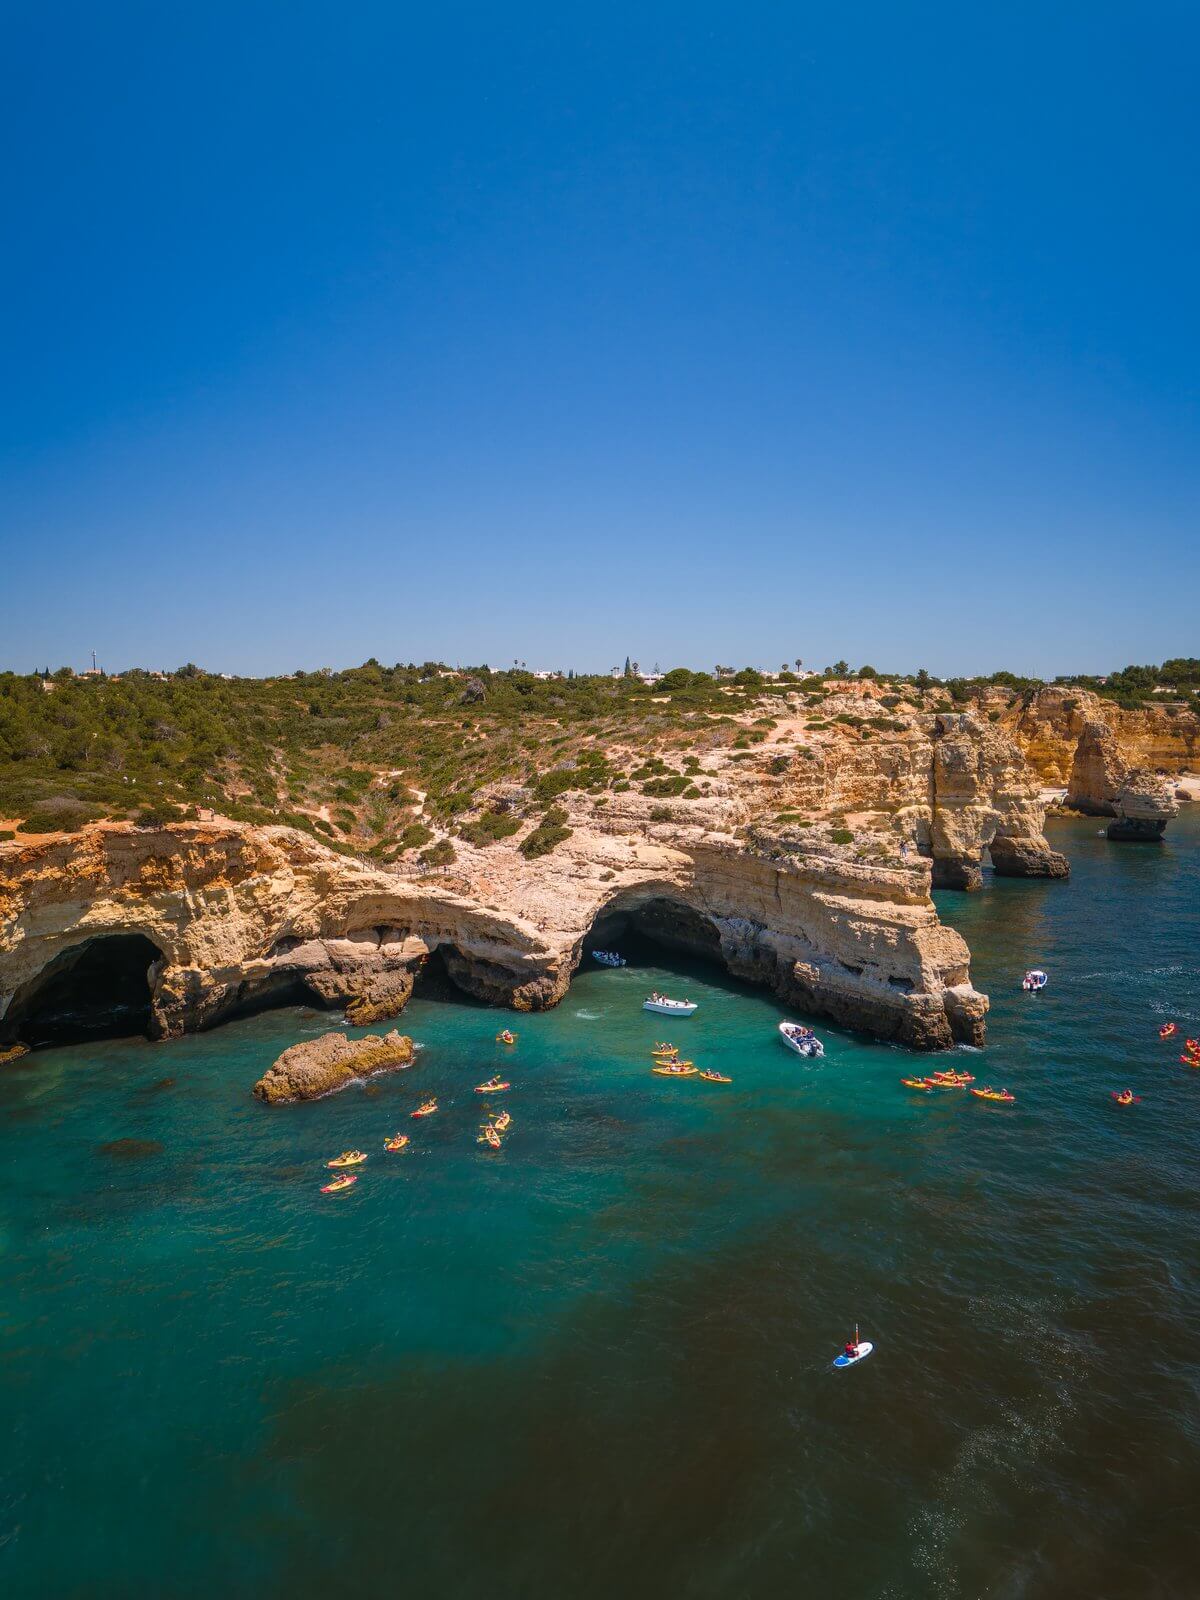
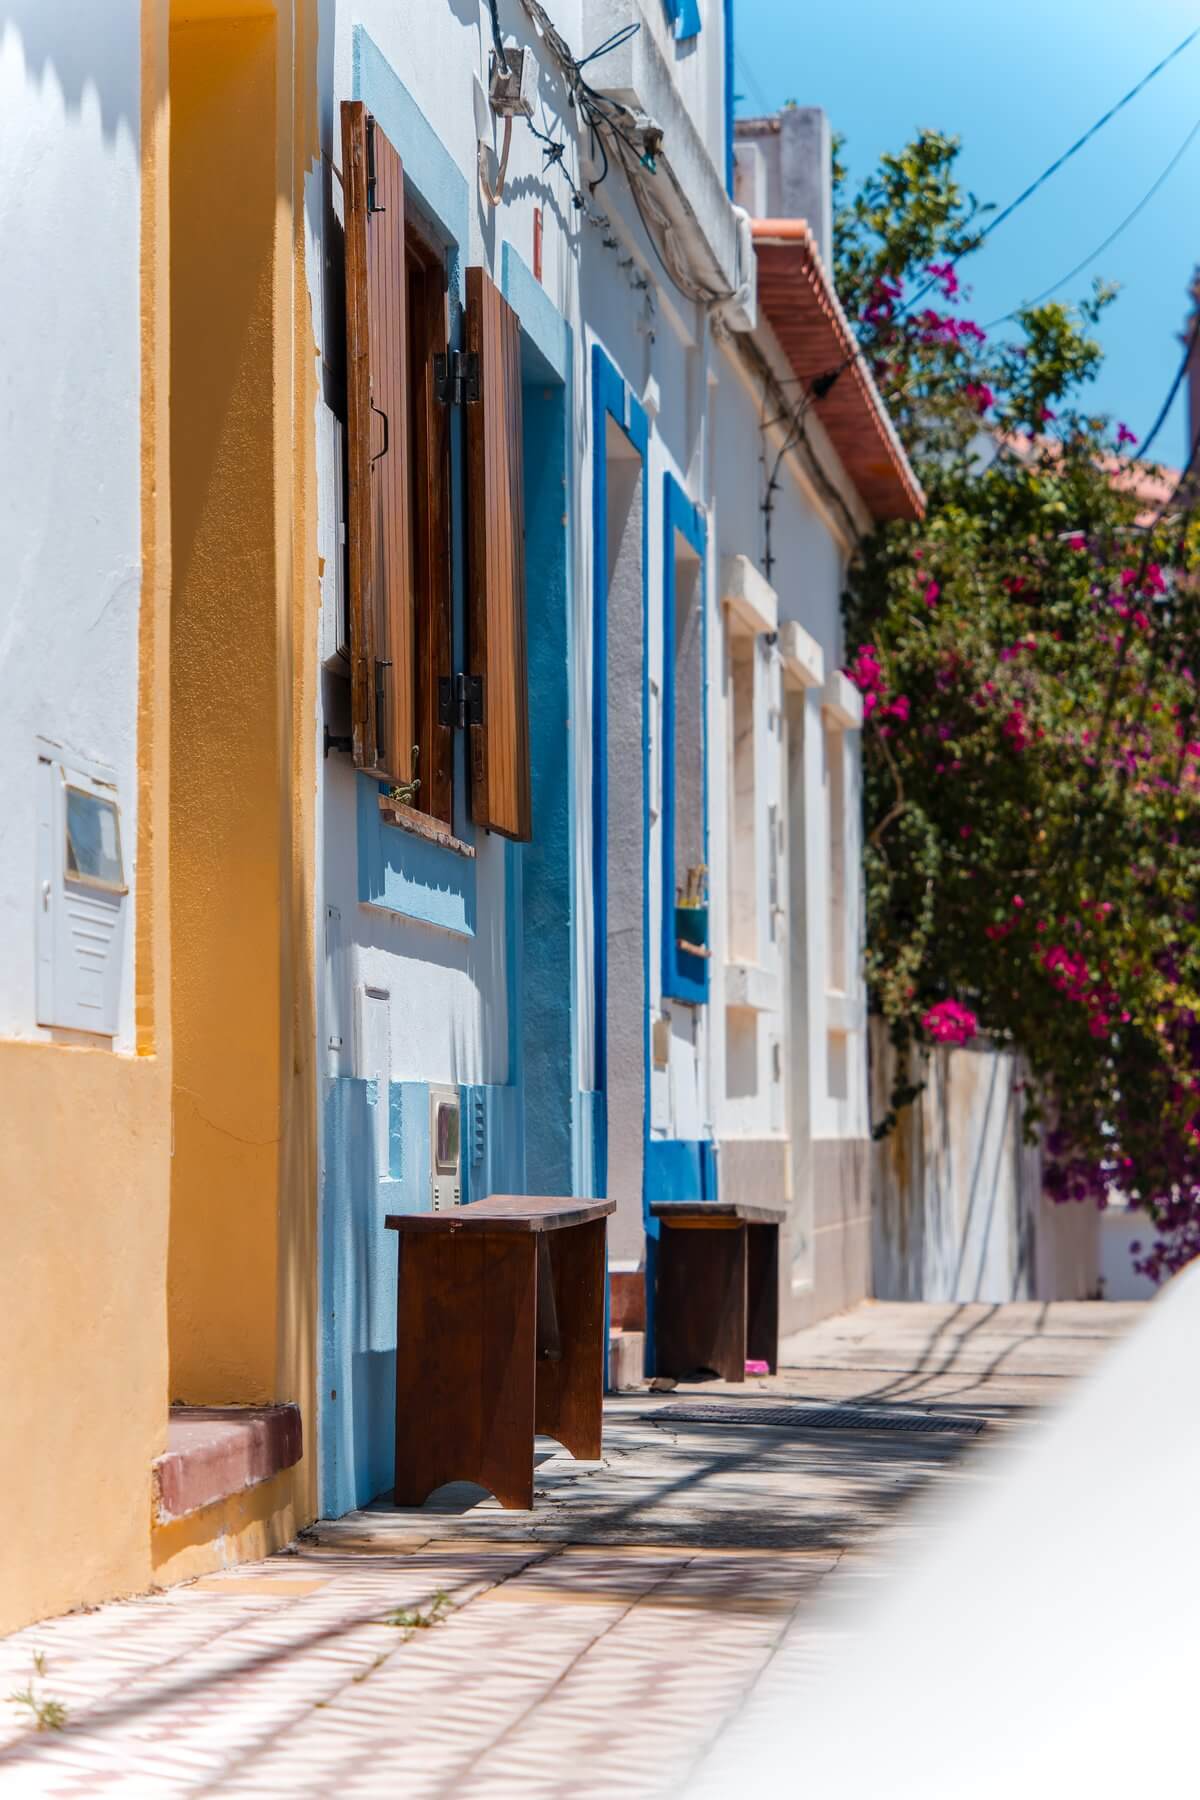
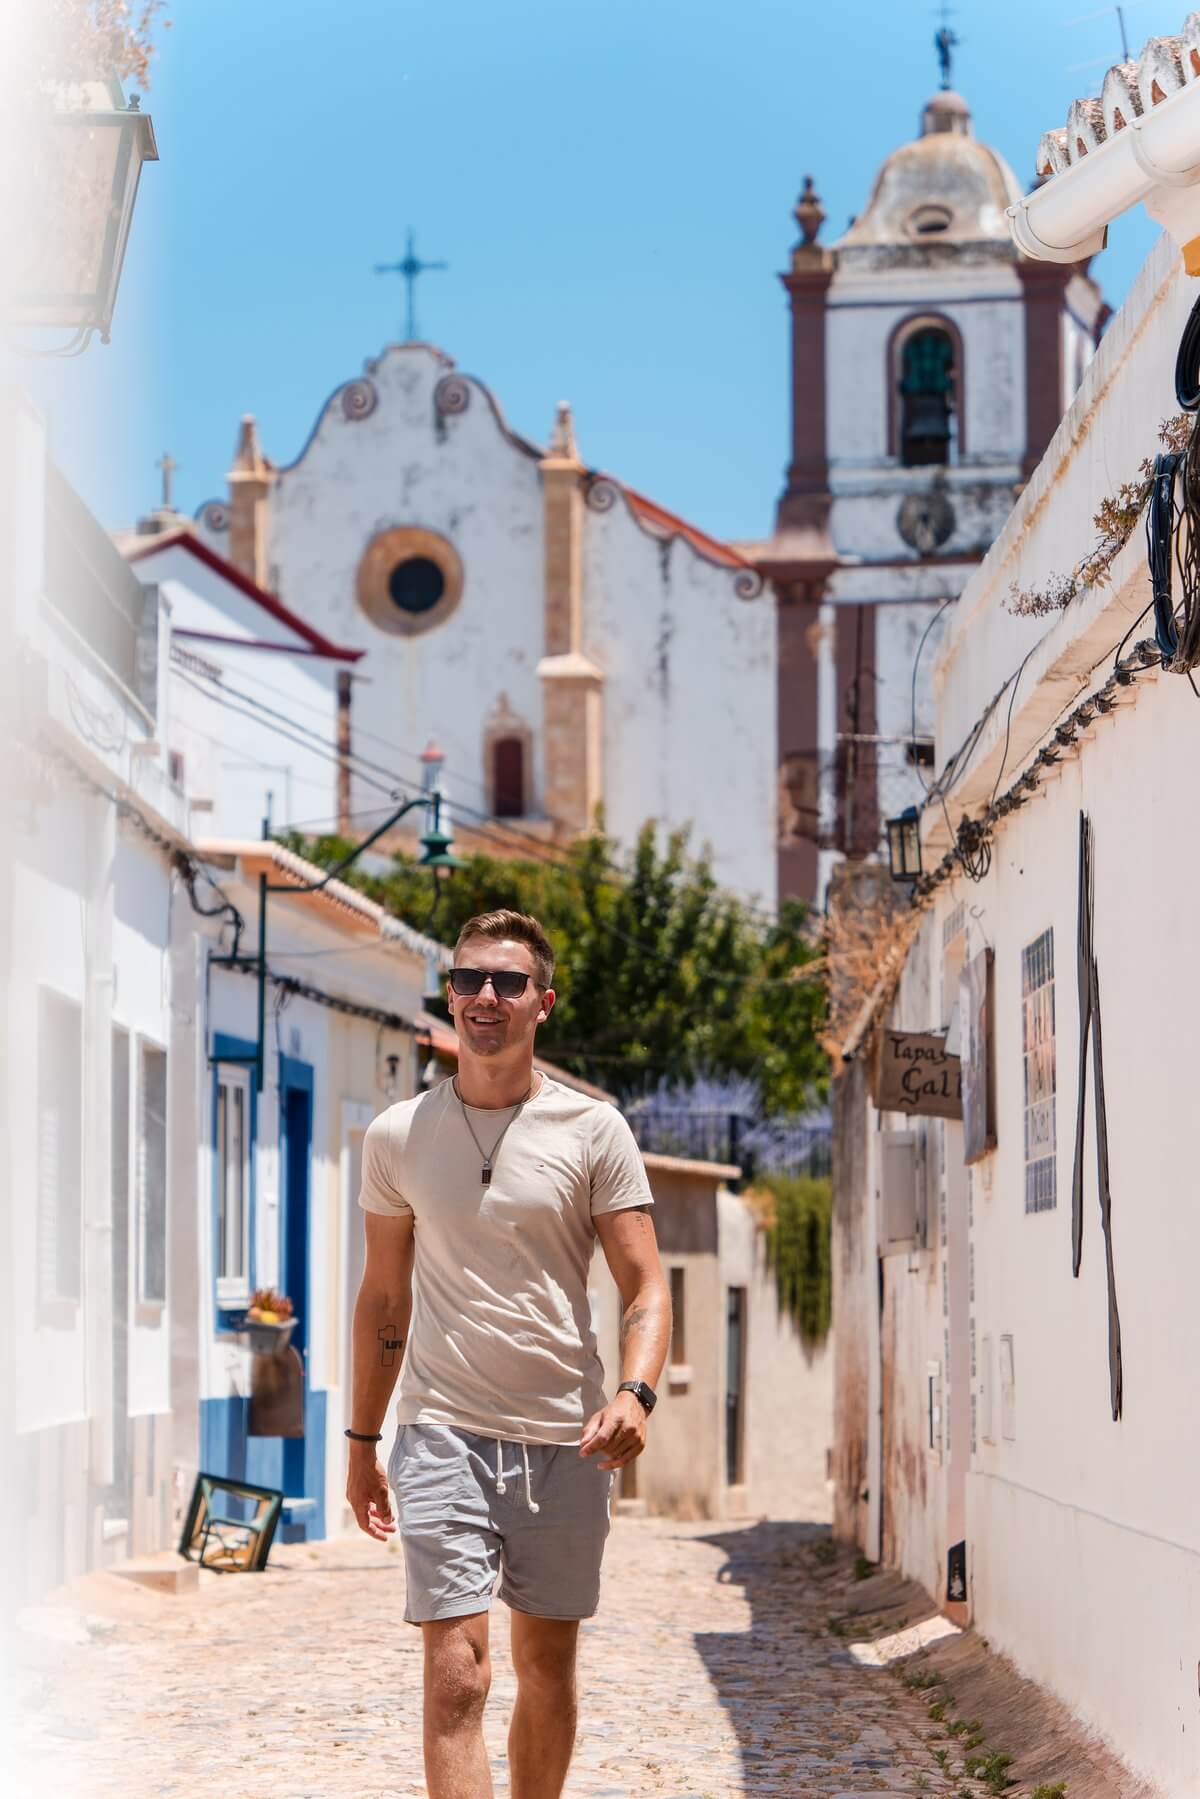
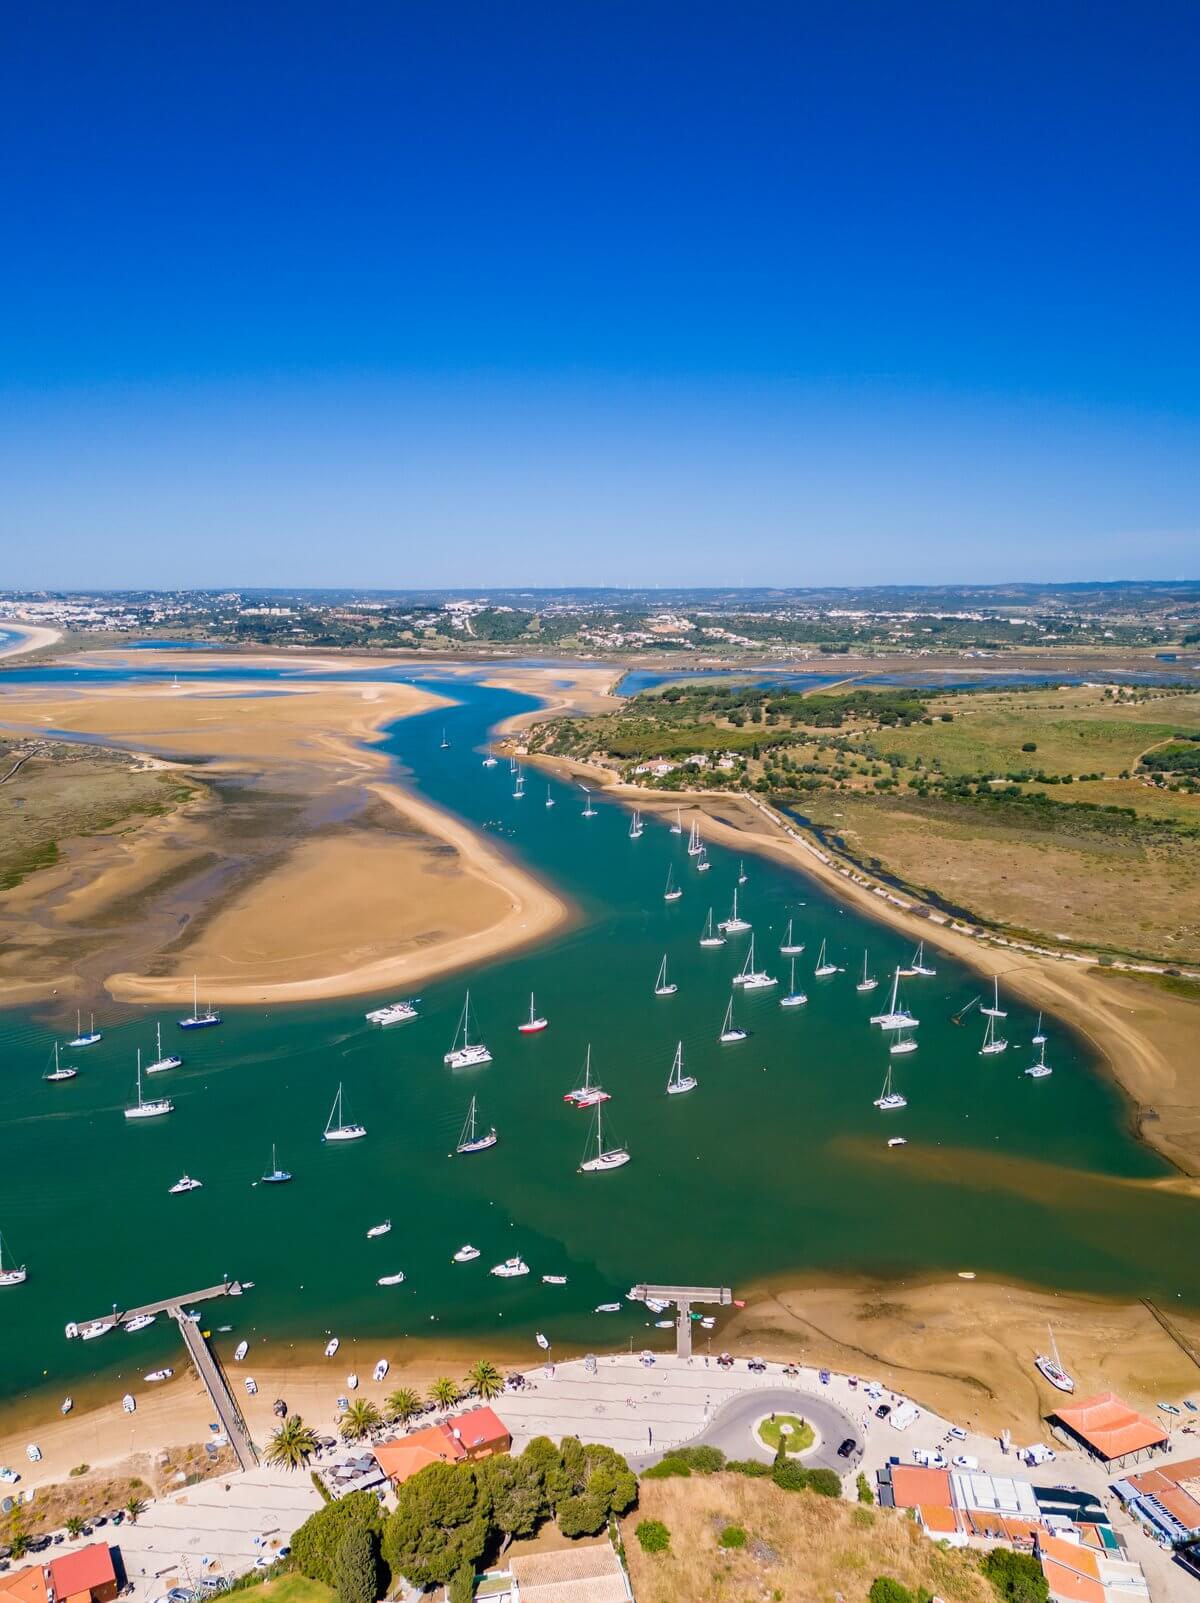
March — Portugal (Algarve and Porto)
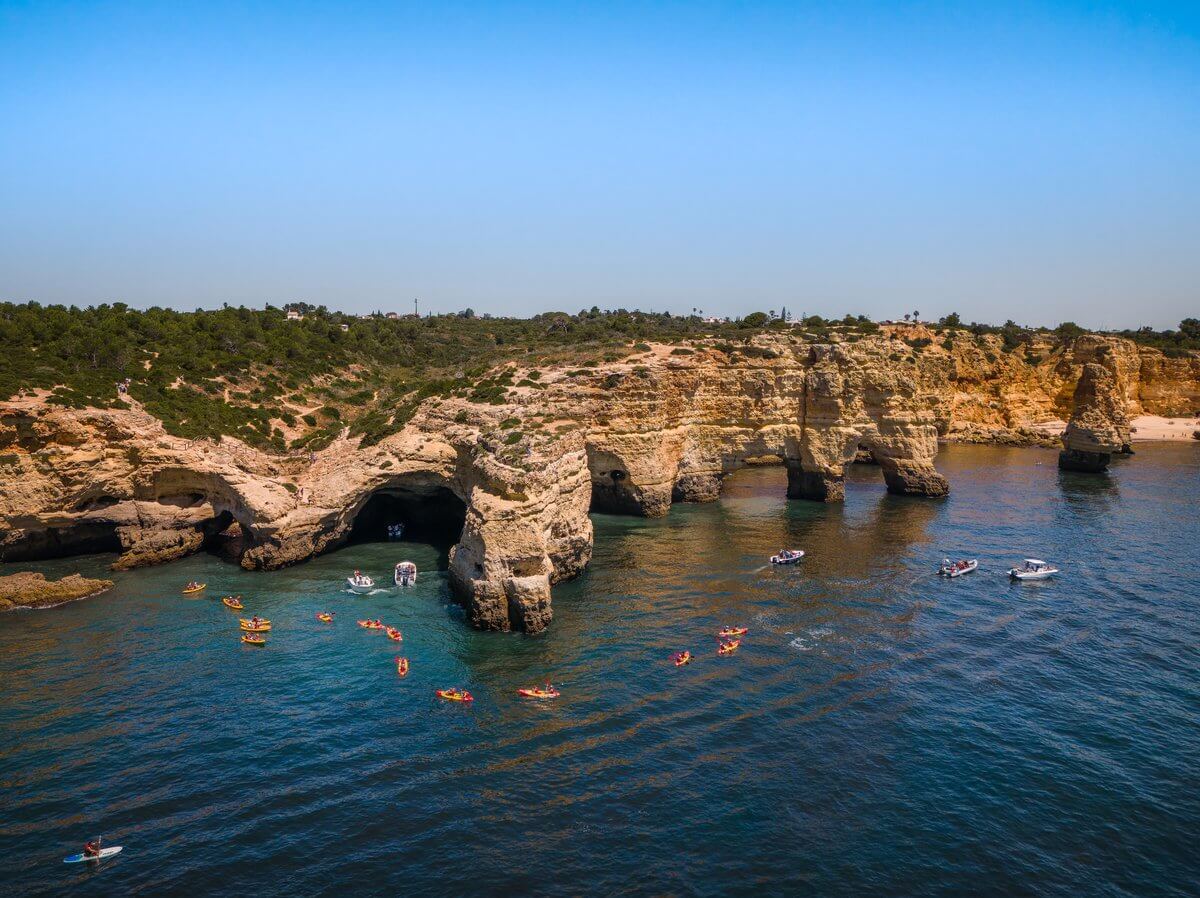
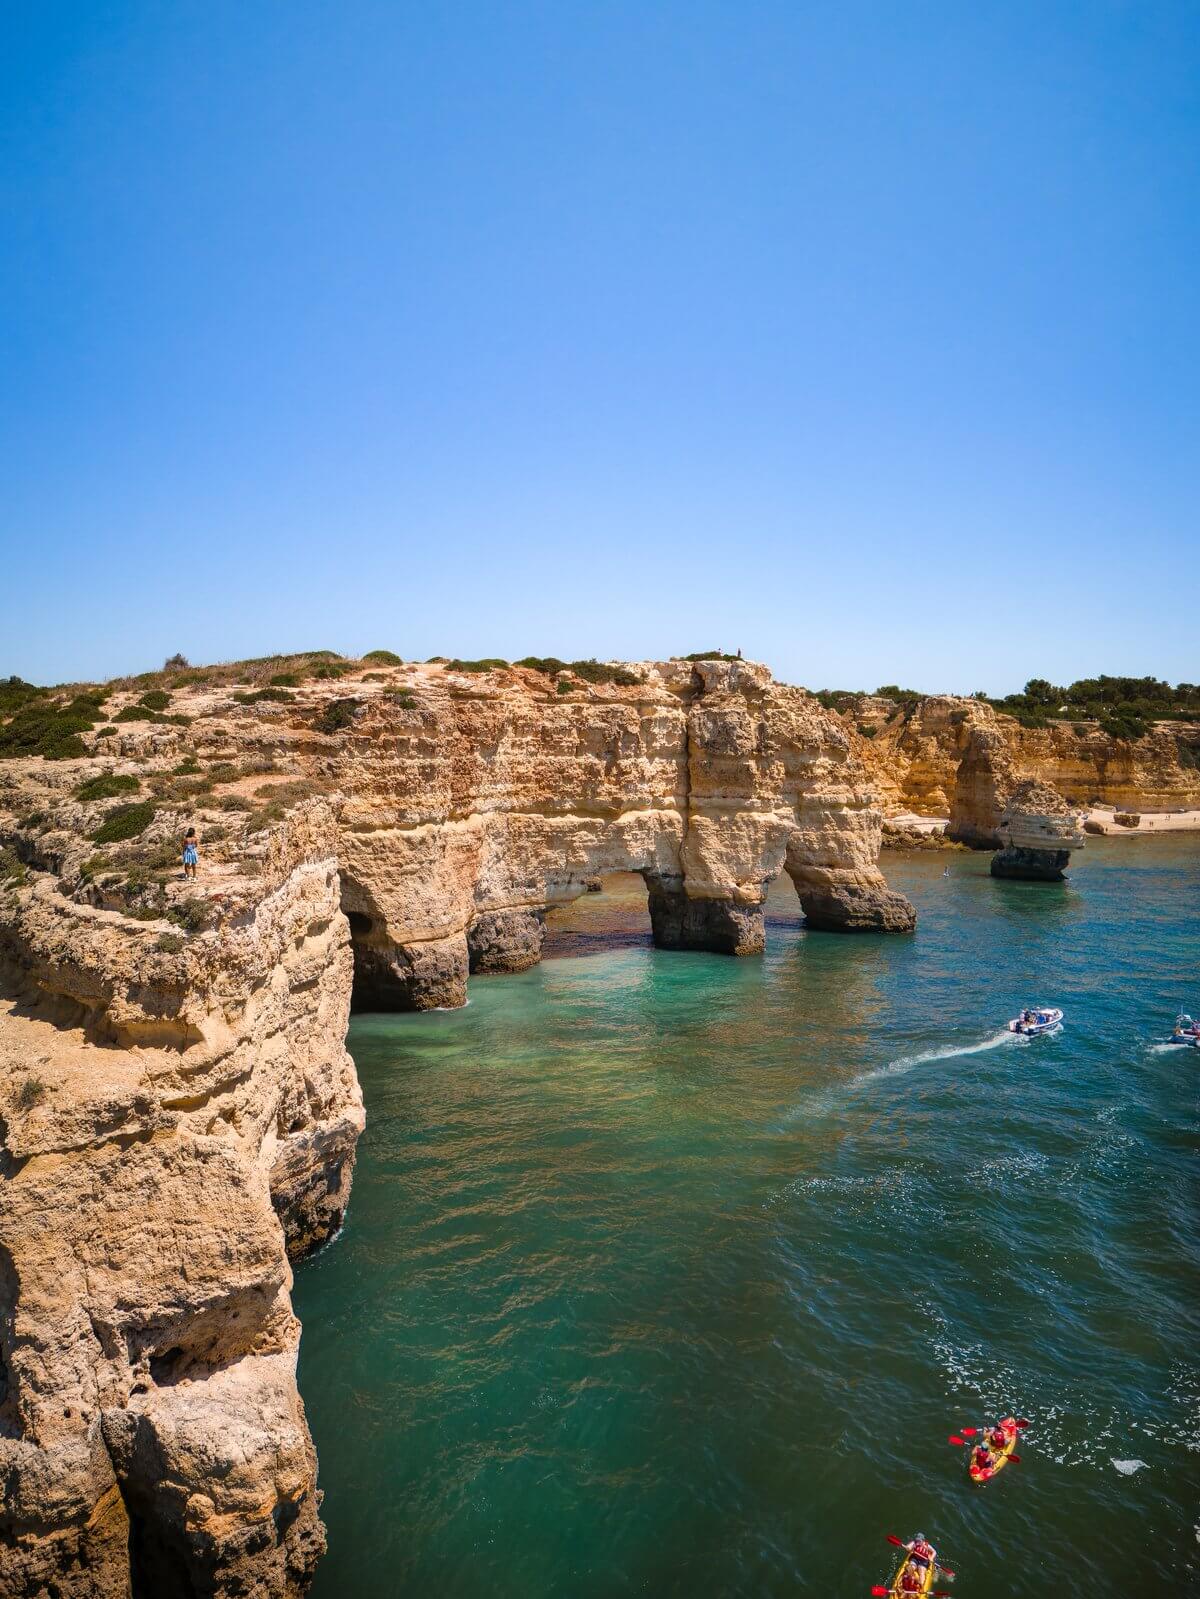
In March, I went to Portugal—first the Algarve, then up to Porto. The Algarve in March is perfect: 18-22°C, no crowds, the rock formations at Praia da Marinha and the Benagil Cave bathed in golden light. I flew my drone along the coastline and took photos that made it into my top 10 of the year.
Porto was completely different — urban, creative, raw. The Ribeira at sunset, the azulejo facades, the bridges over the Douro. I spent four days there and could have stayed for four weeks.
Costs in March: ~€3,200 (flight €180, rental car for 3 weeks €890, accommodation €1,100, food €630, activities €400)
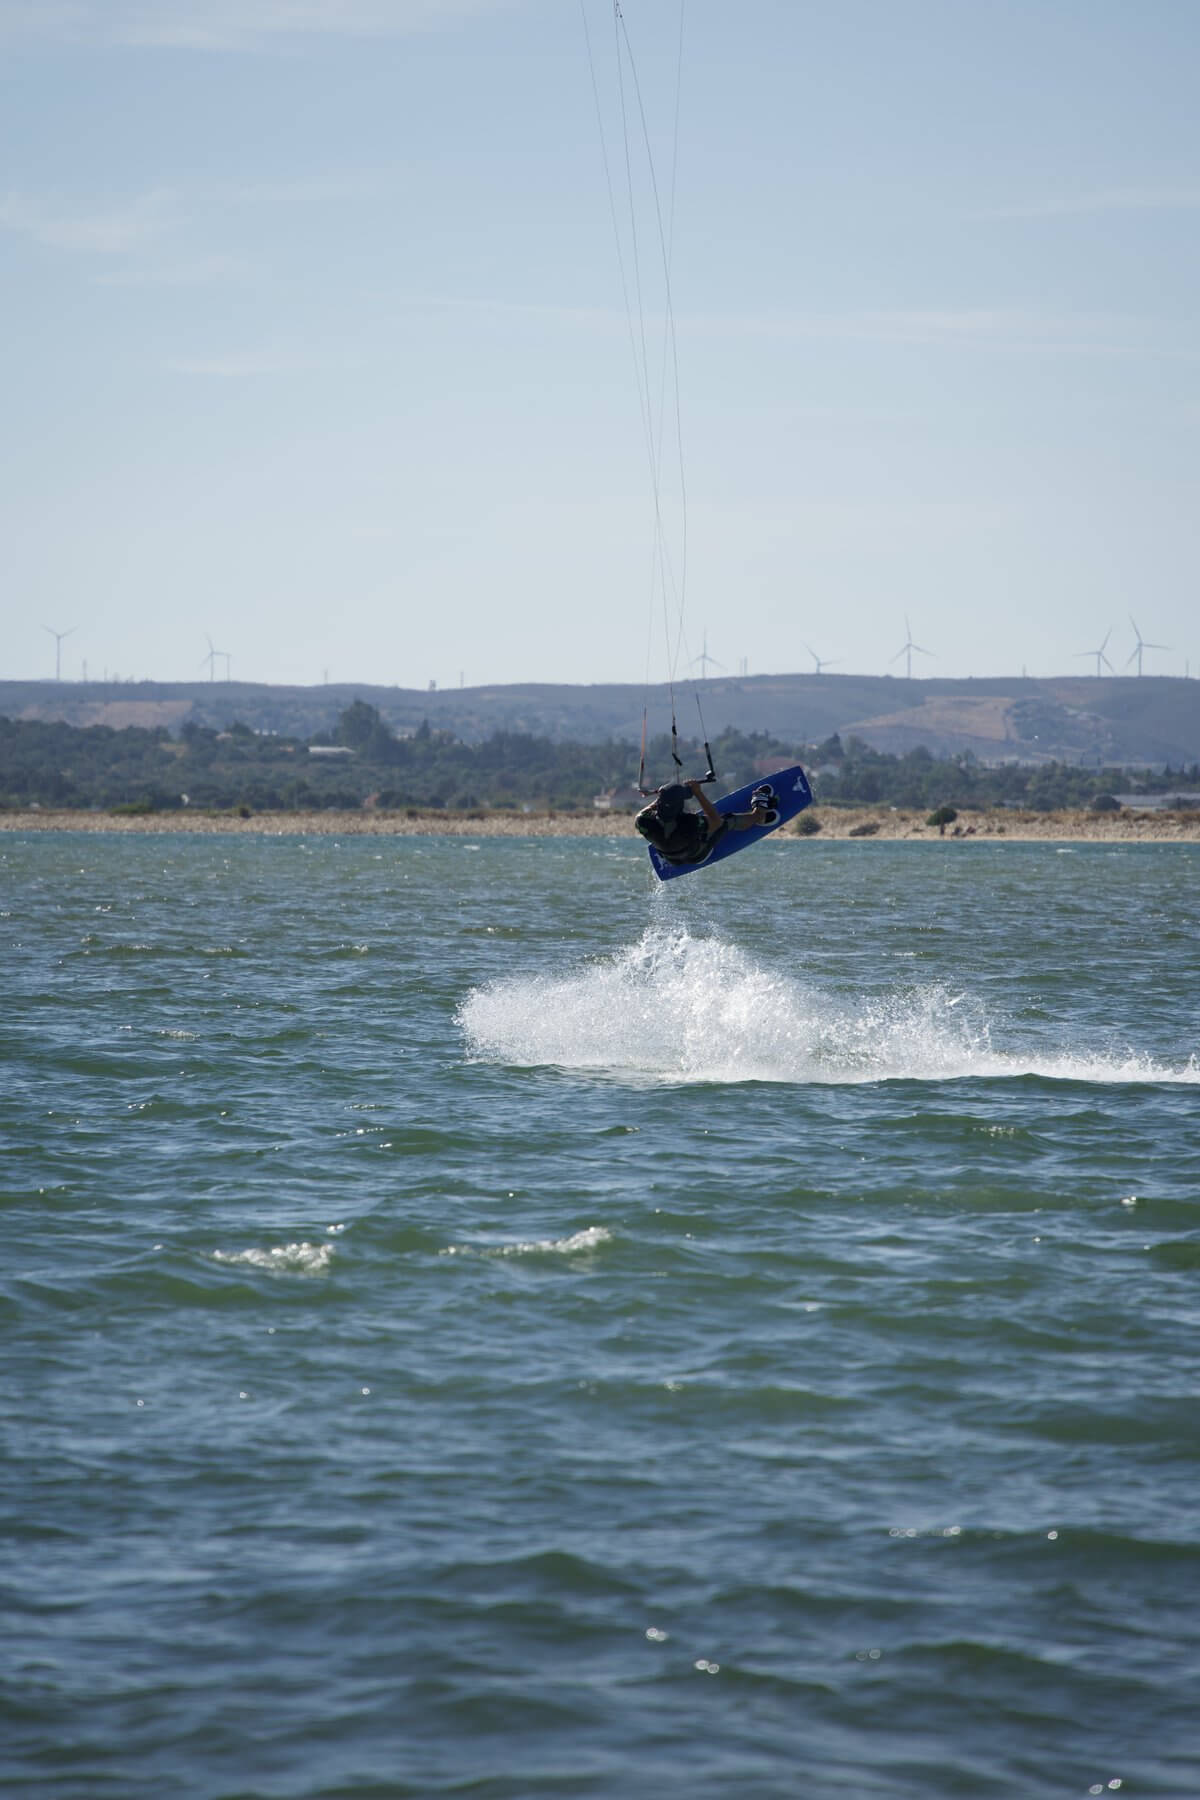
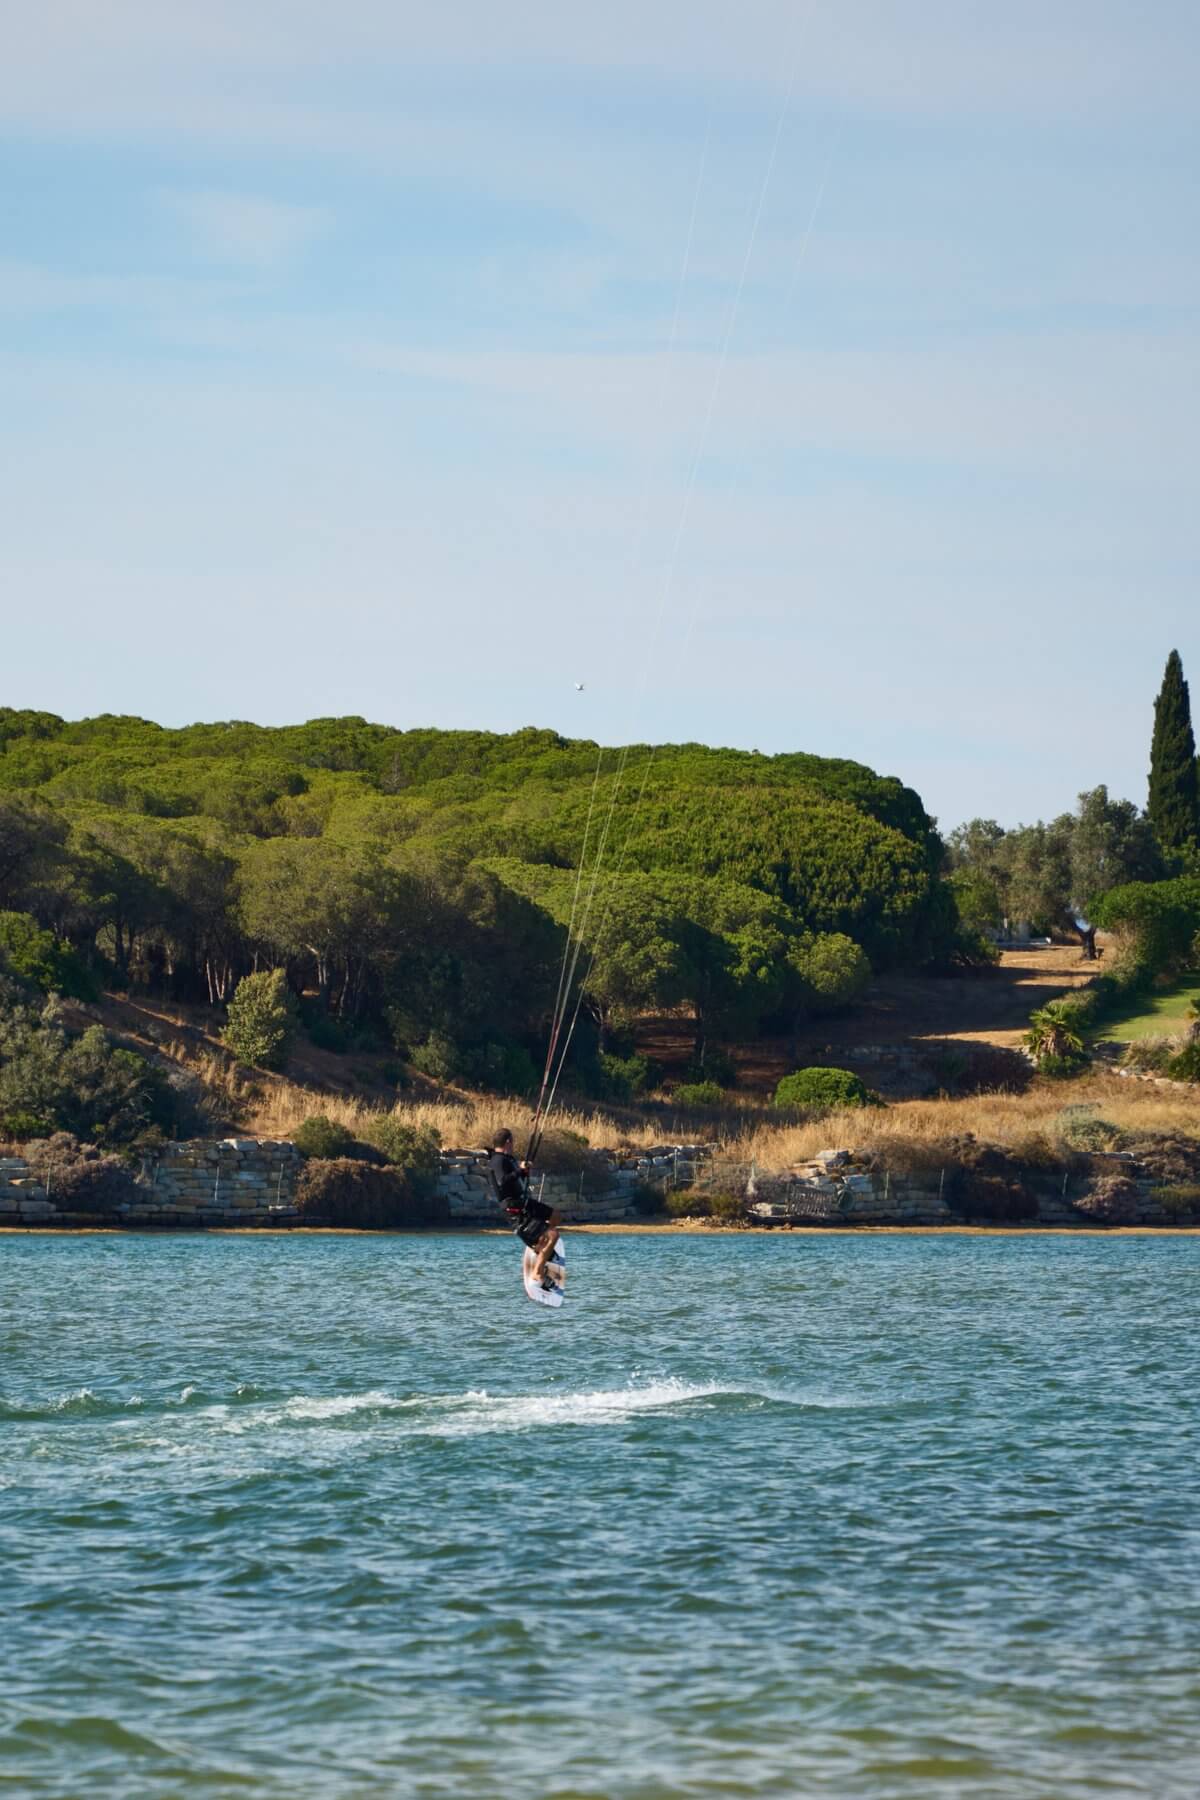
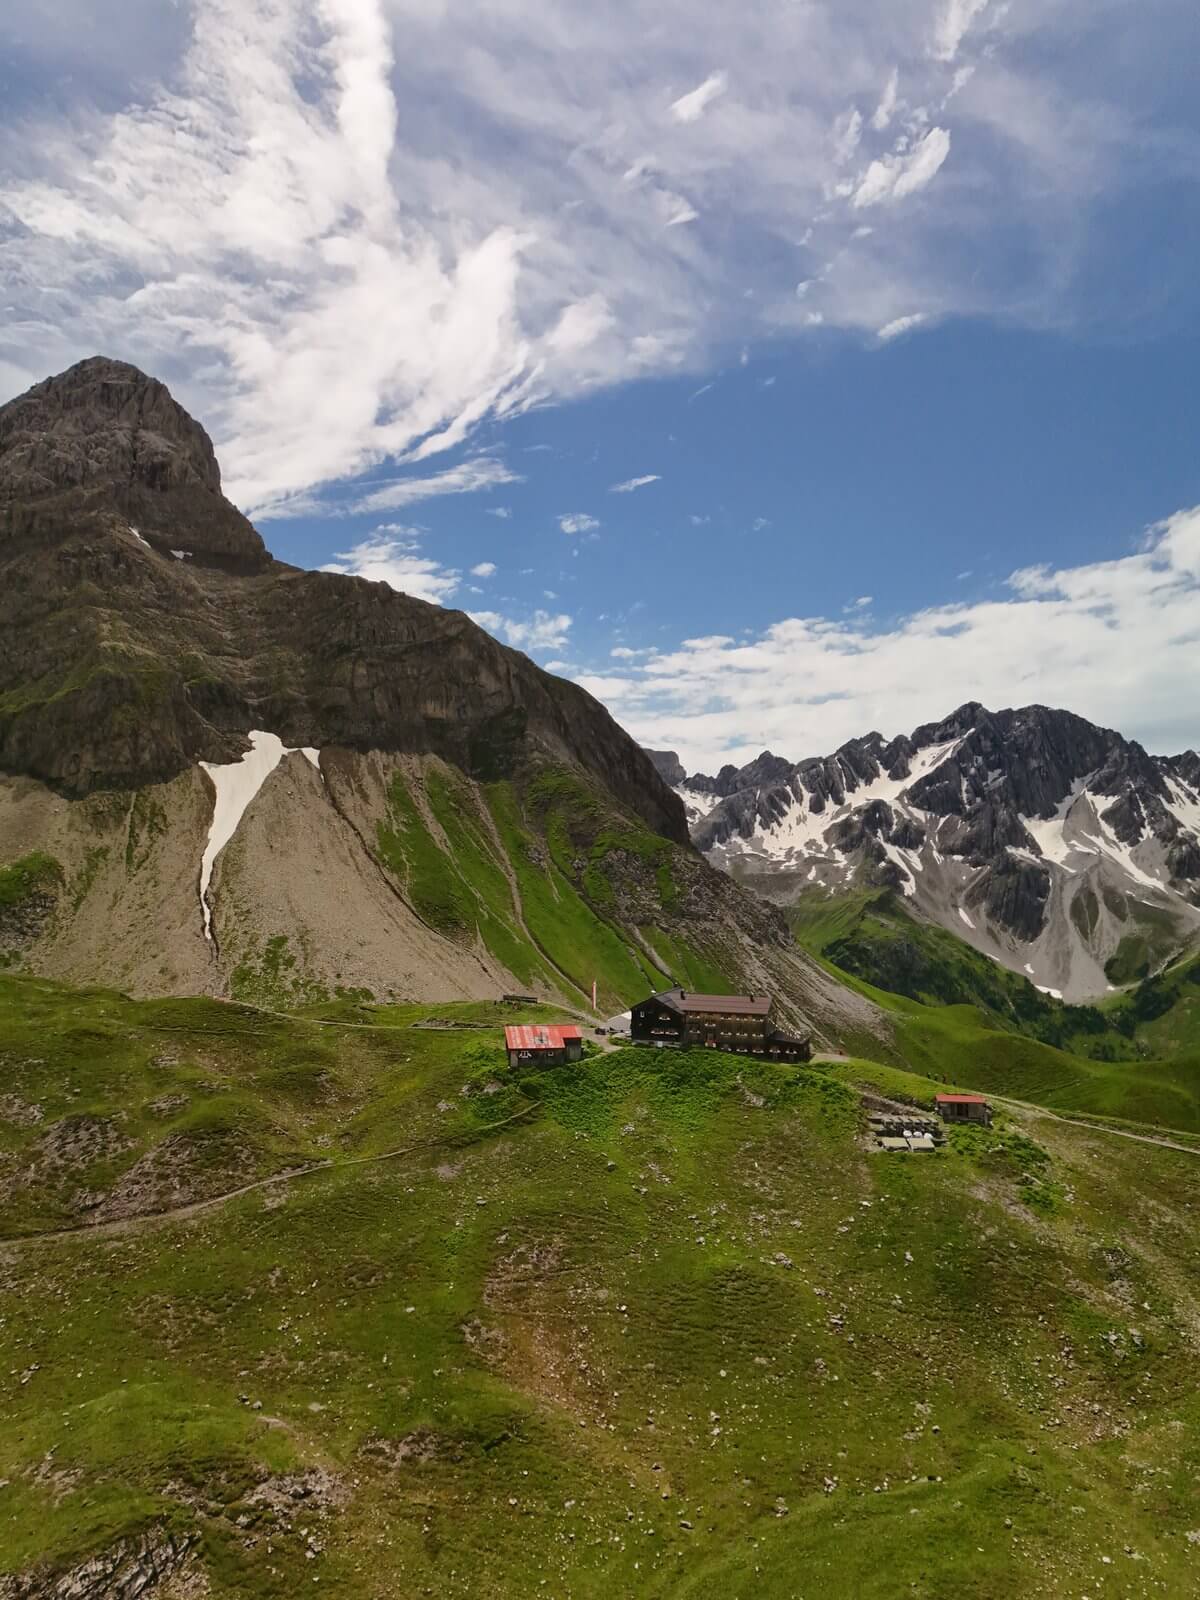
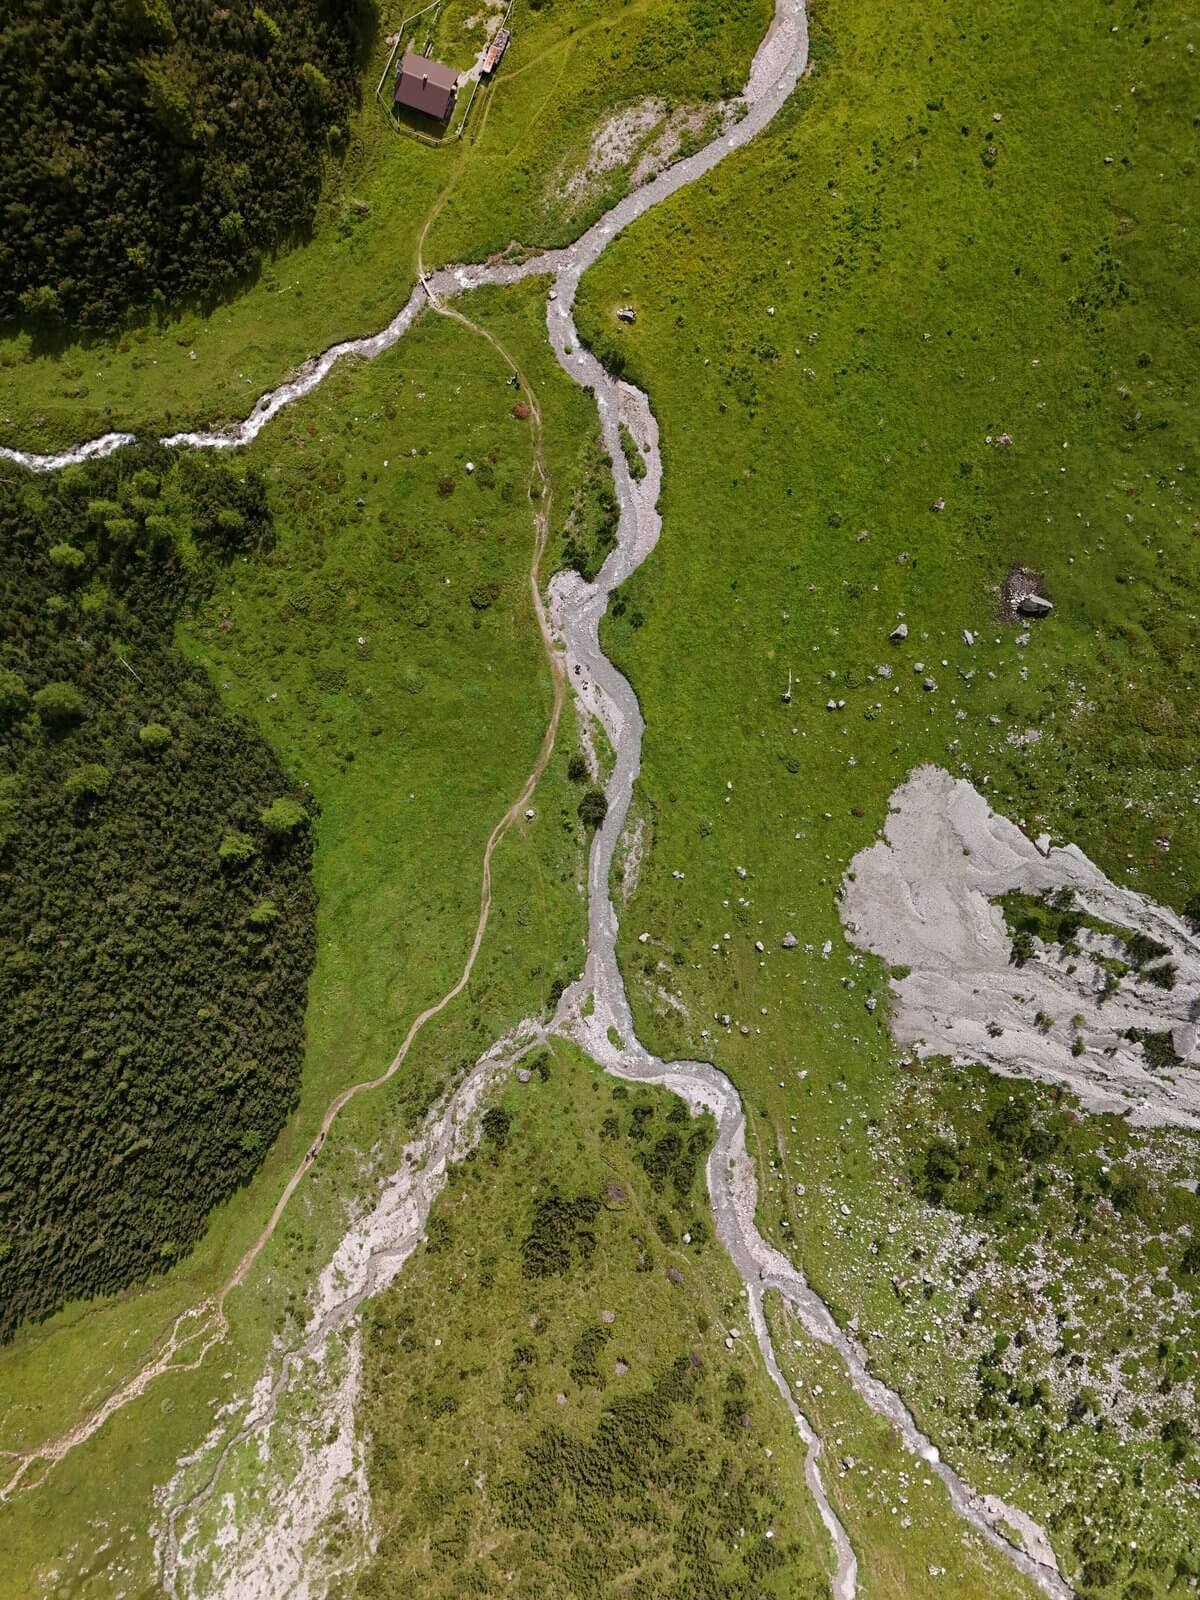
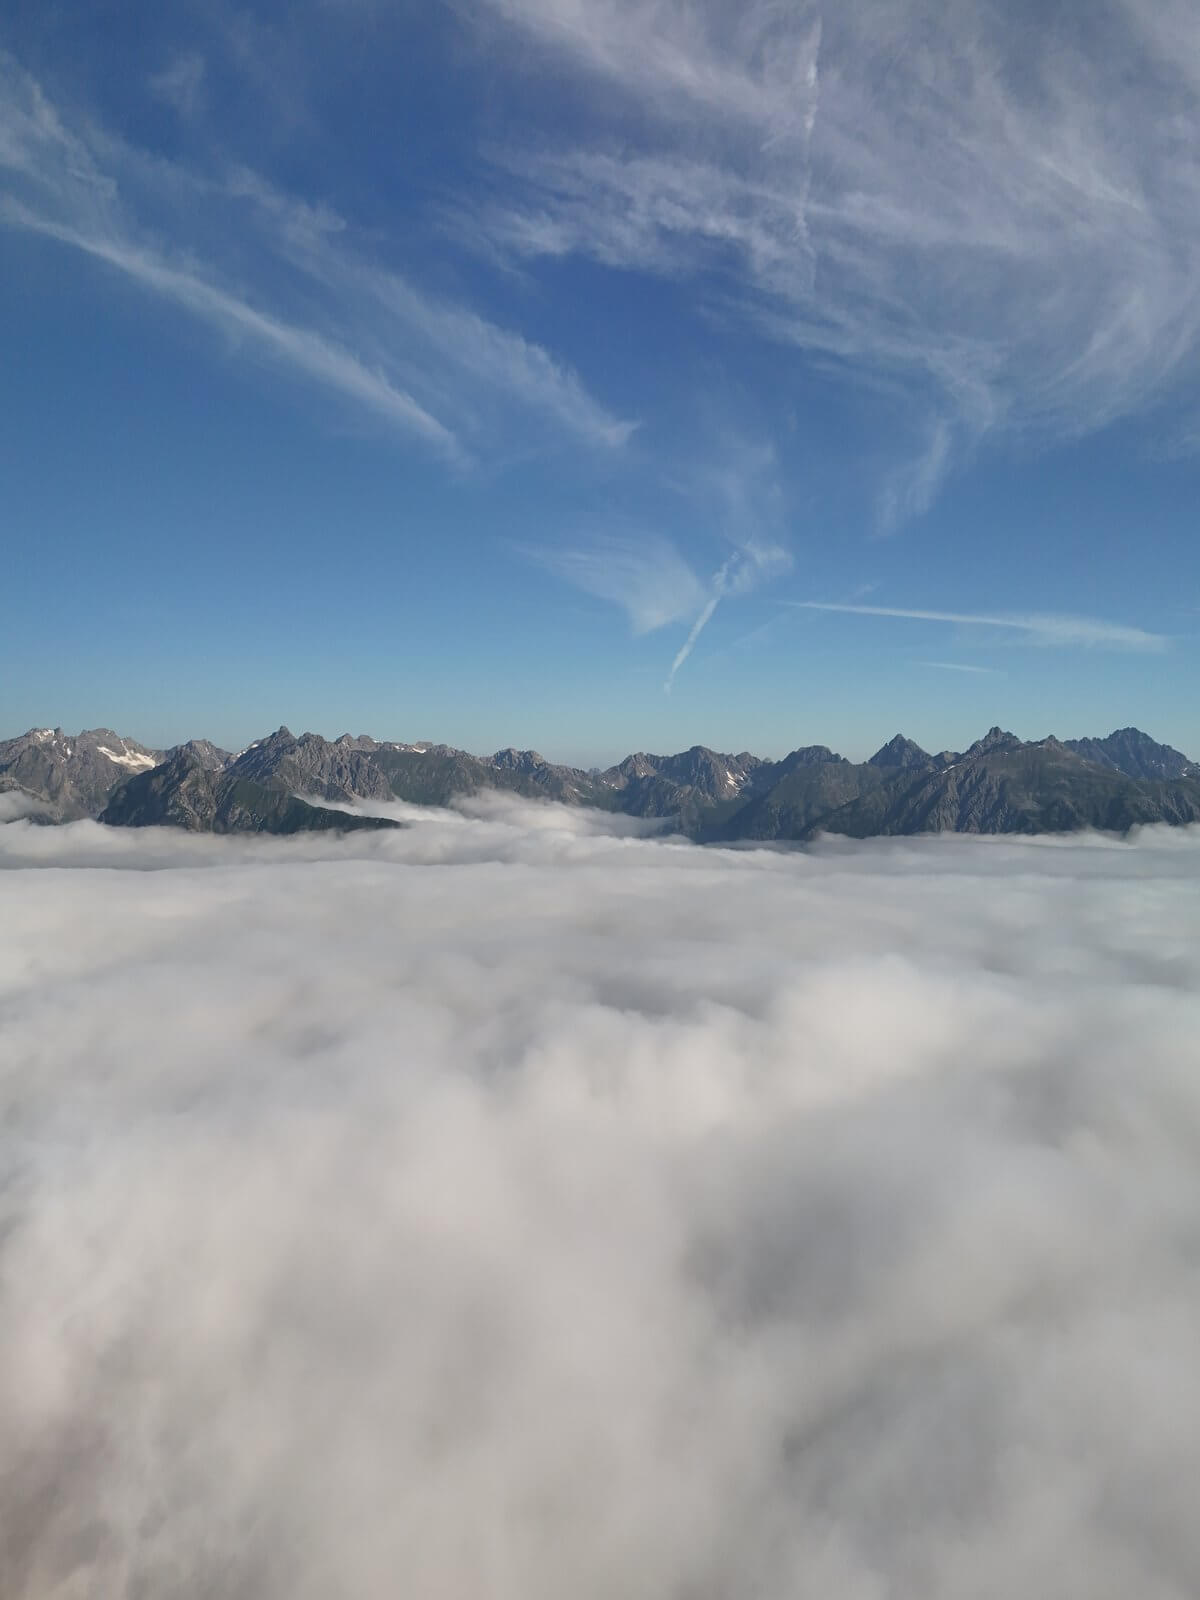
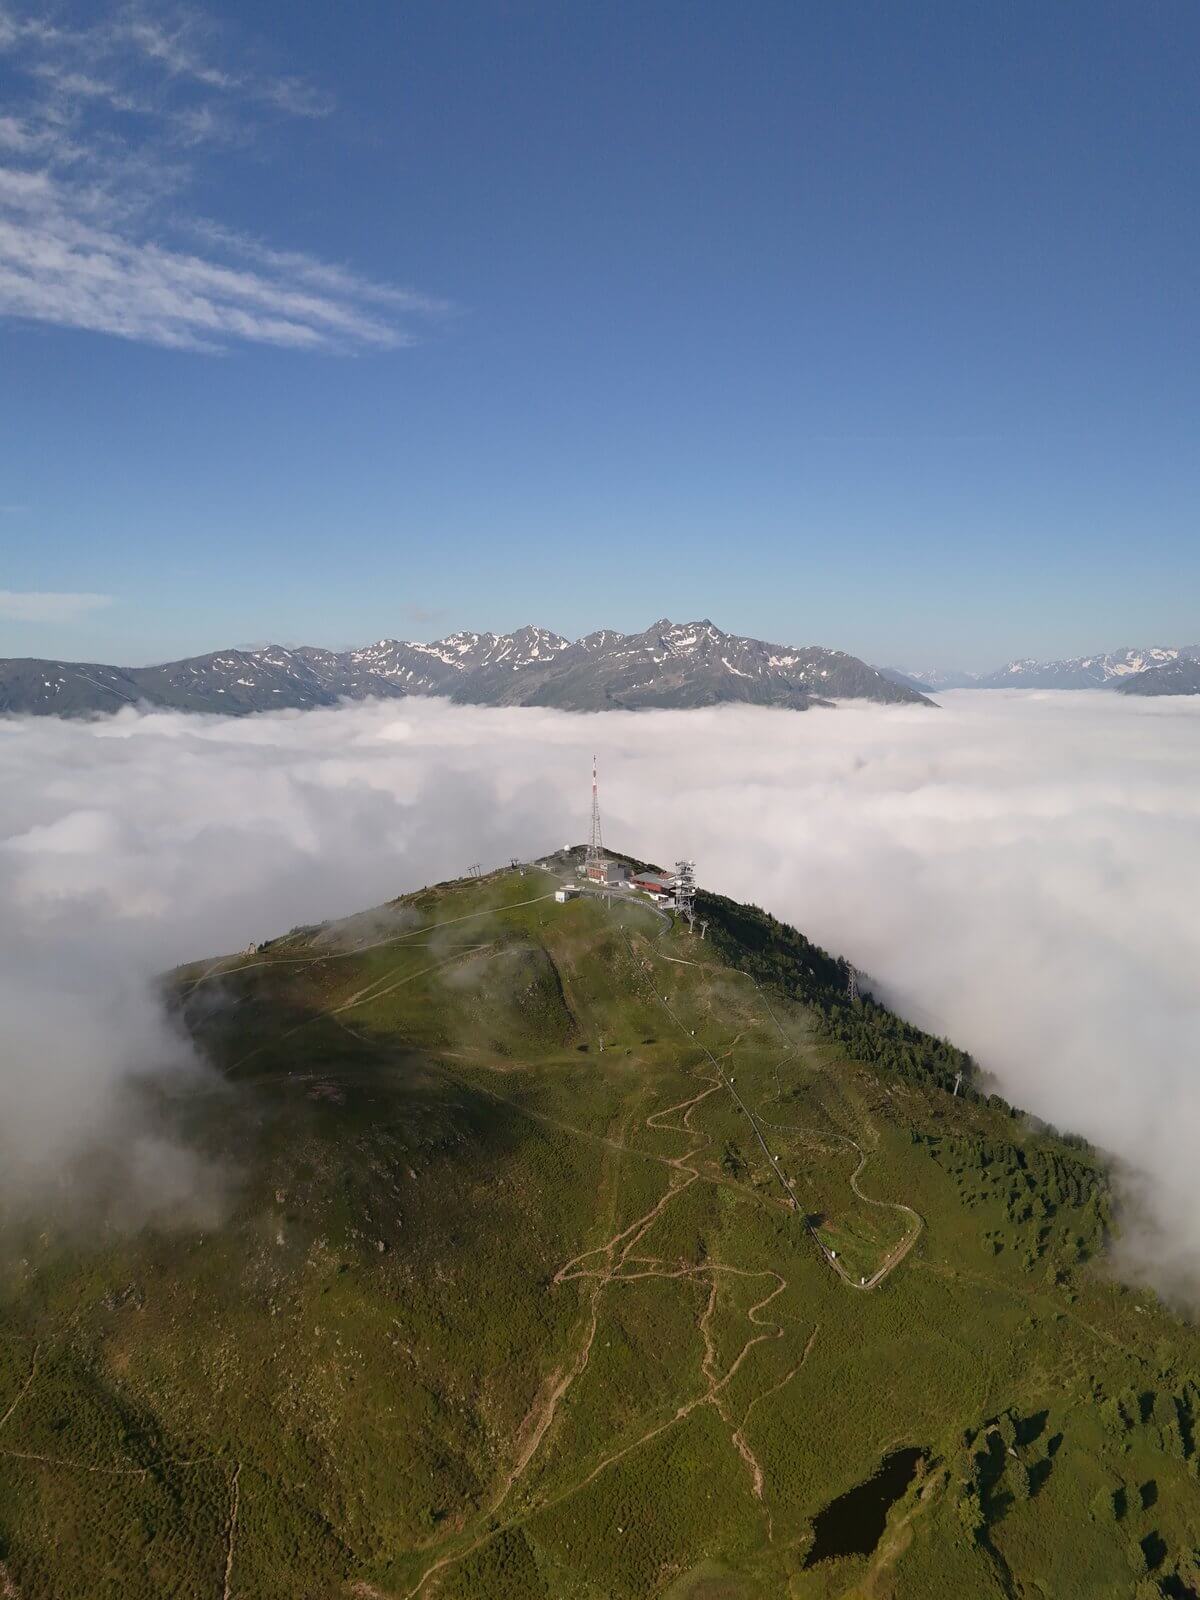
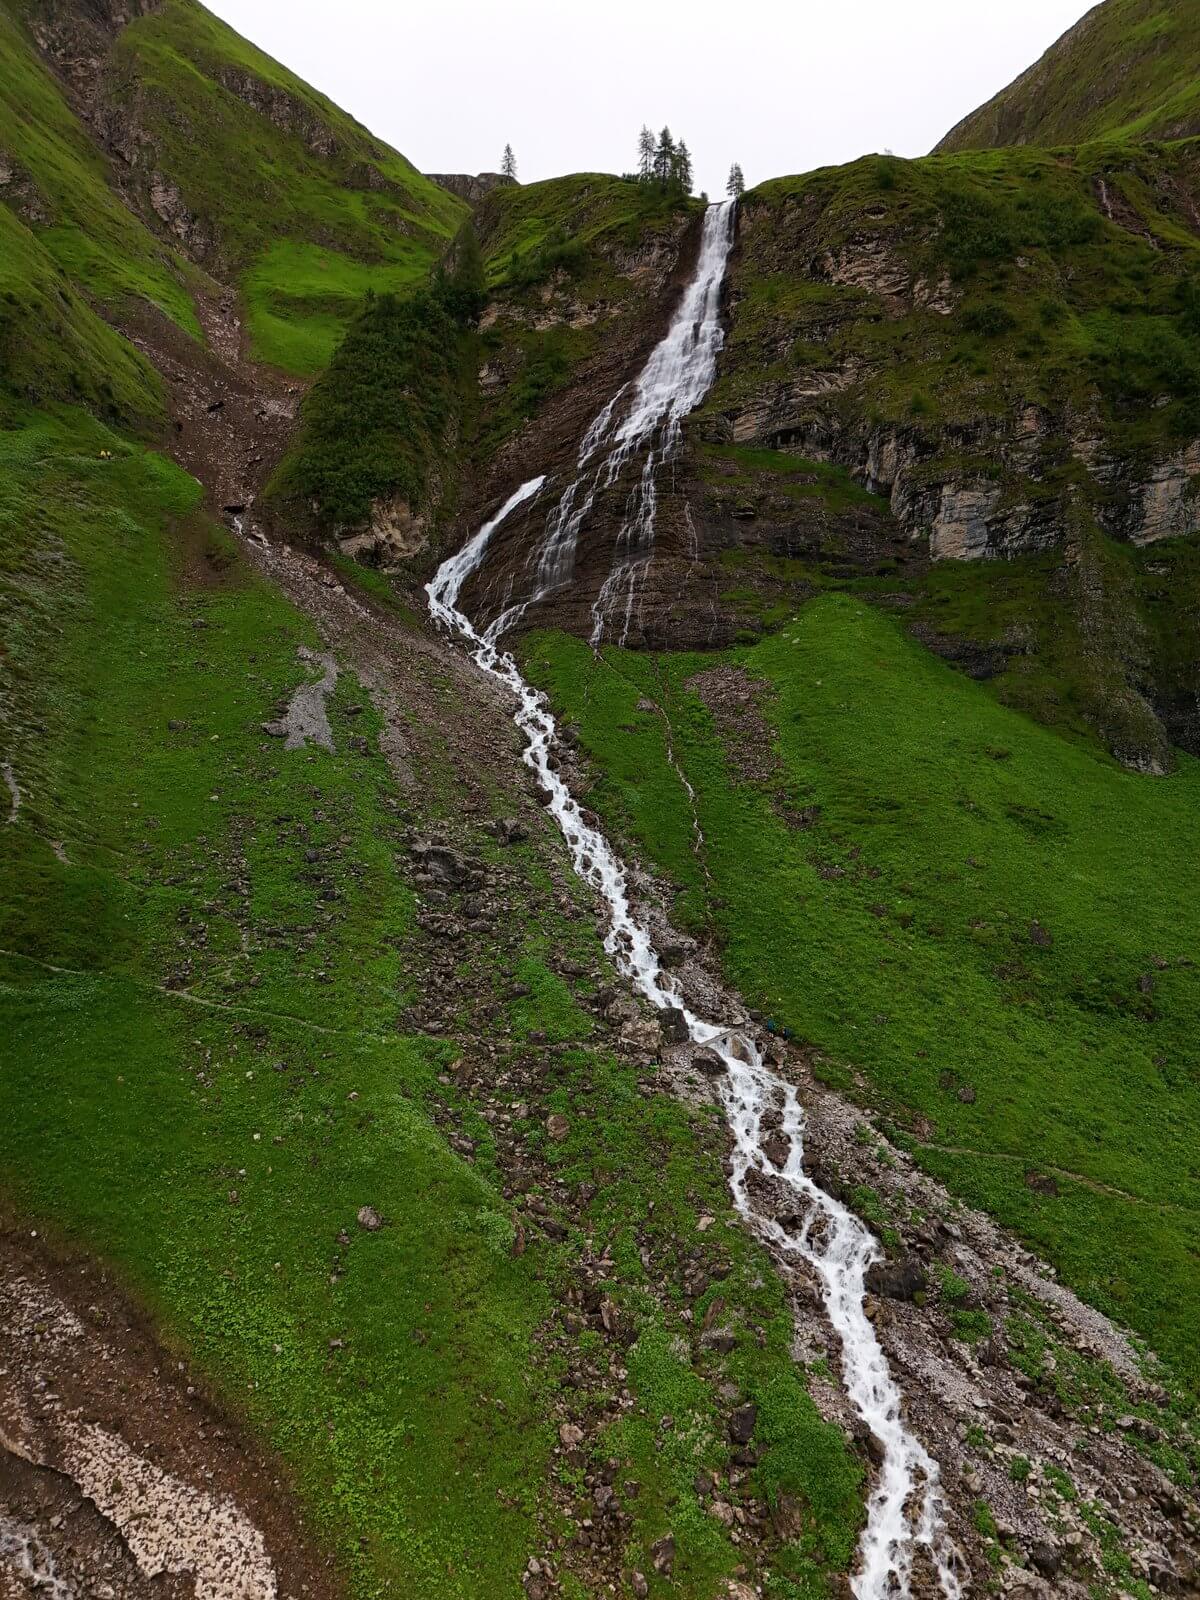
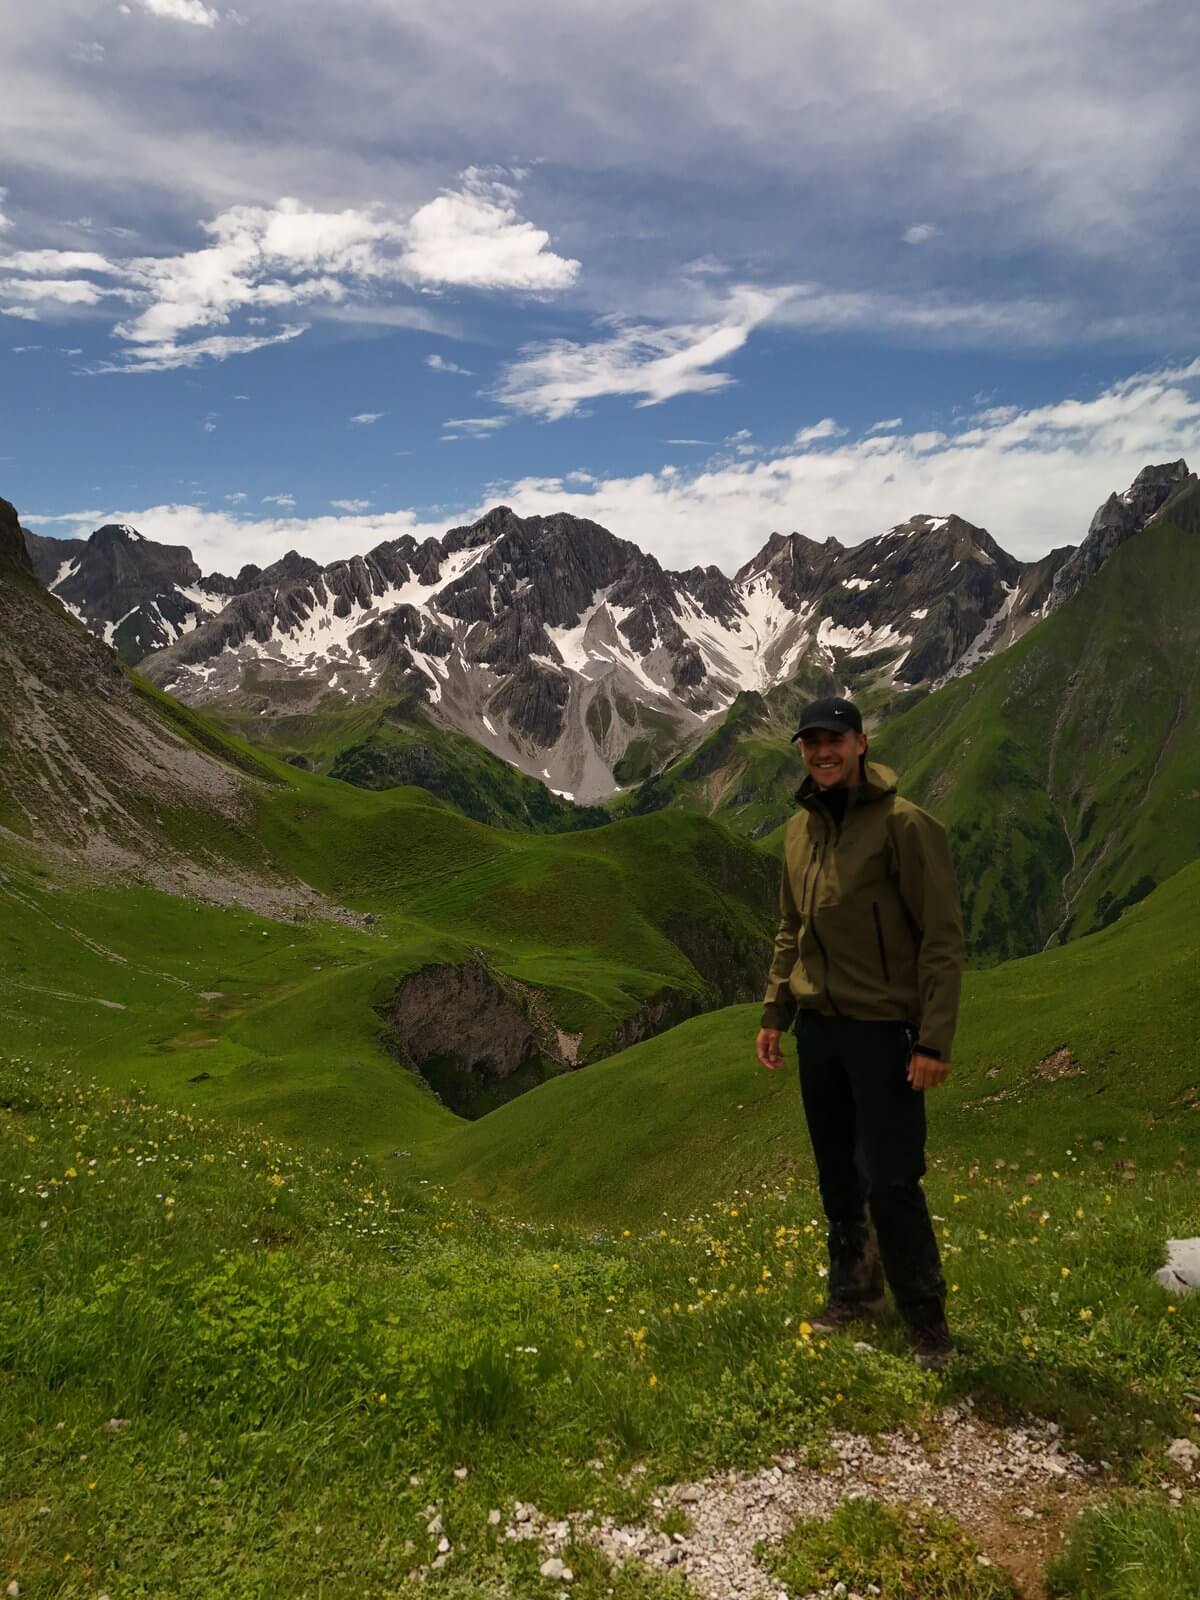
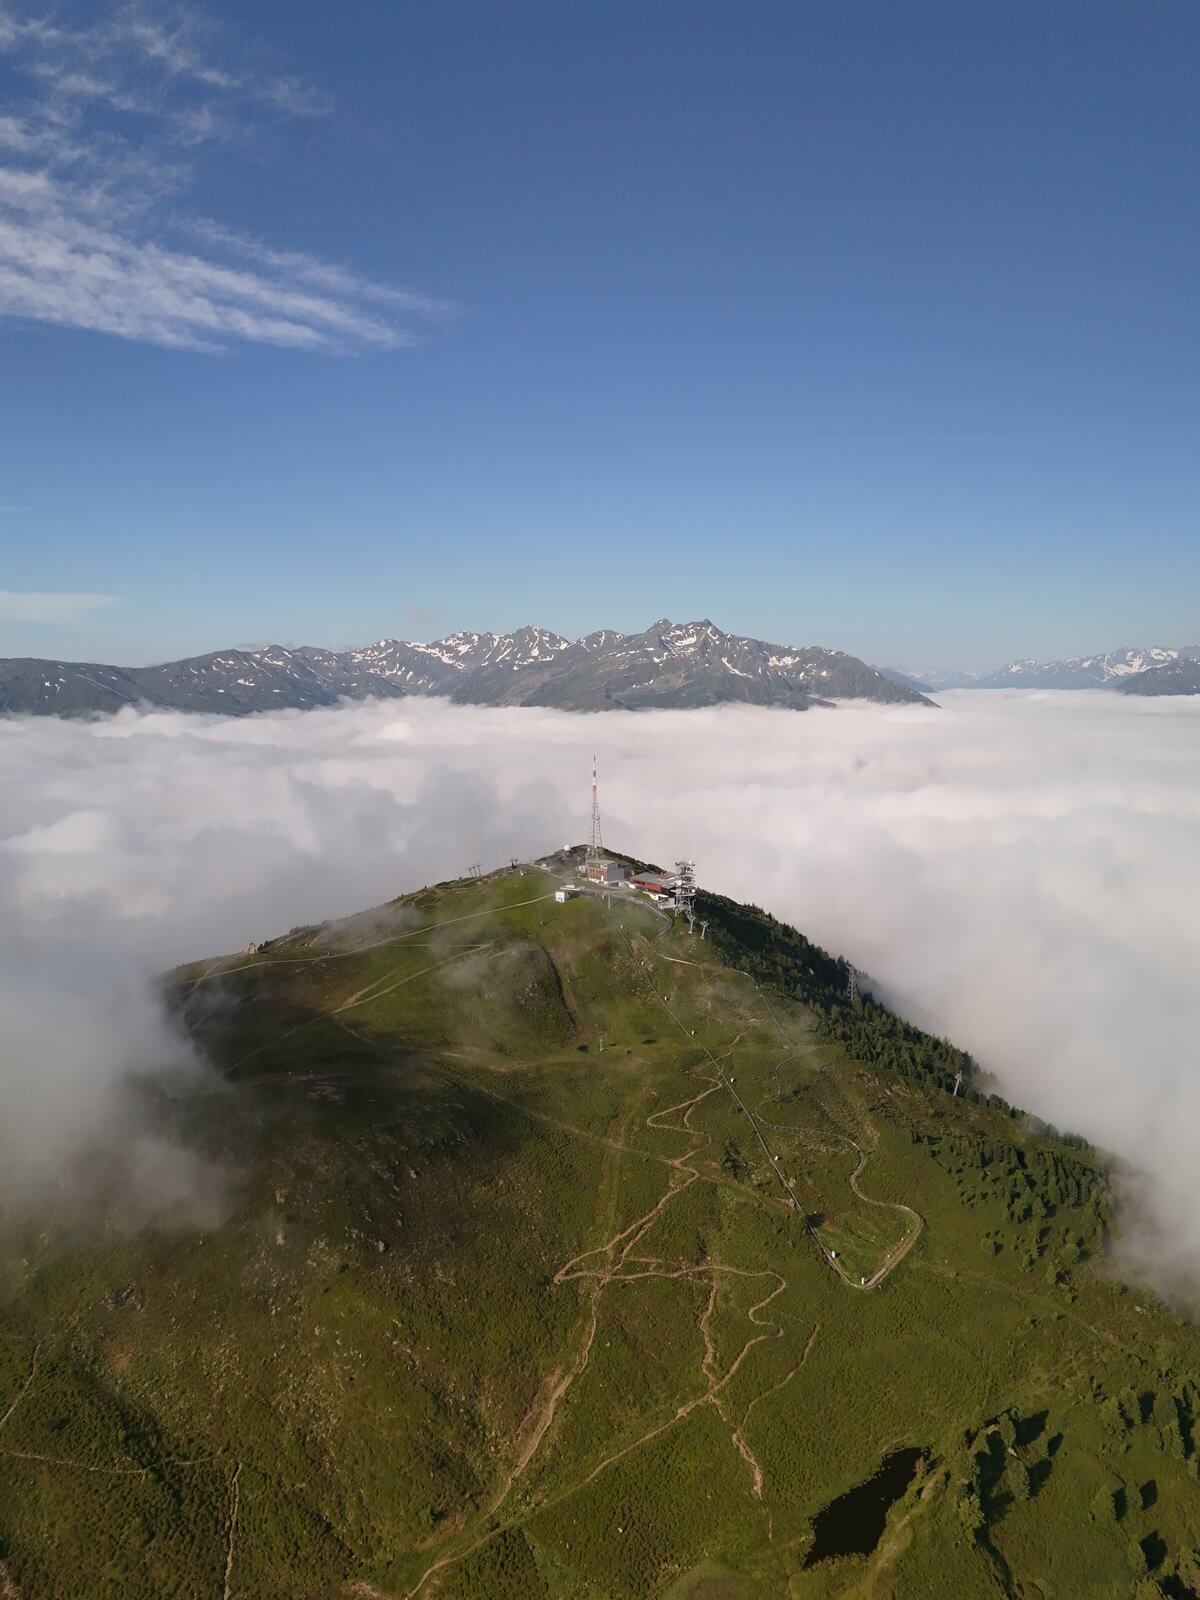
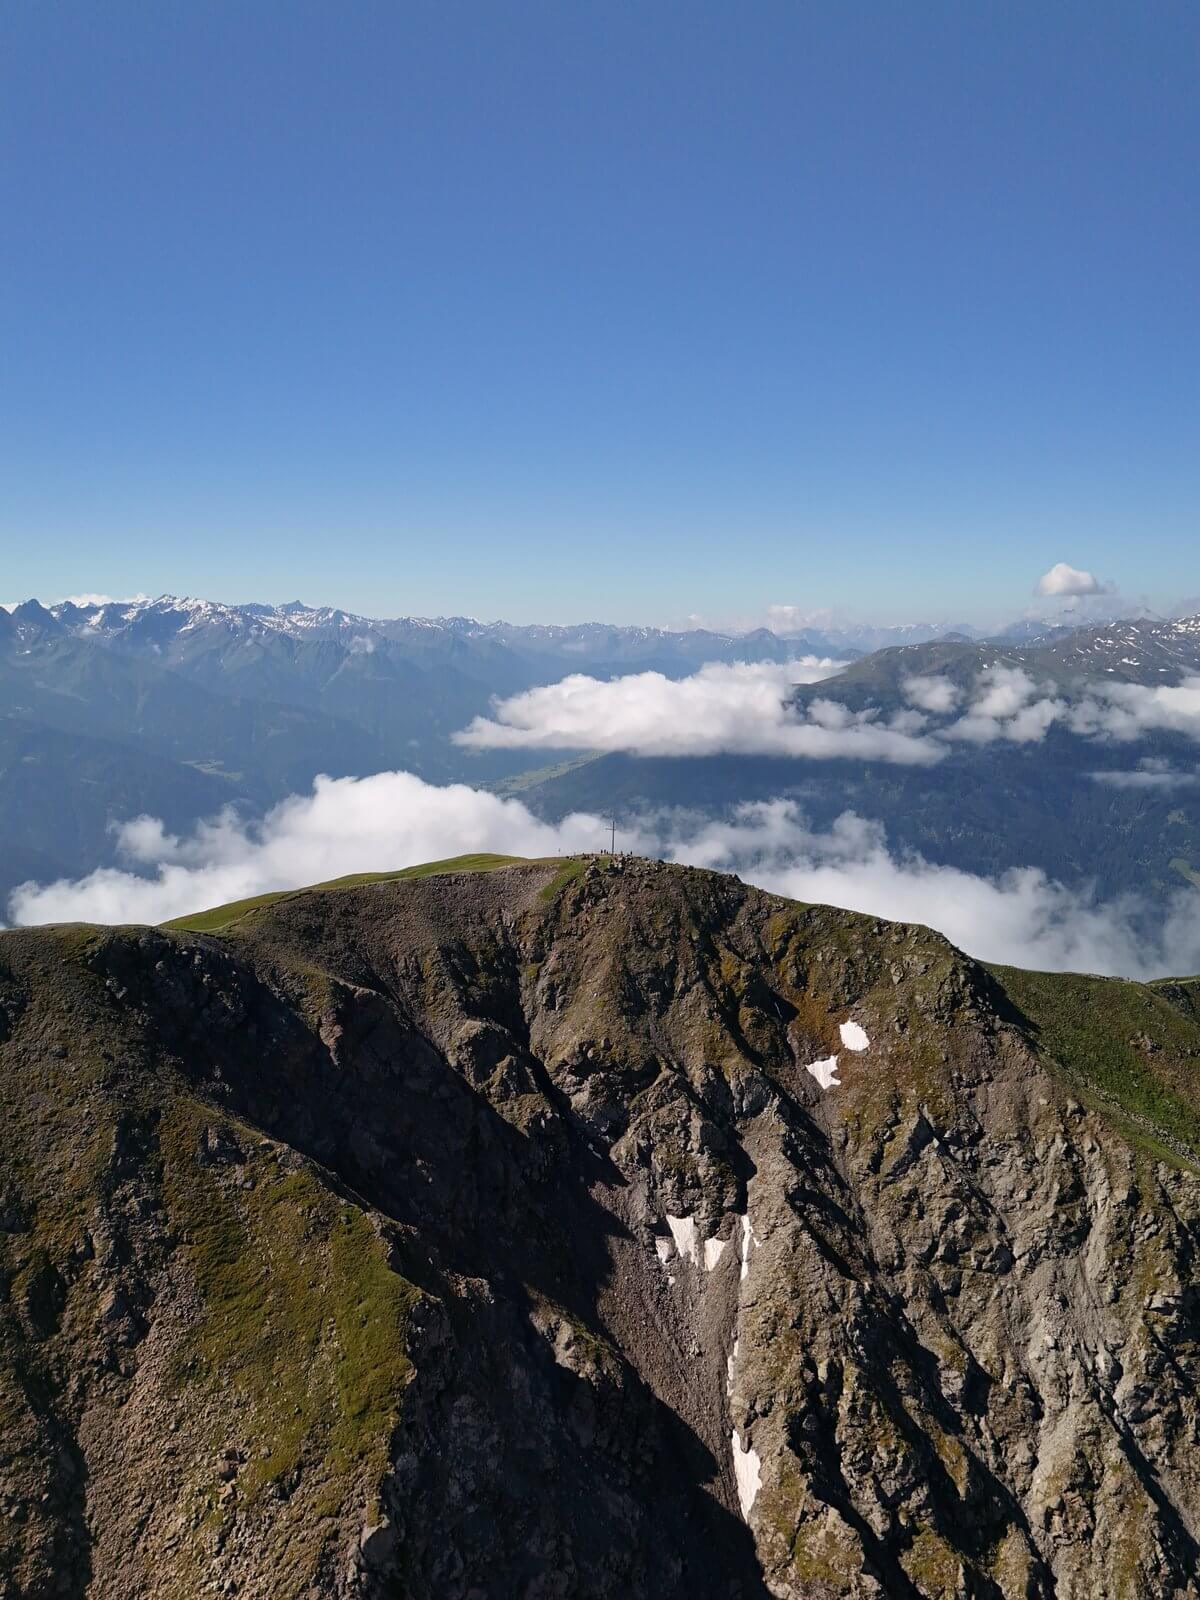
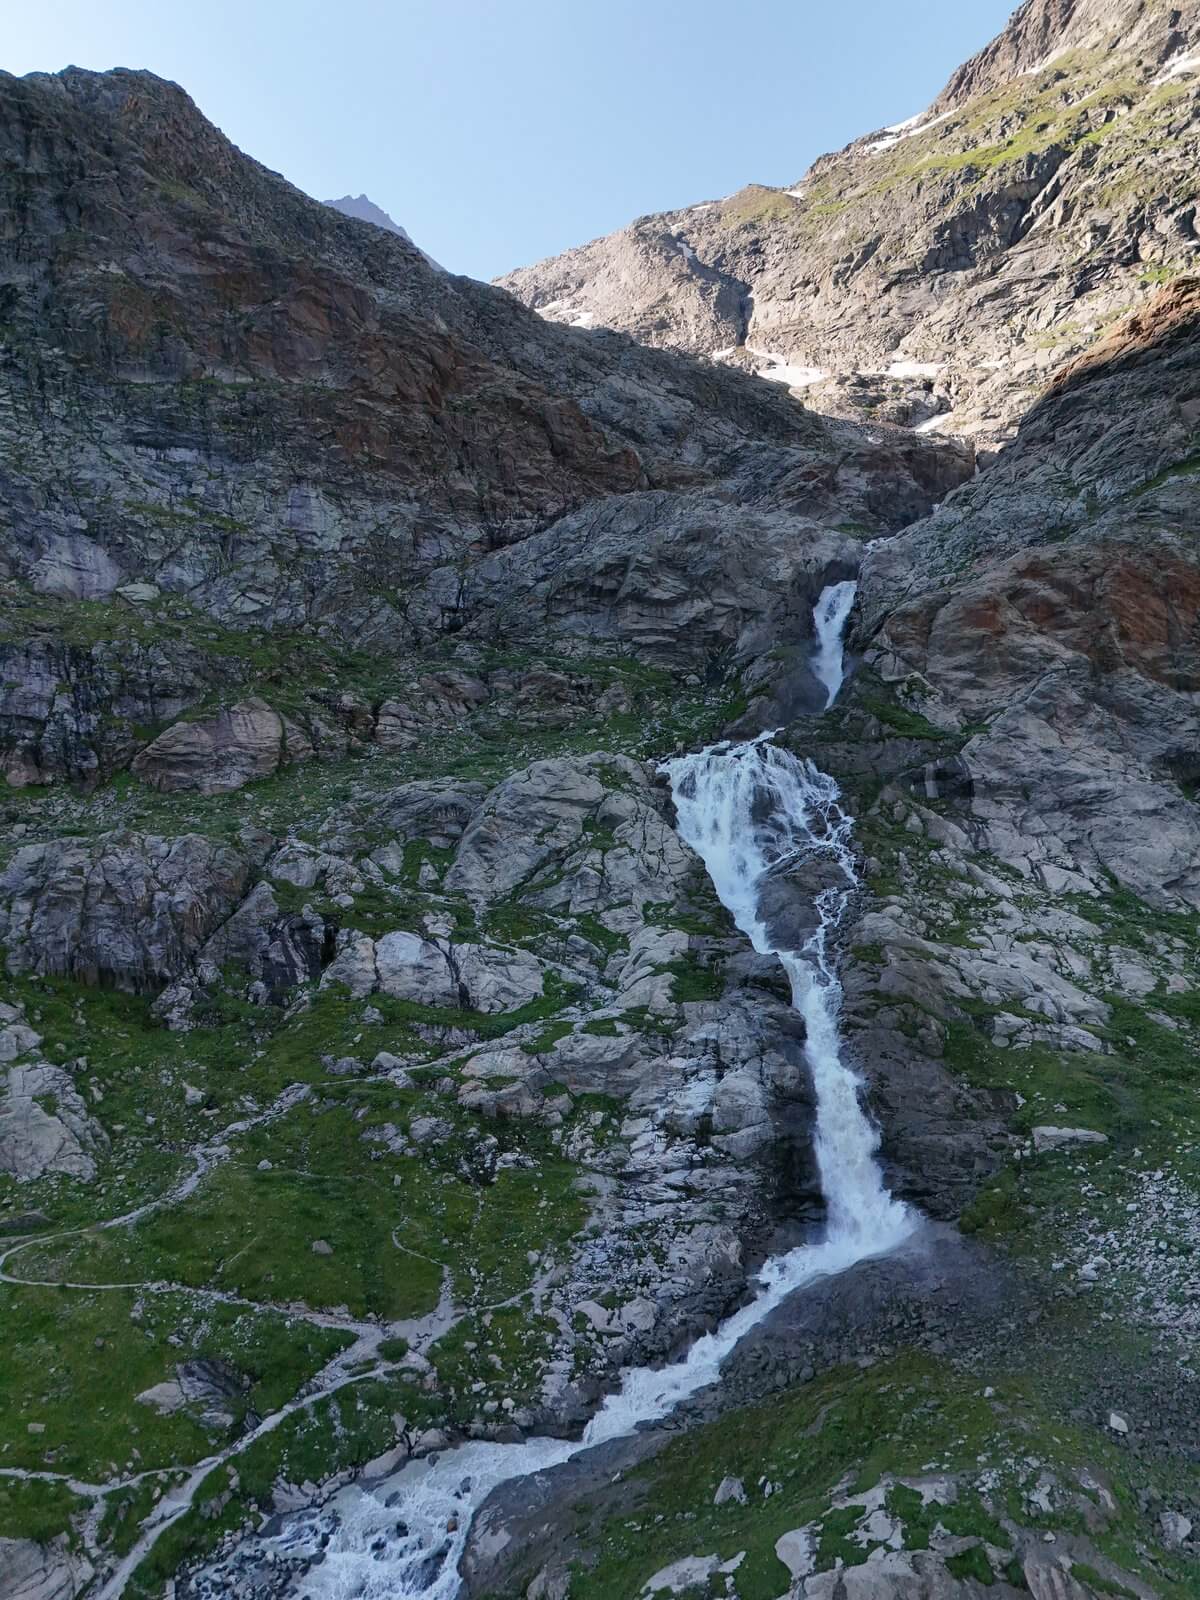
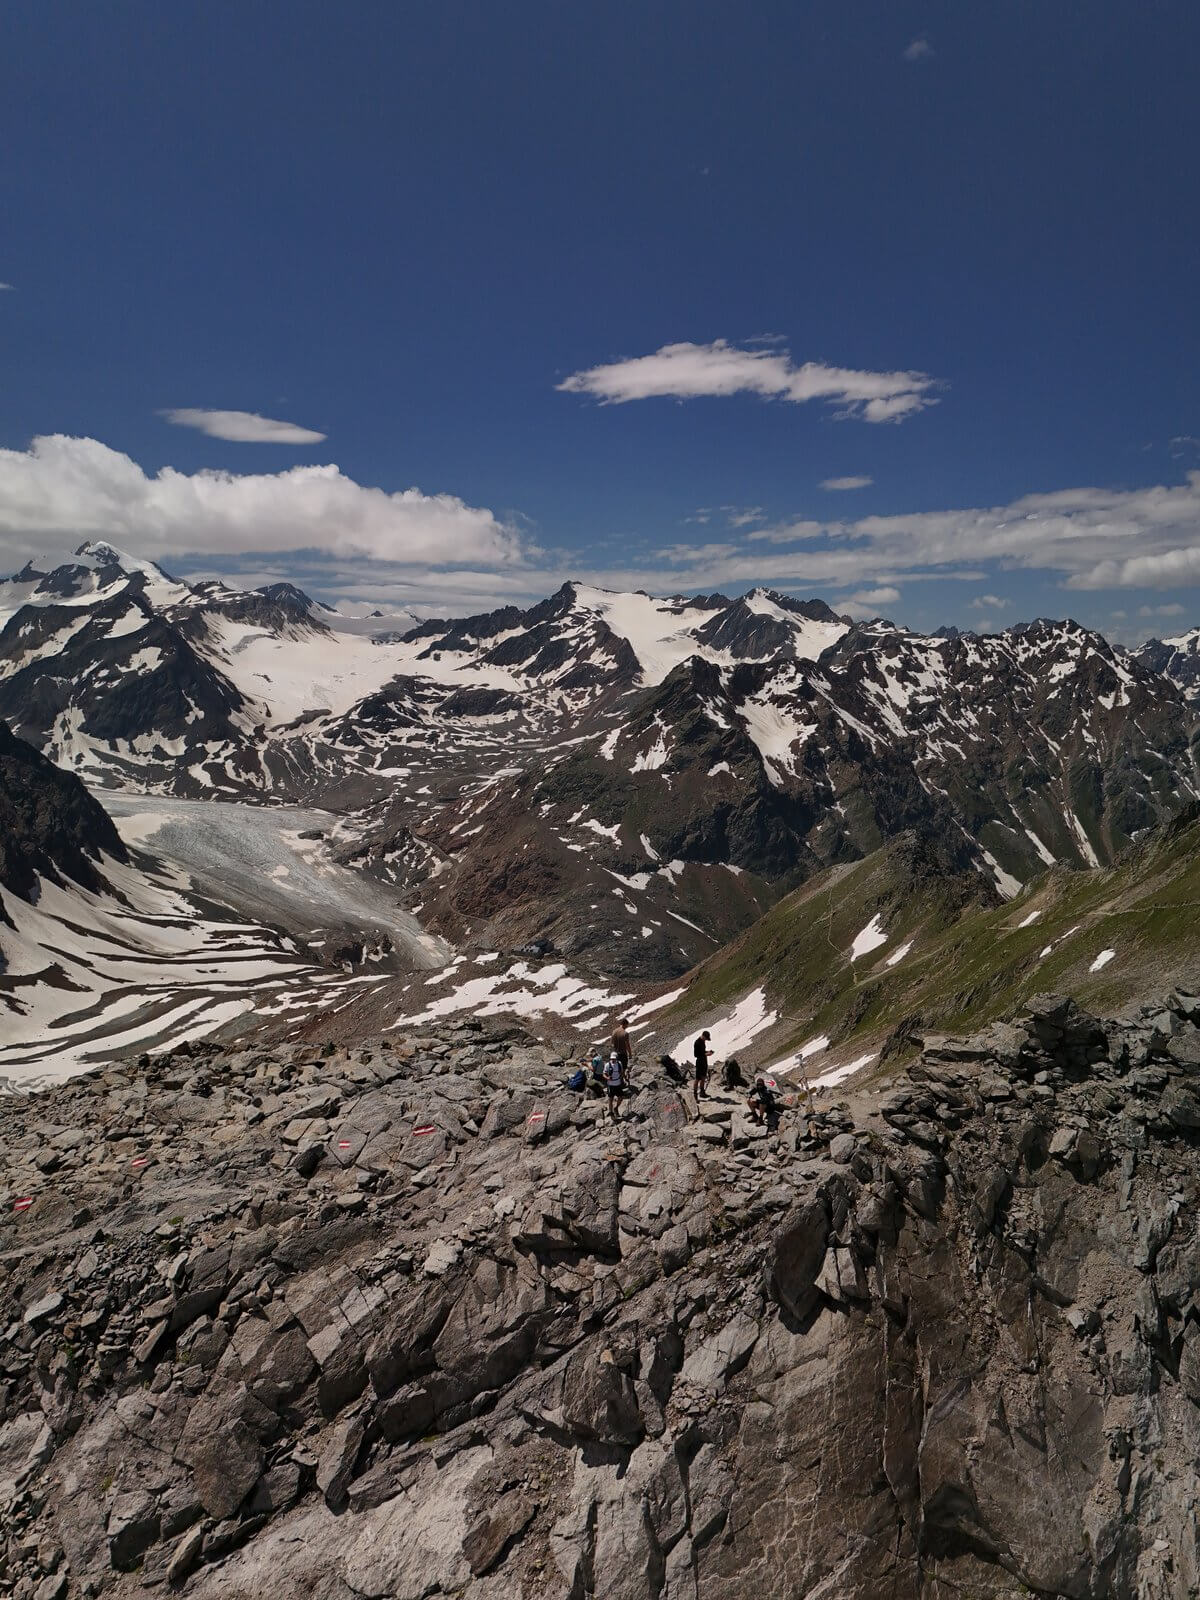
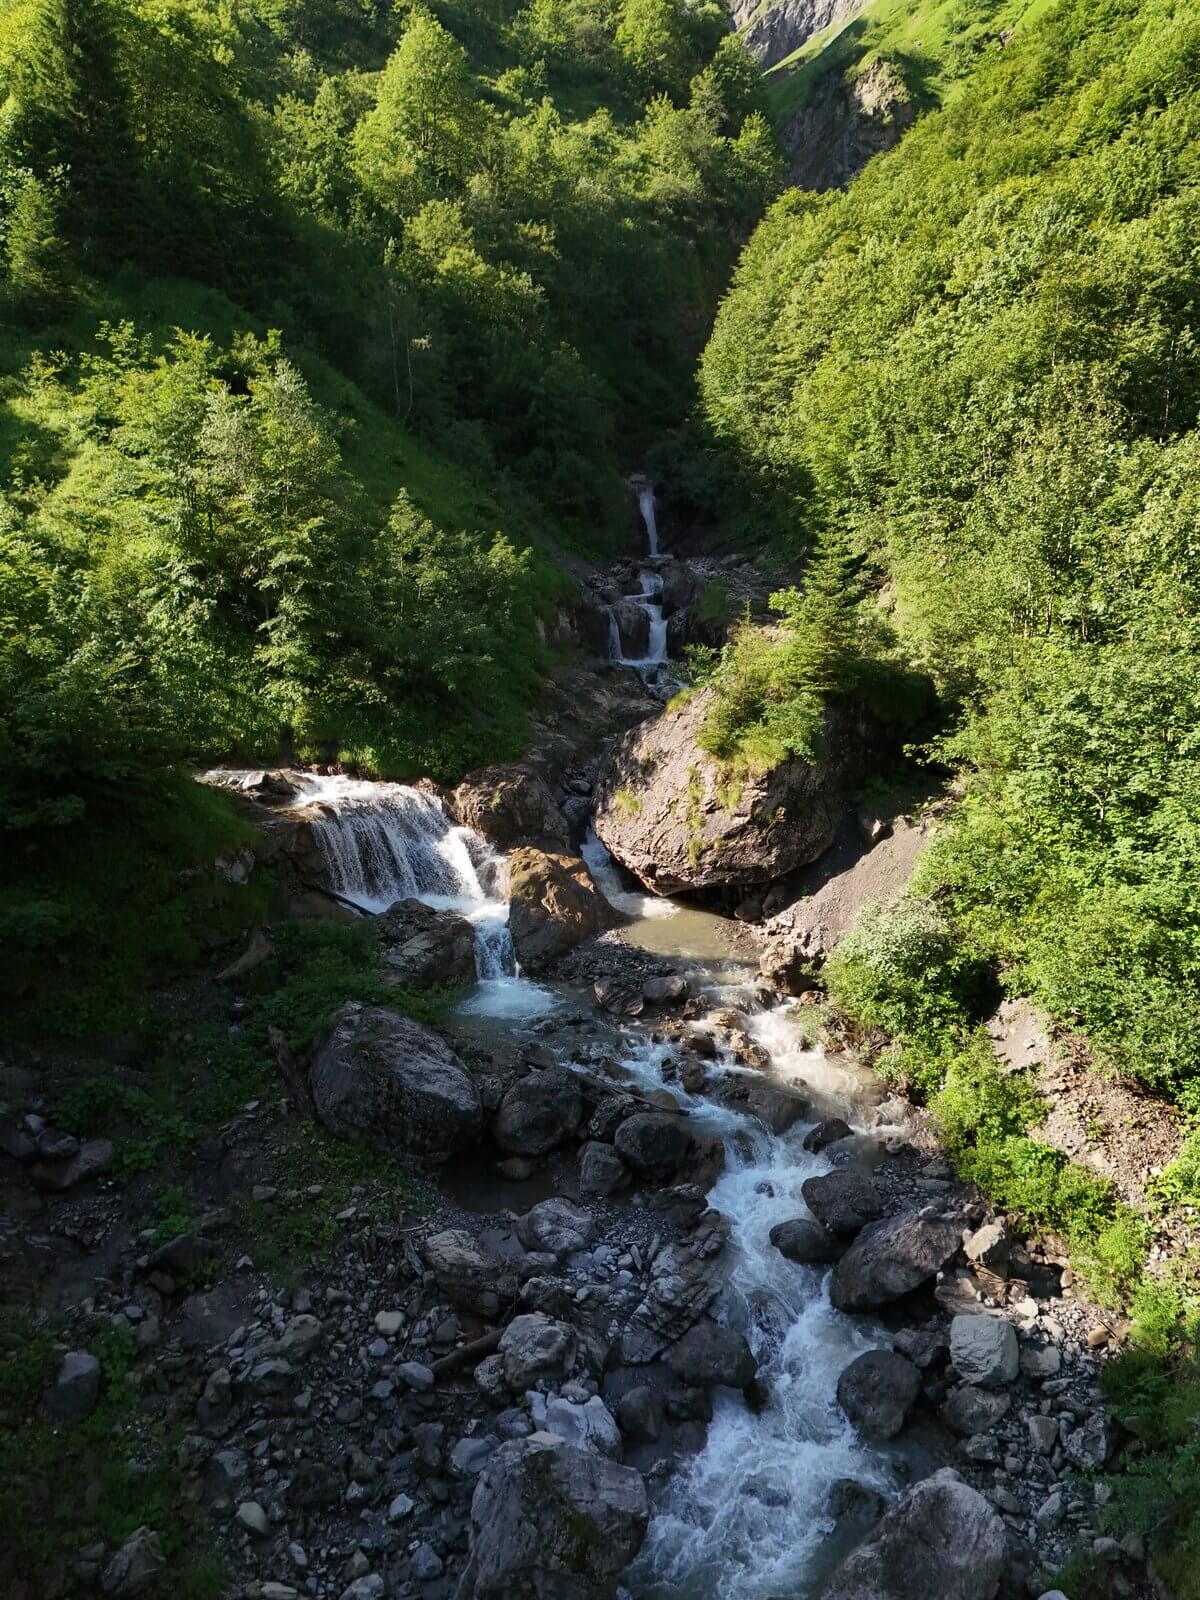
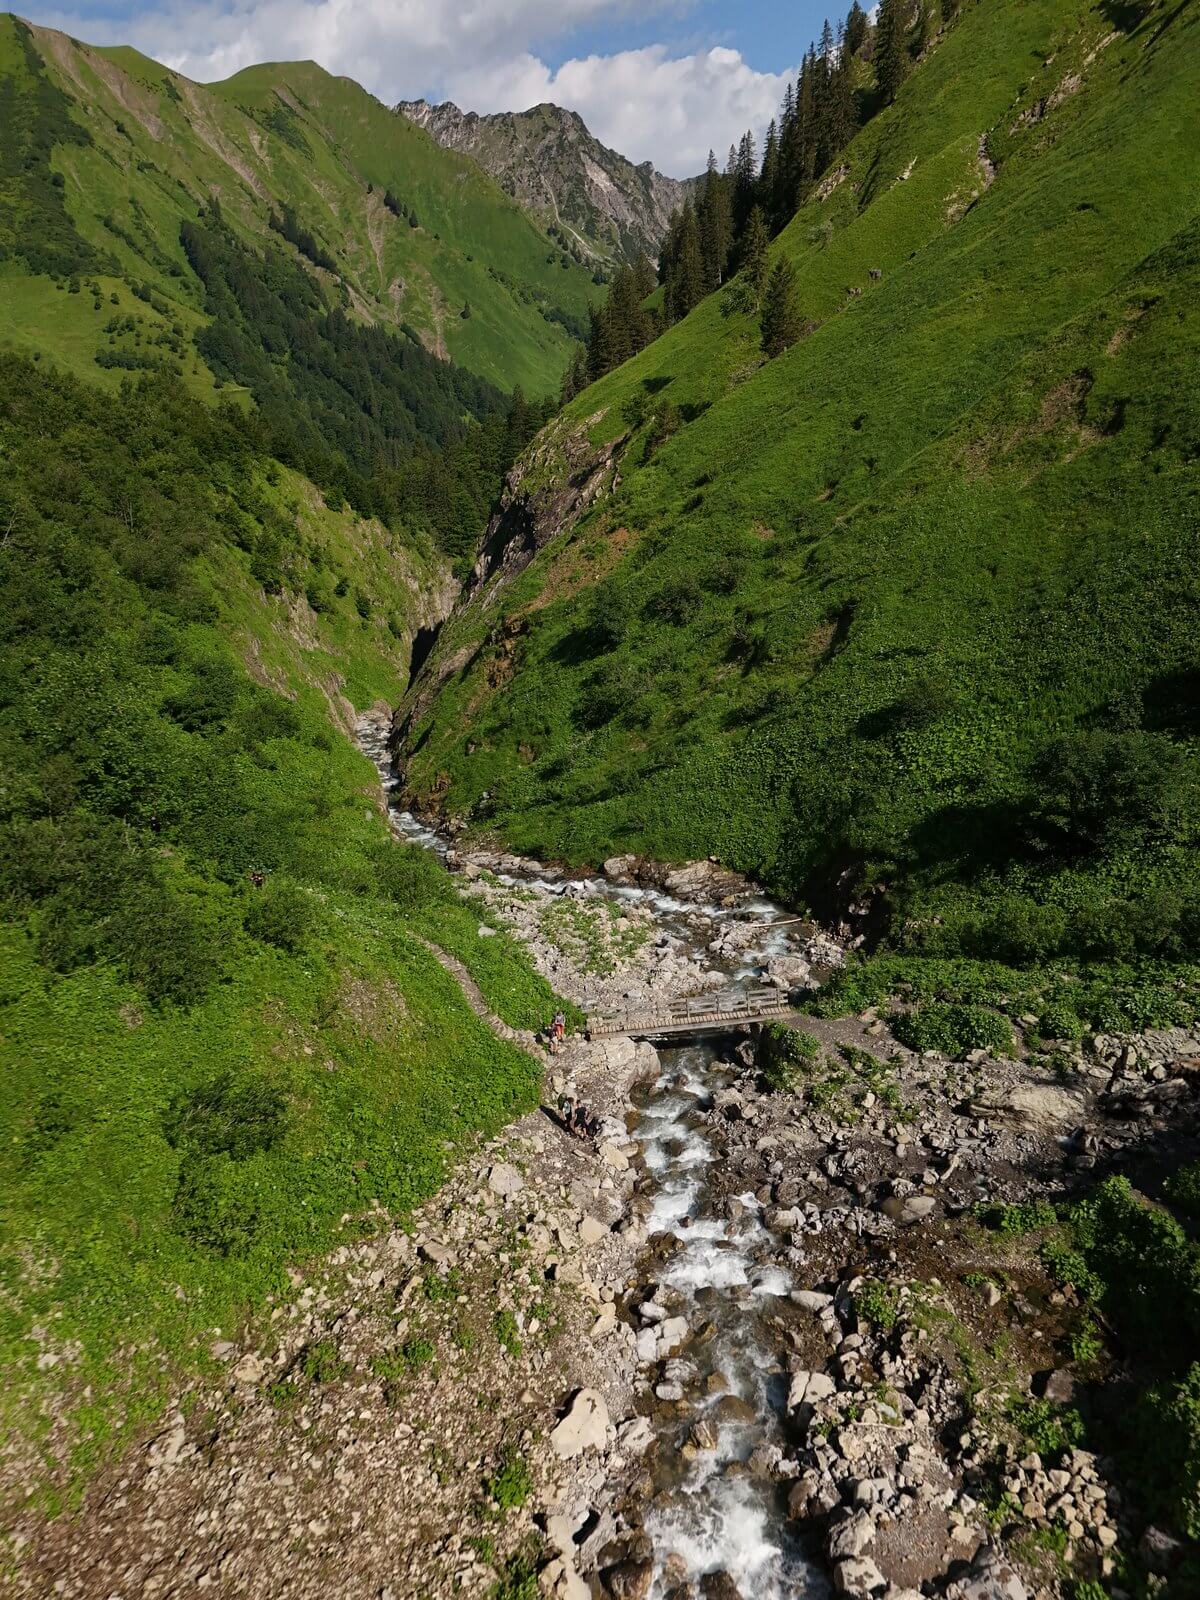
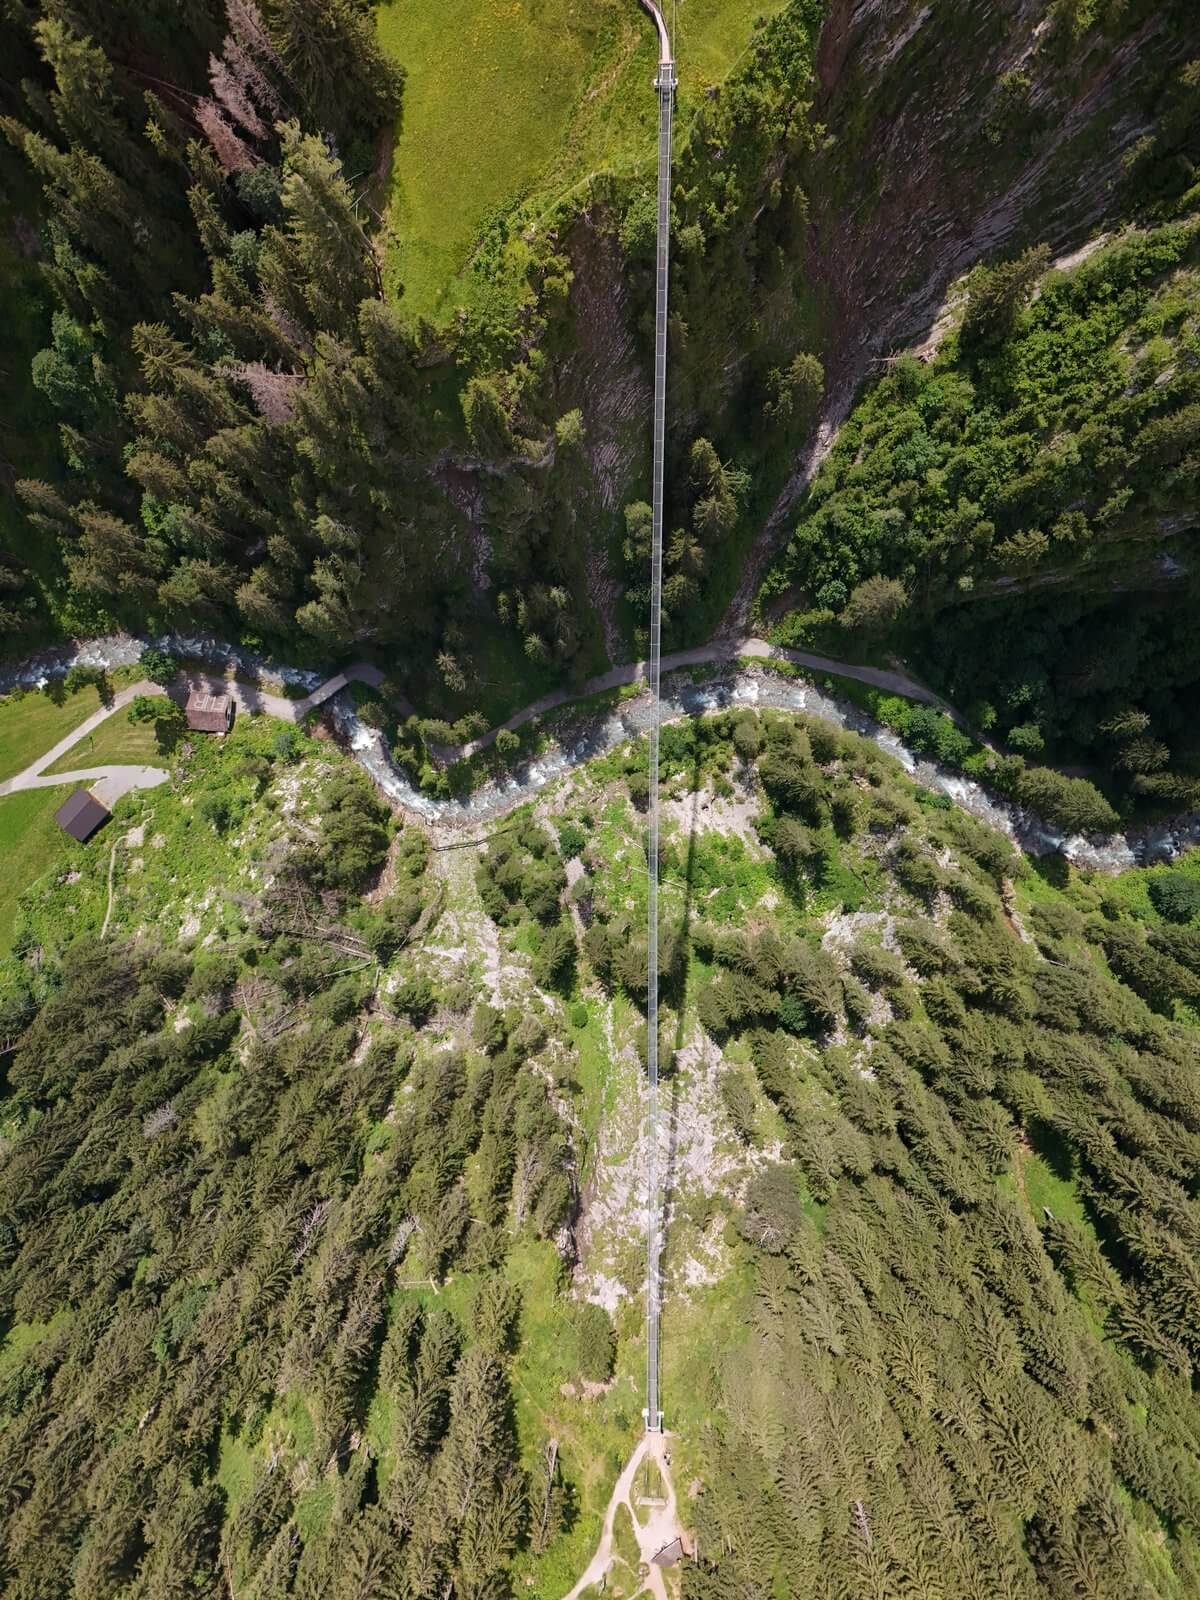
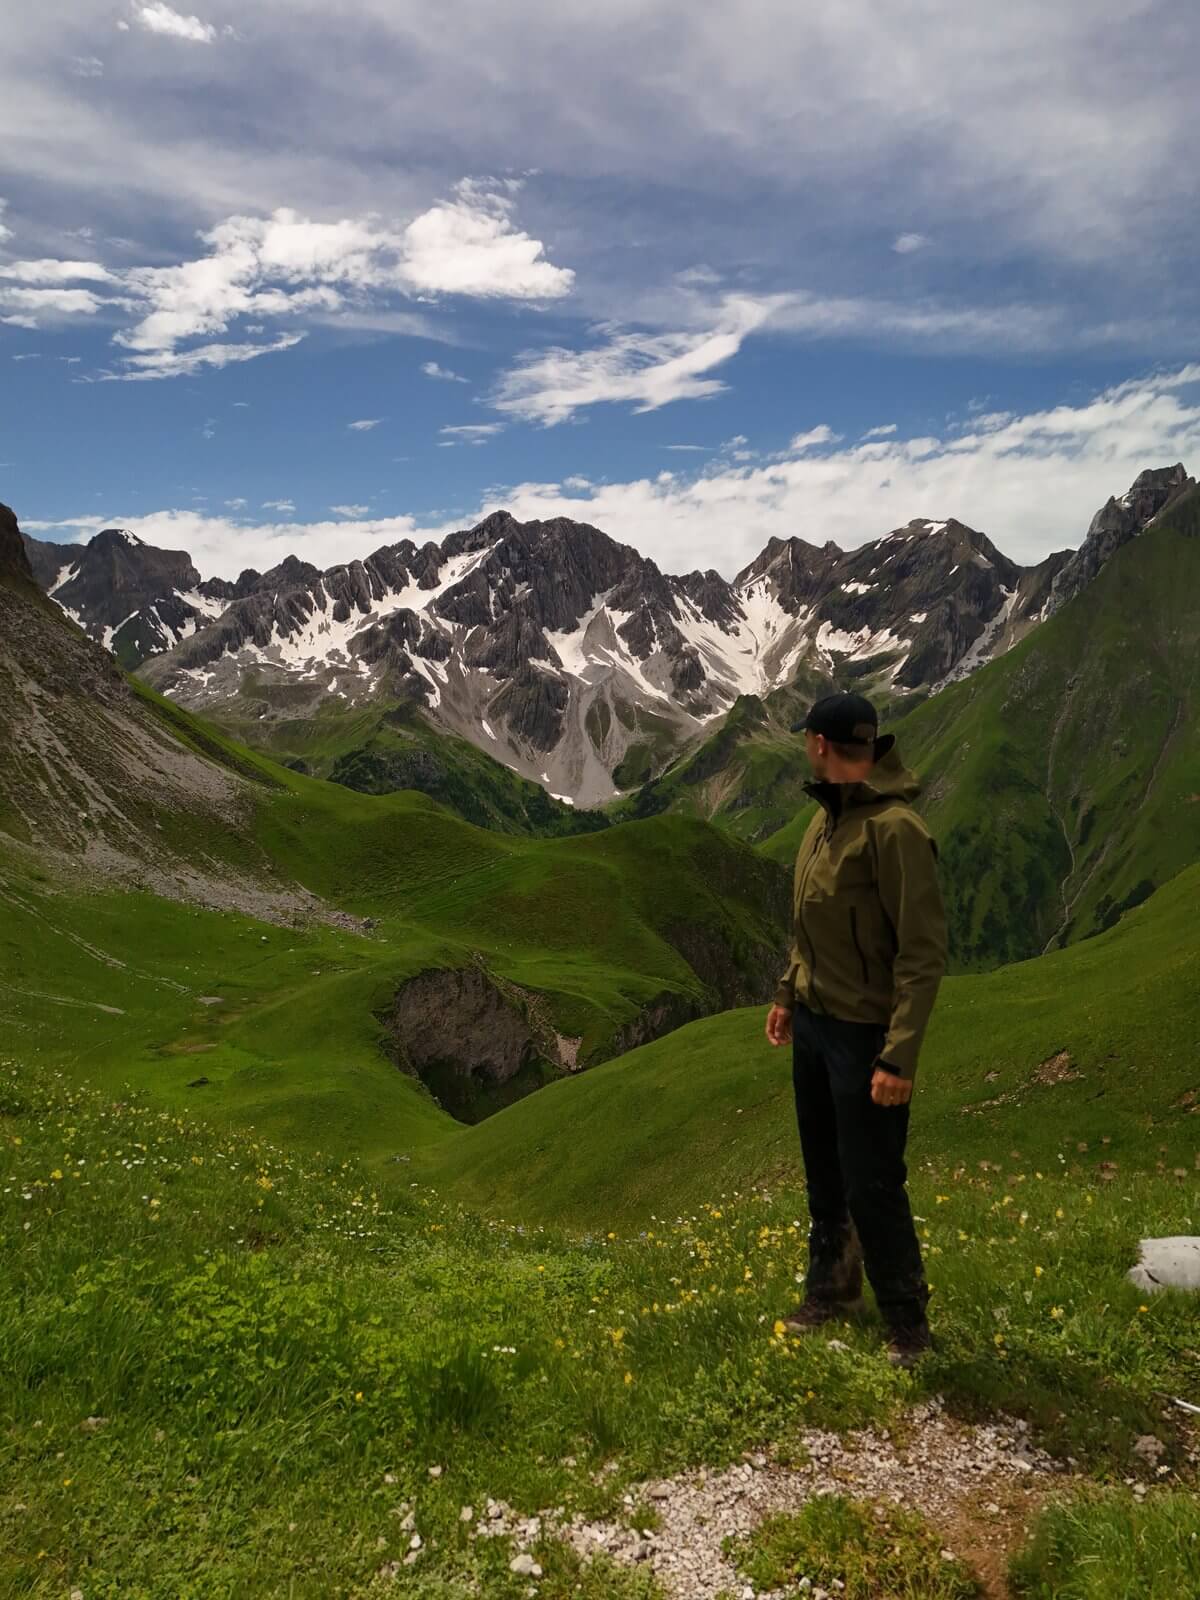
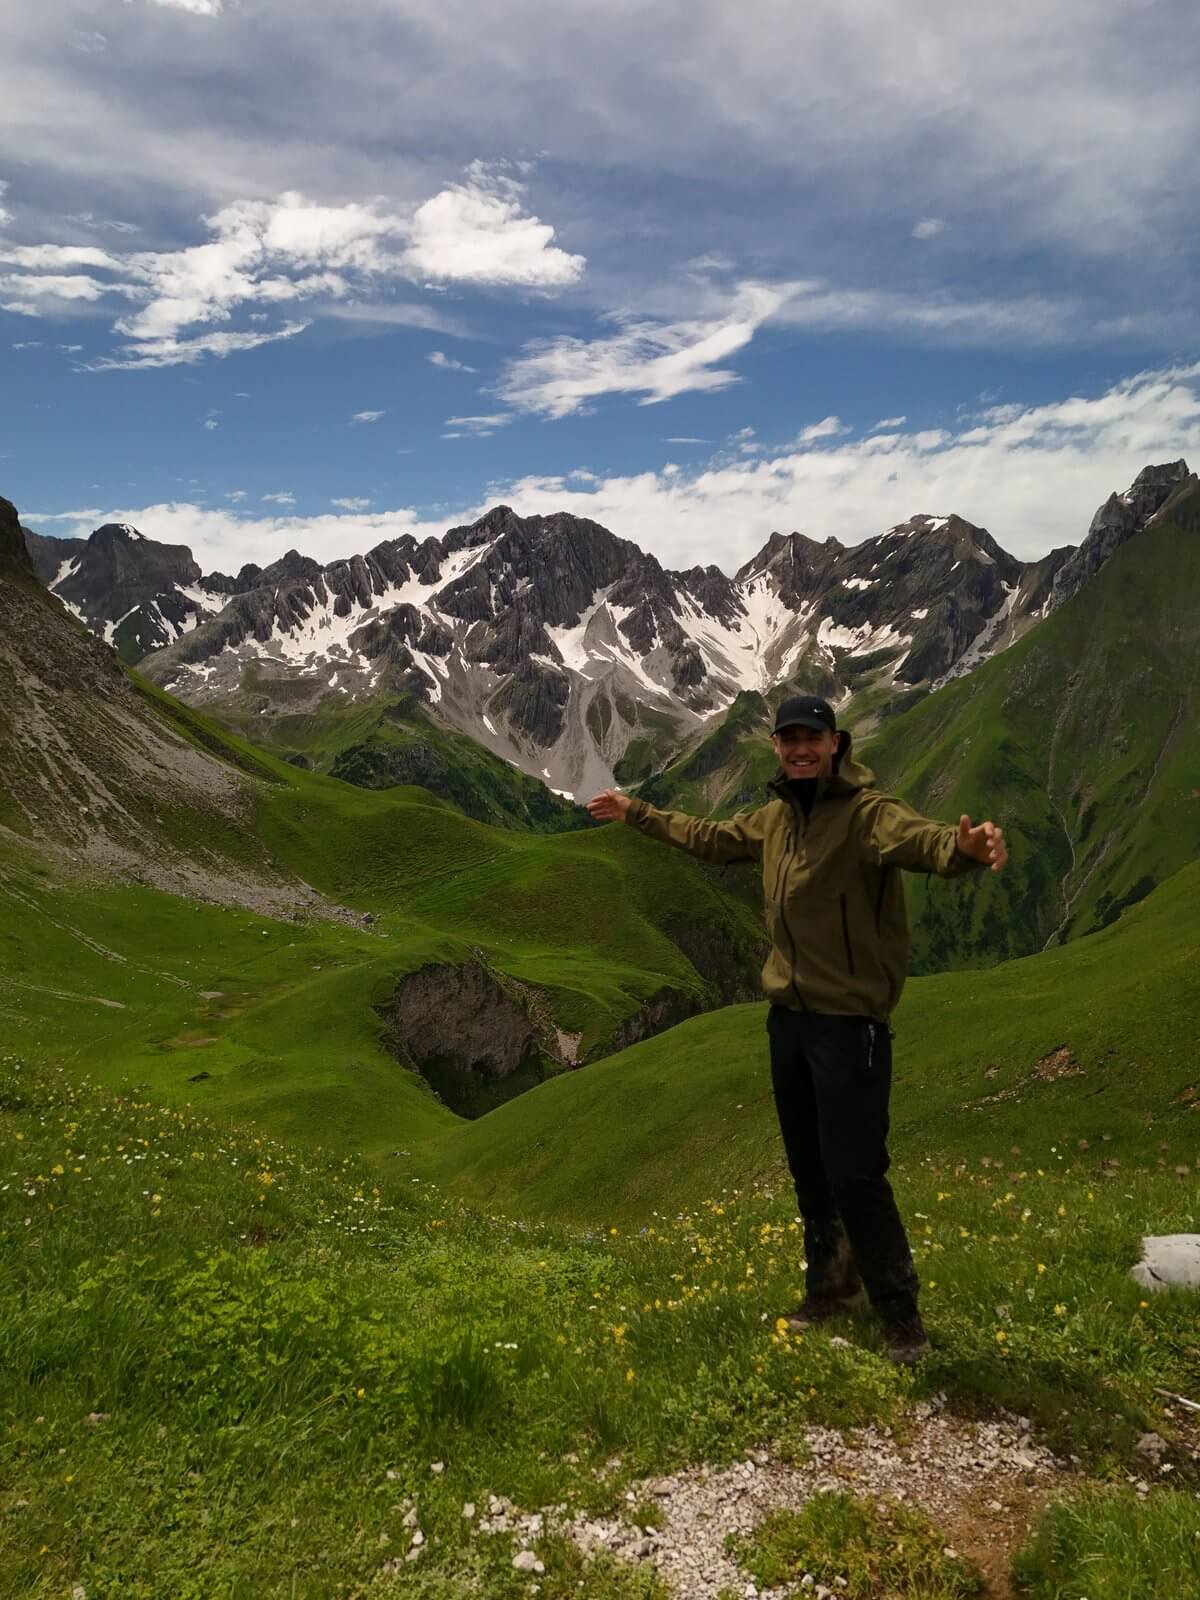
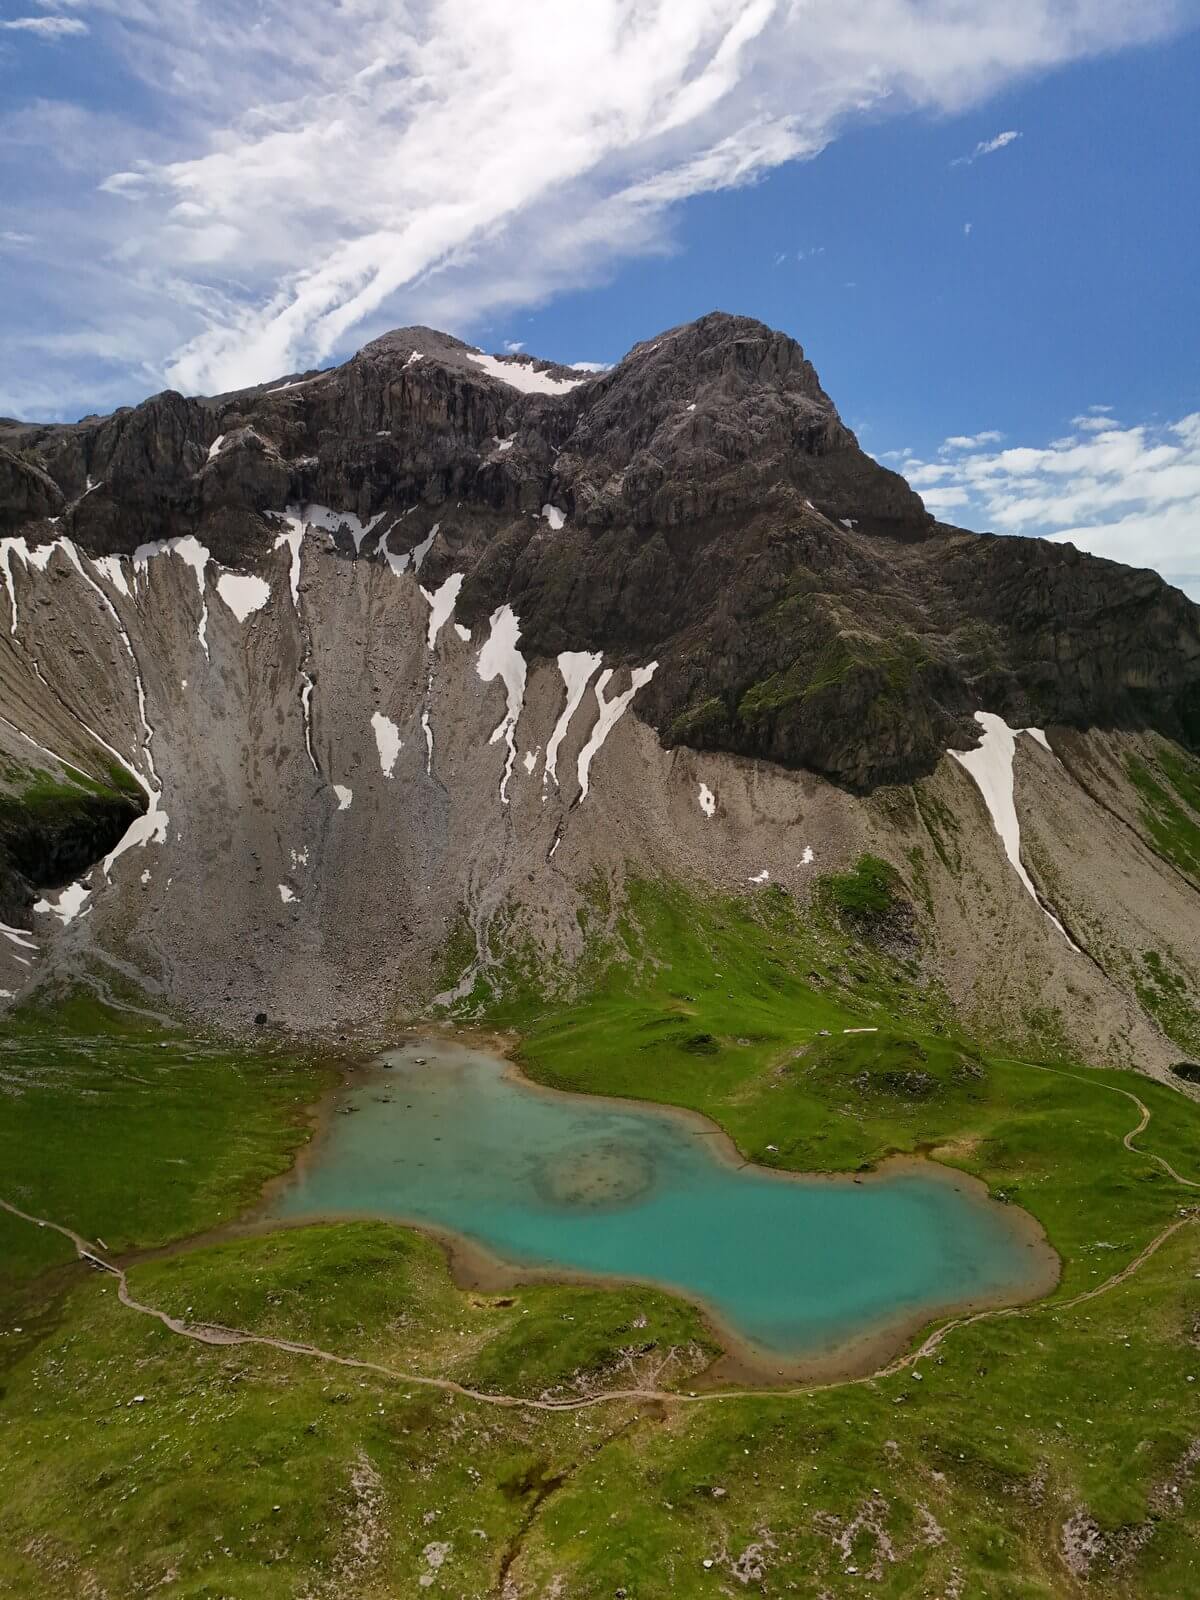
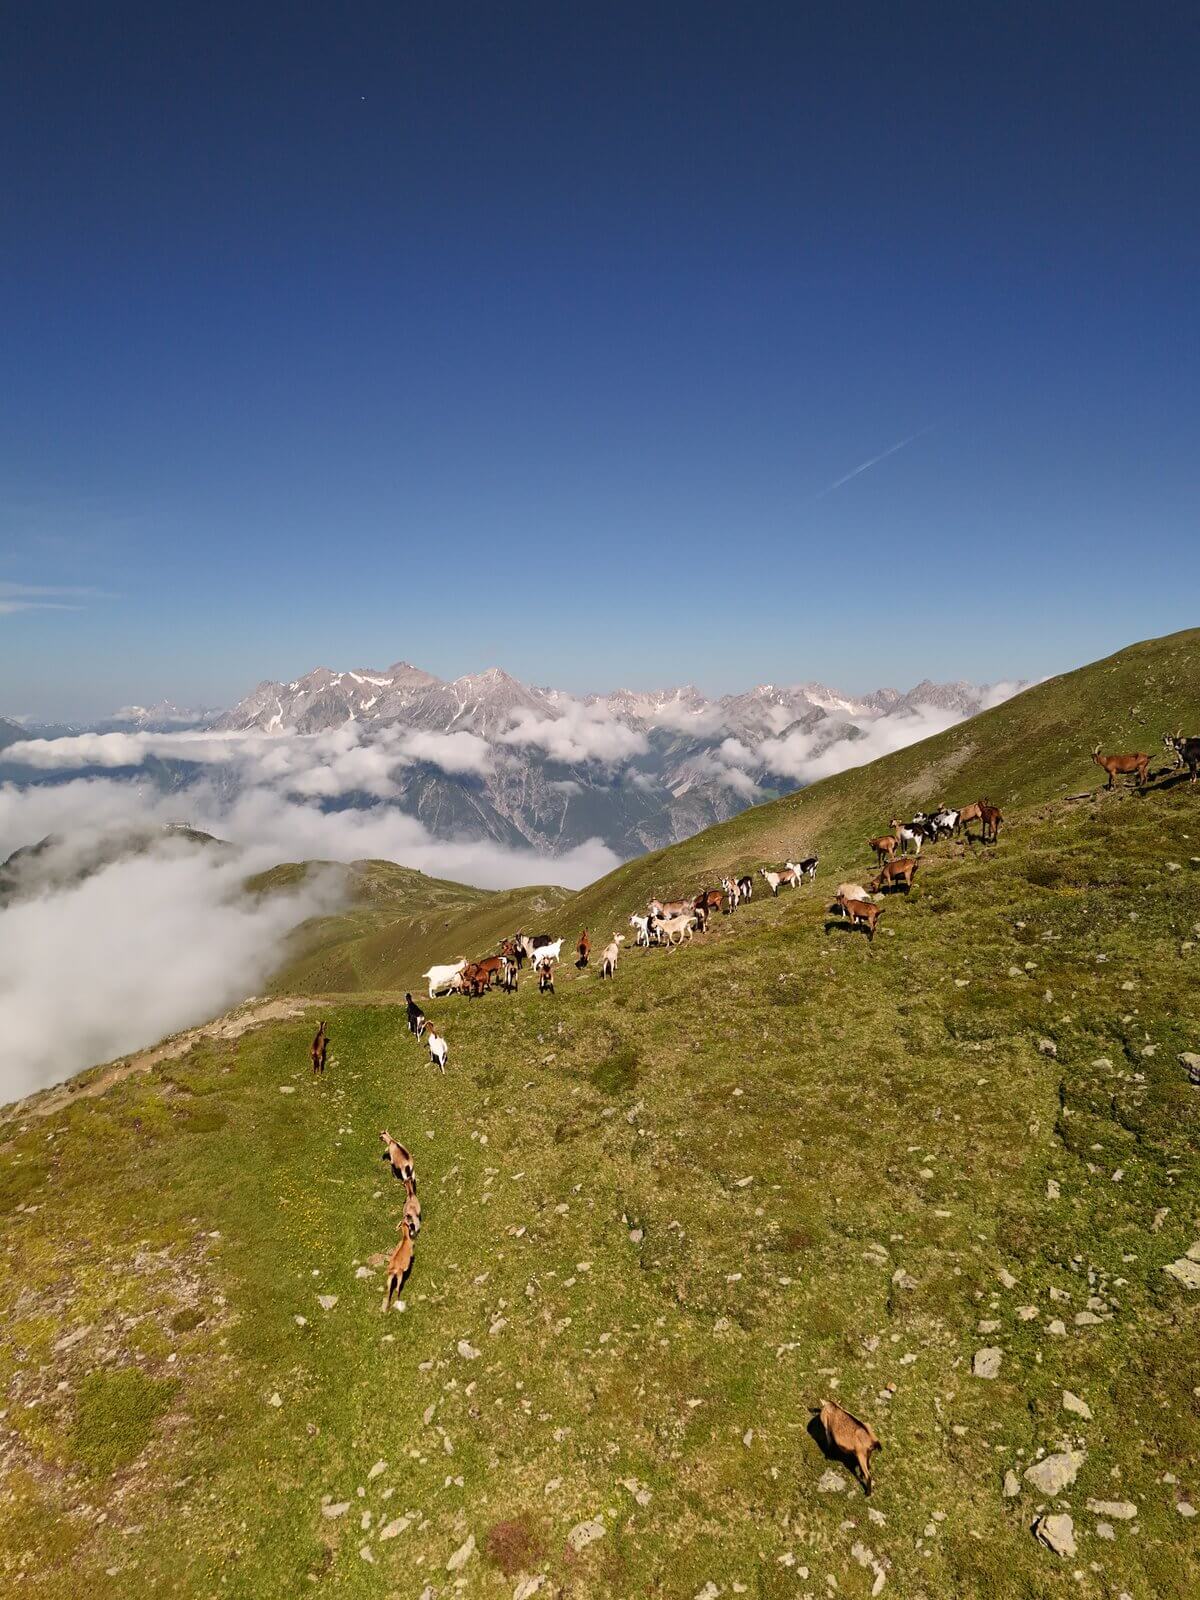
April-May — E5 Alpine crossing
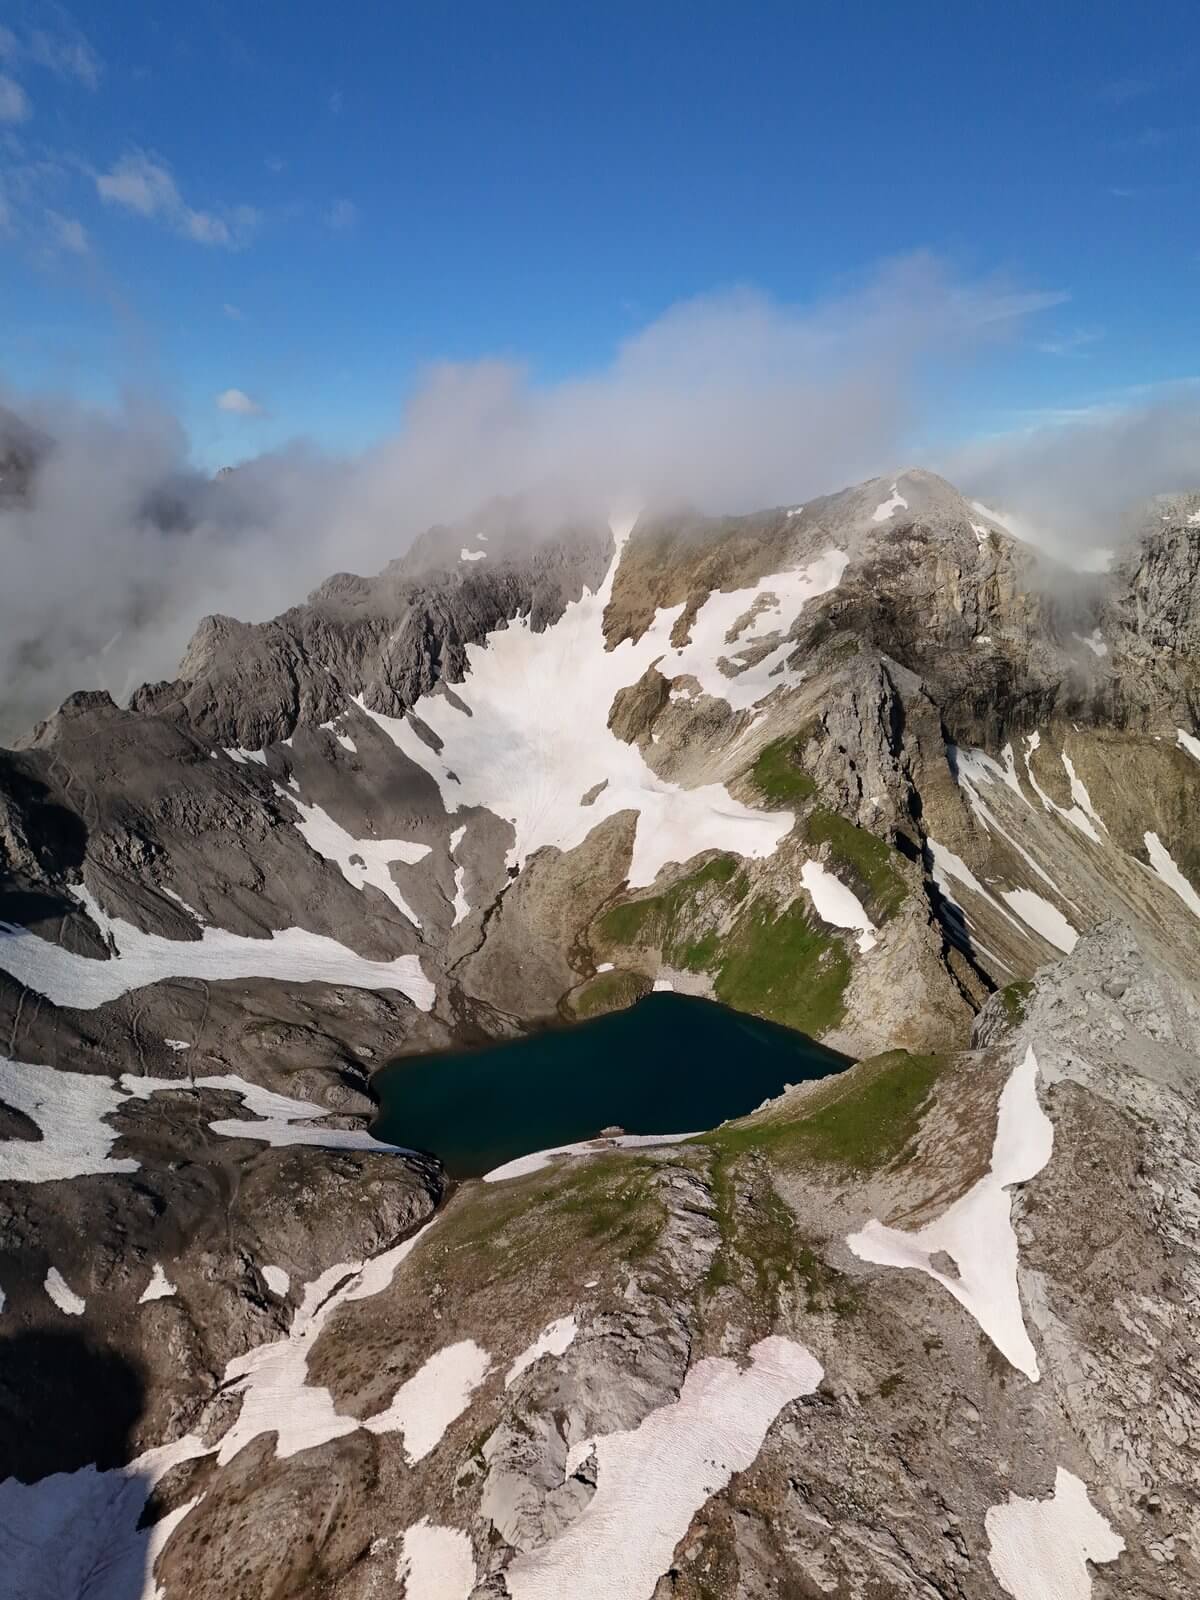
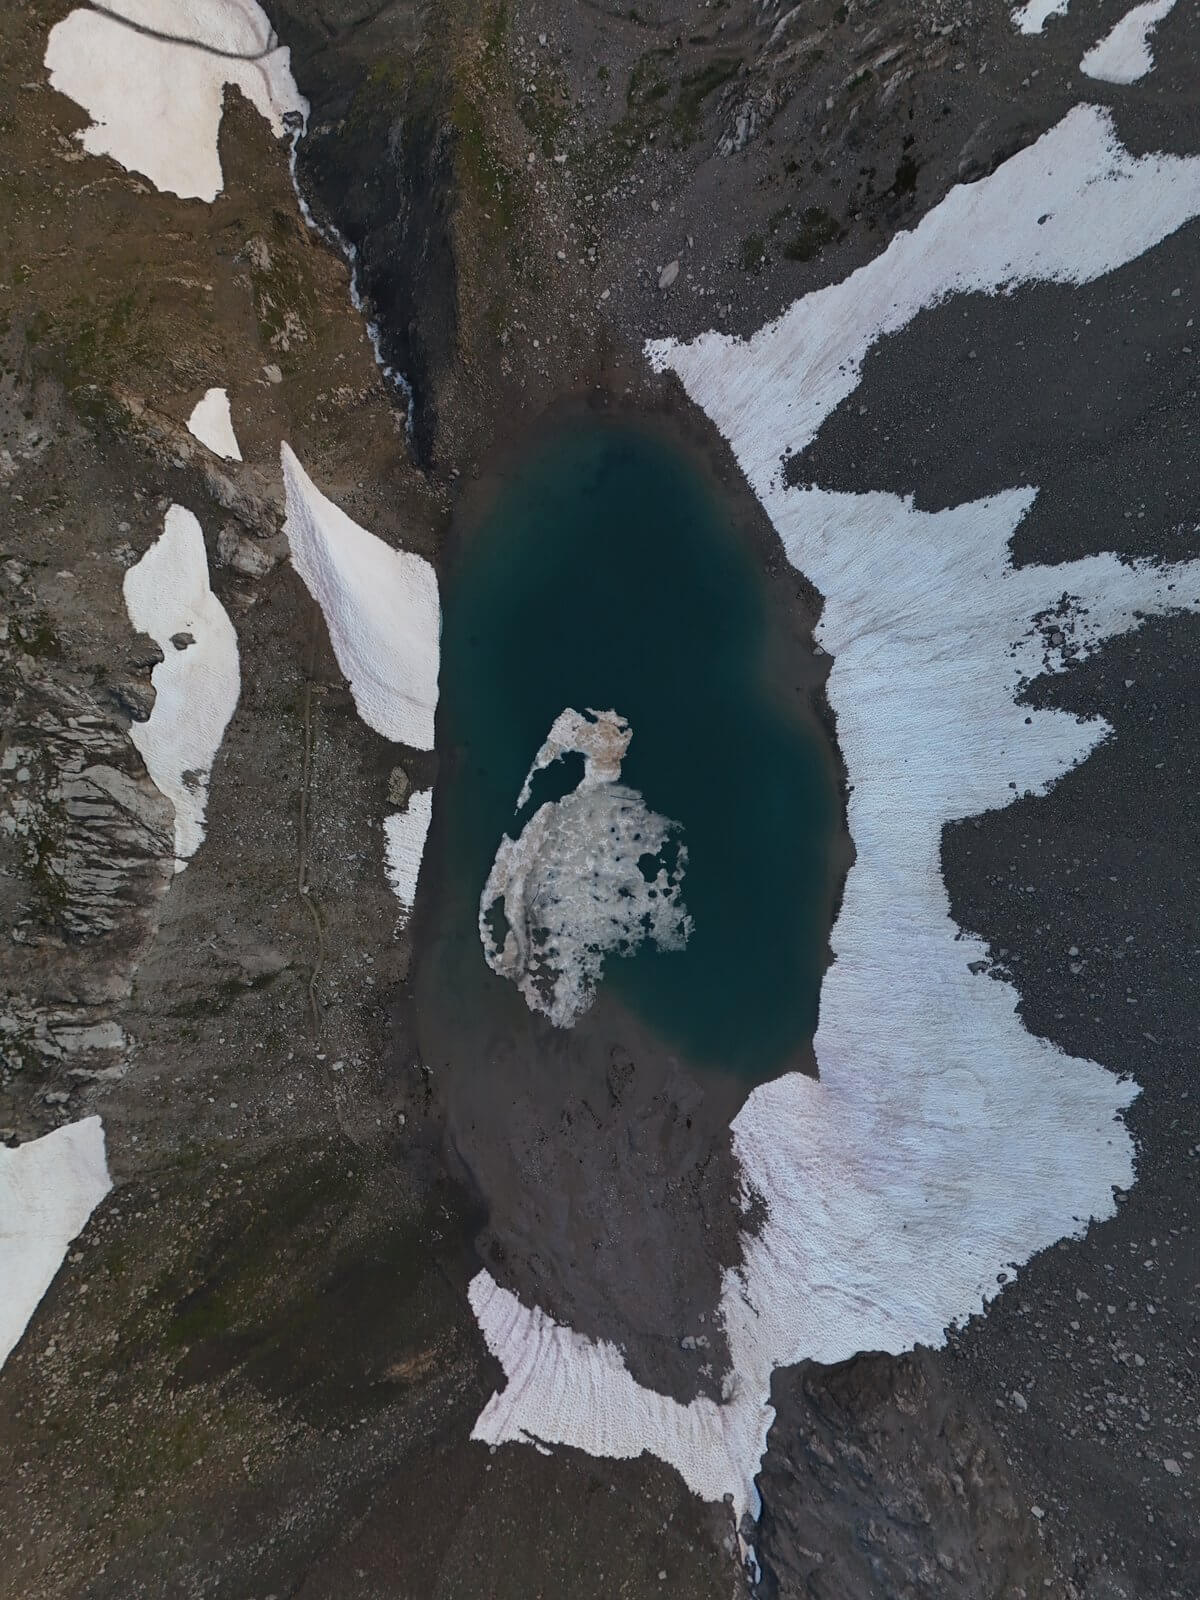
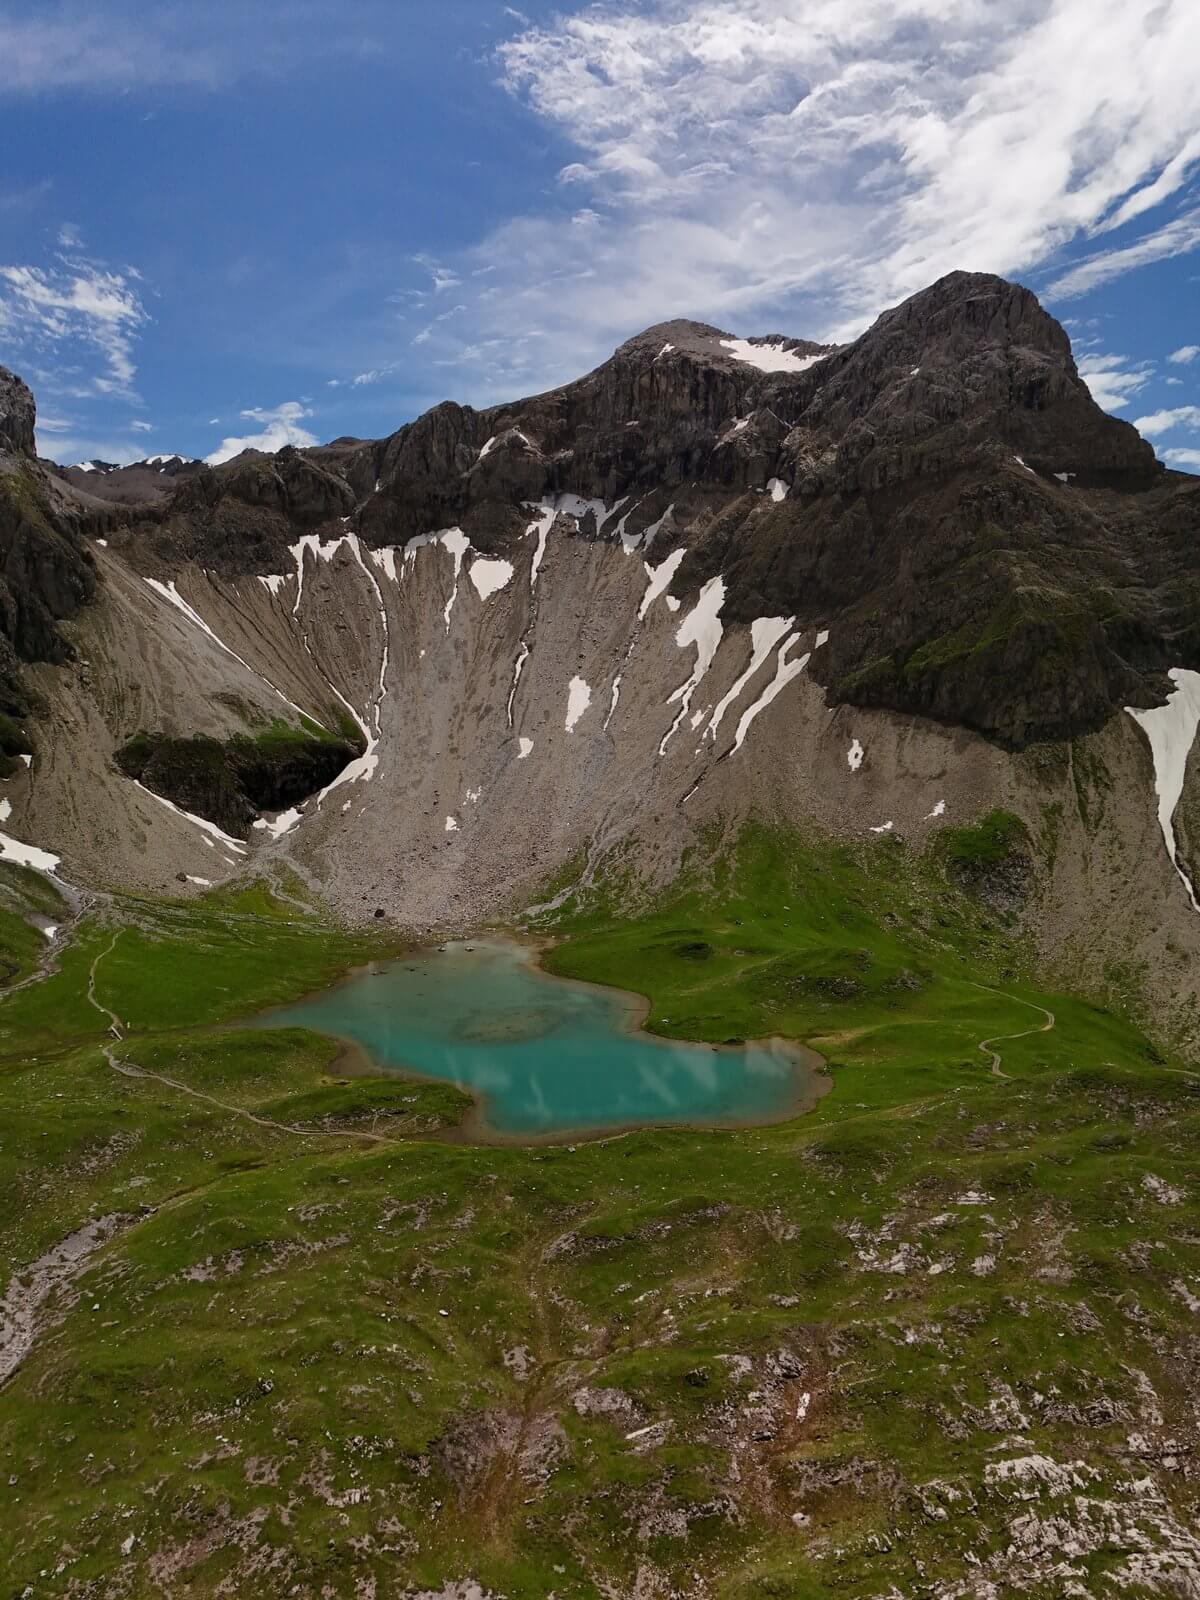
The highlight of the first half of the year: the E5 from Oberstdorf to Merano. 6 days, 100 kilometers, 5,000 meters of elevation gain. Physically, the toughest thing I've ever done. But photographically, a dream—the Alps from above with the drone, glacial lakes, dramatic cloud formations.
What surprised me was how popular the E5 trail is; you have to book huts six months in advance. I was lucky and managed to get two spots at short notice due to cancellations. Spending the night at the Martin-Busch-Hütte at 2,500 meters—getting up in the morning, watching the sunrise over the Similaun Glacier—I'll never forget that.
Costs E5: ~1,400 € (Huts 6x ~65€ = 390€, food 320€, equipment 450€, arrival/departure 240€)
June-July — Italy (Tuscany and Amalfi Coast)
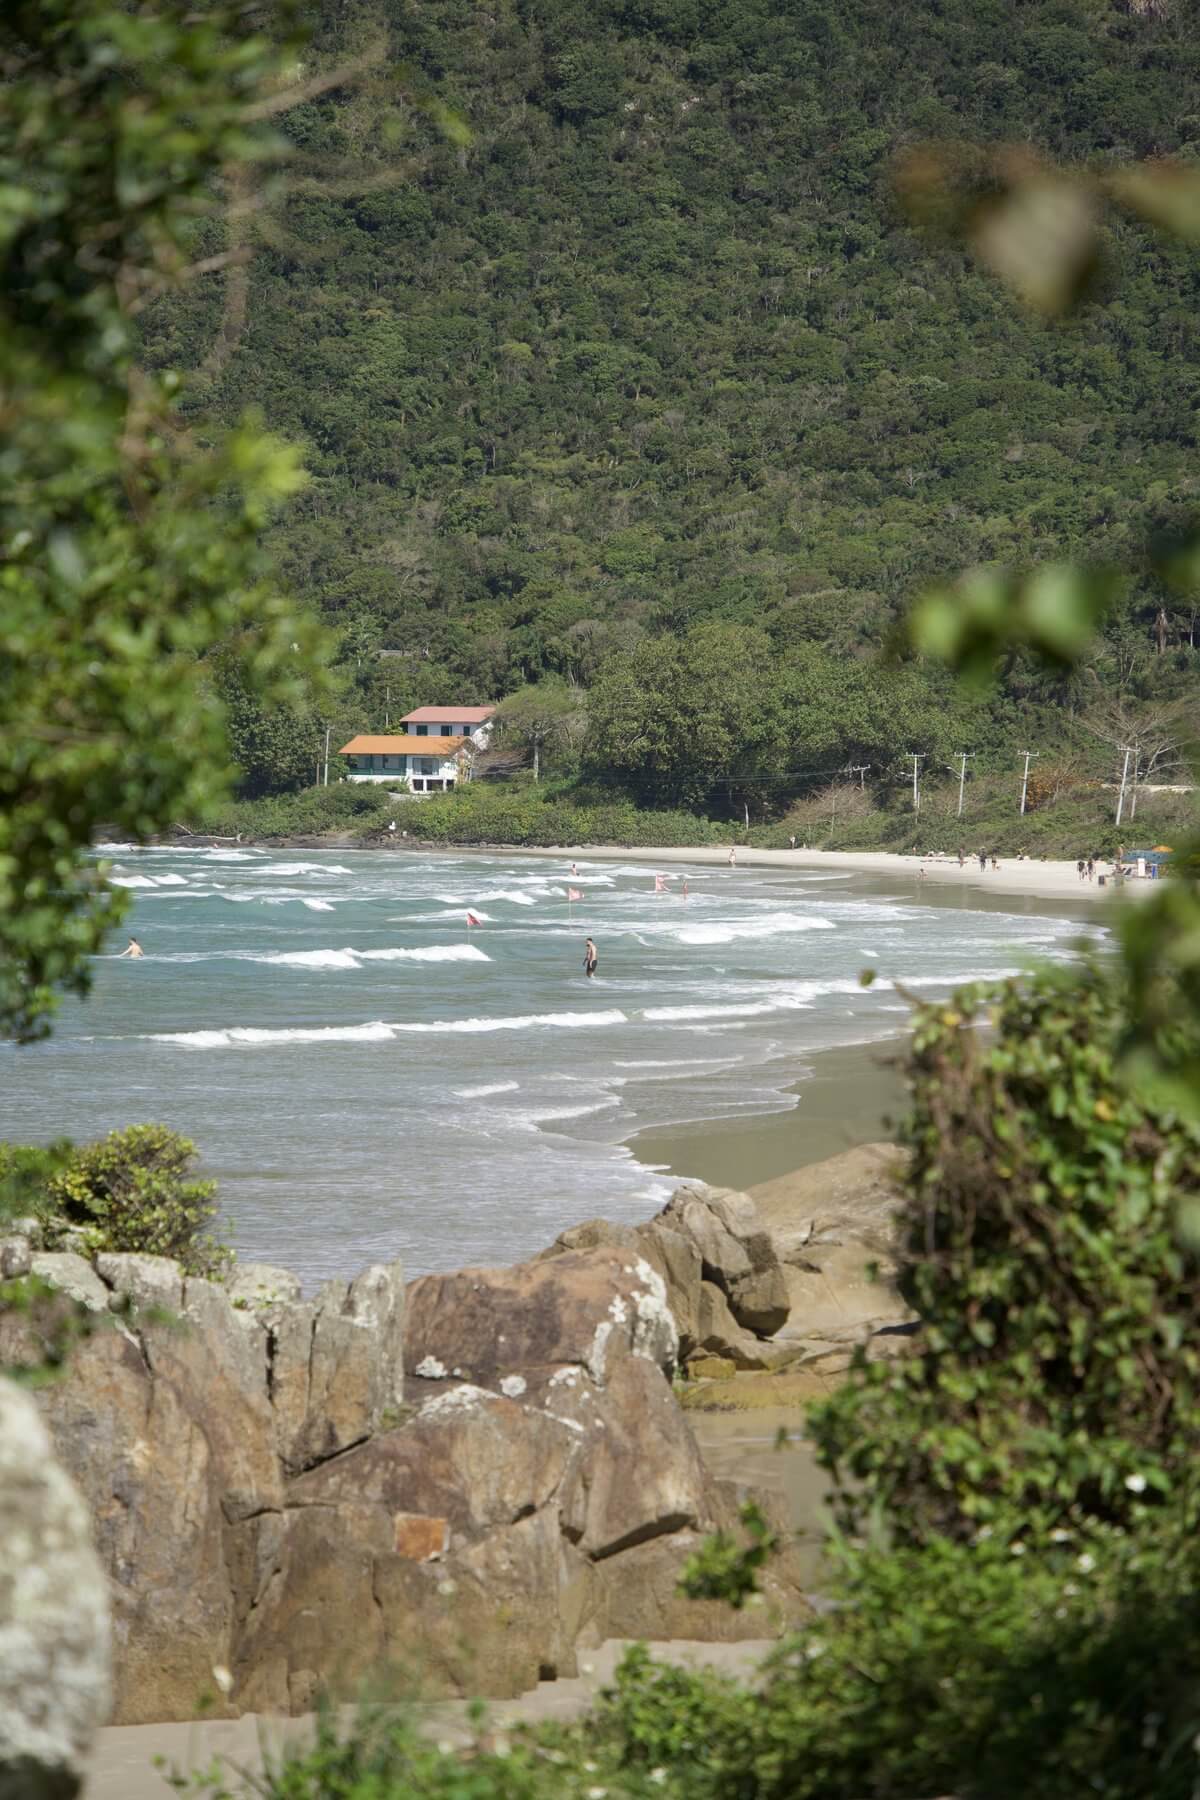
After the E5, I treated myself to two weeks in Italy: first Tuscany (Val d'Orcia — the iconic cypress avenue, medieval villages, vineyards), then down to the Amalfi Coast. Positano, Amalfi, Ravello — the coastal road is spectacular, even if the tourists can be a challenge in the summer.
My tip for the Amalfi Coast: Rent a boat instead of a car. From the water, you'll see the pastel-colored houses, the cliffs, and the hidden coves from a perspective that tourists miss. It costs about 180 euros for half a day.
Costs June-July: ~€4,500 (Rental car €1,100, Hotels €1,800, Food €900, Activities €700)
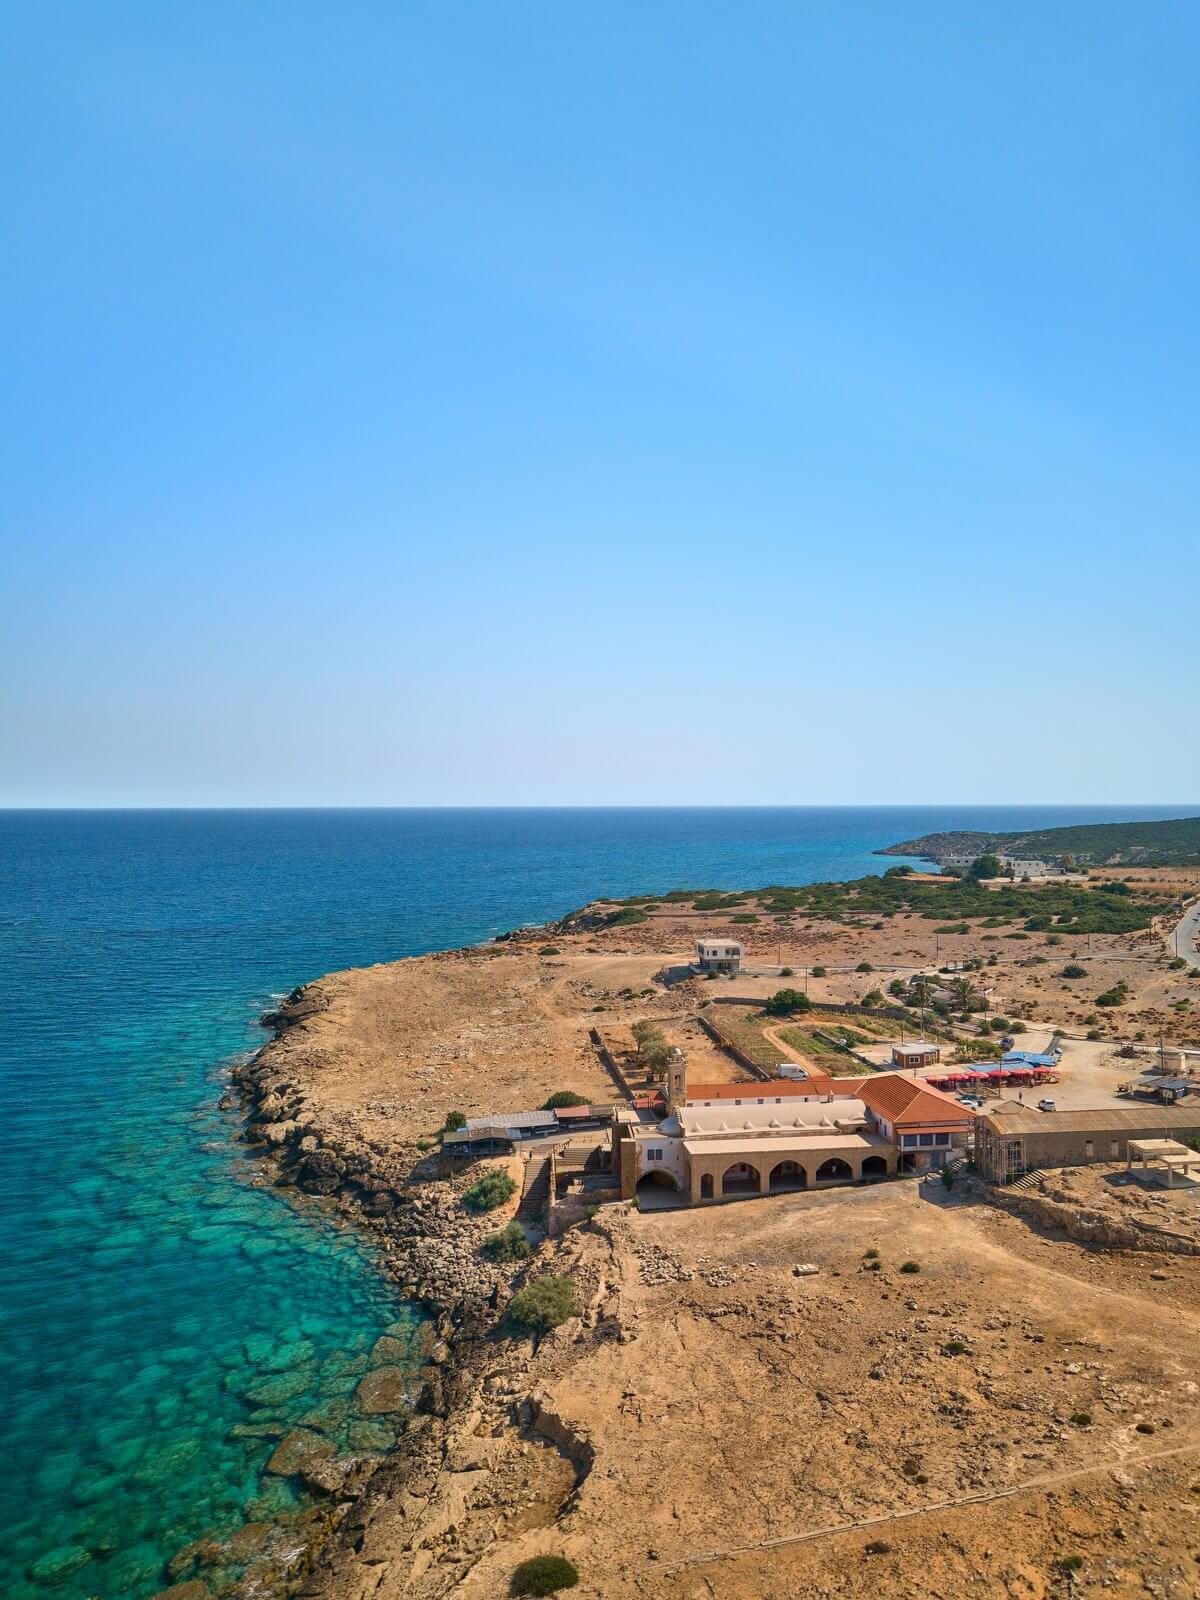
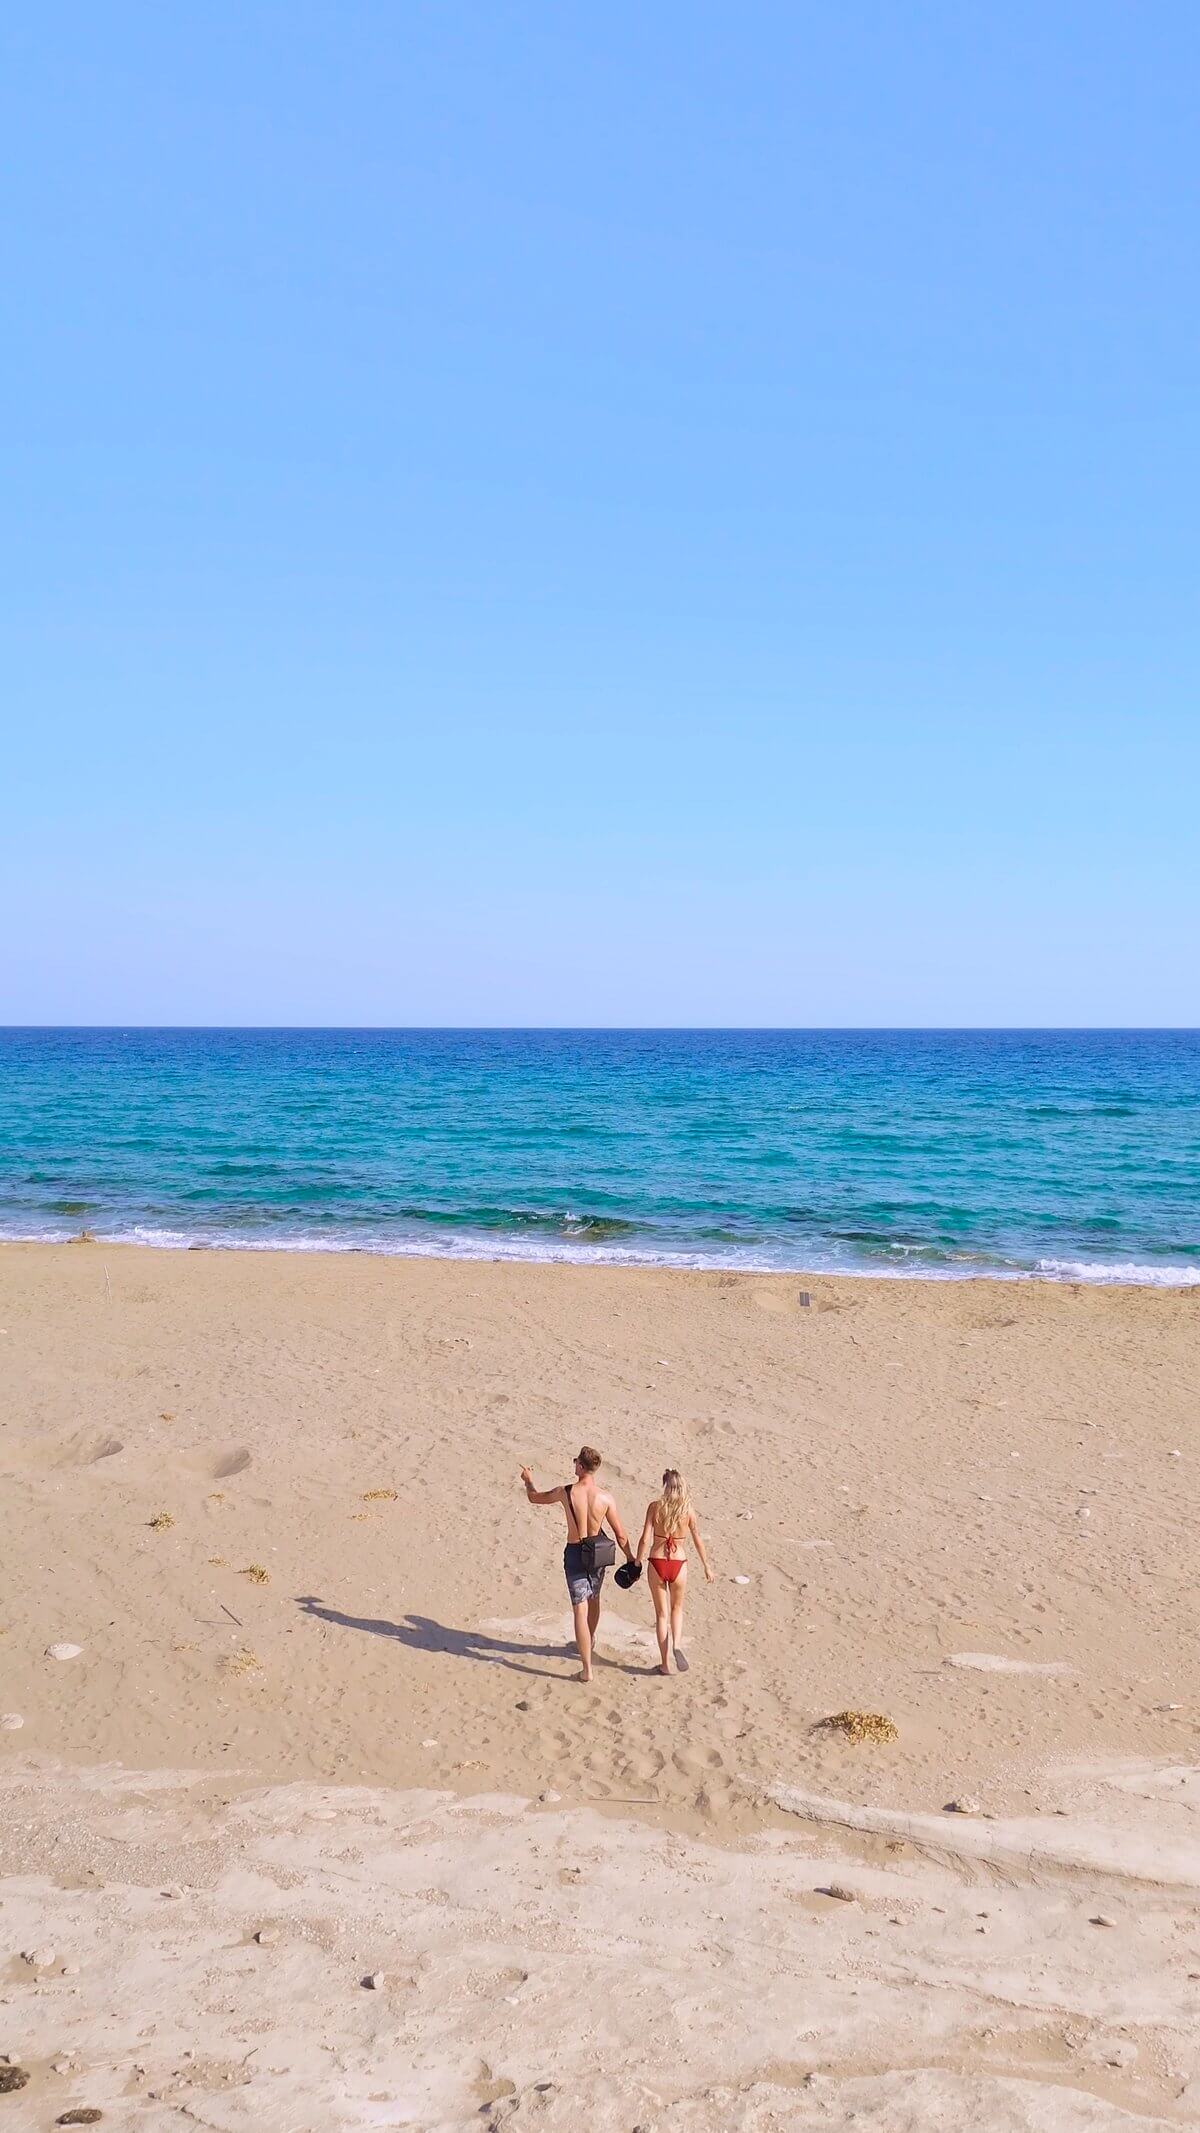
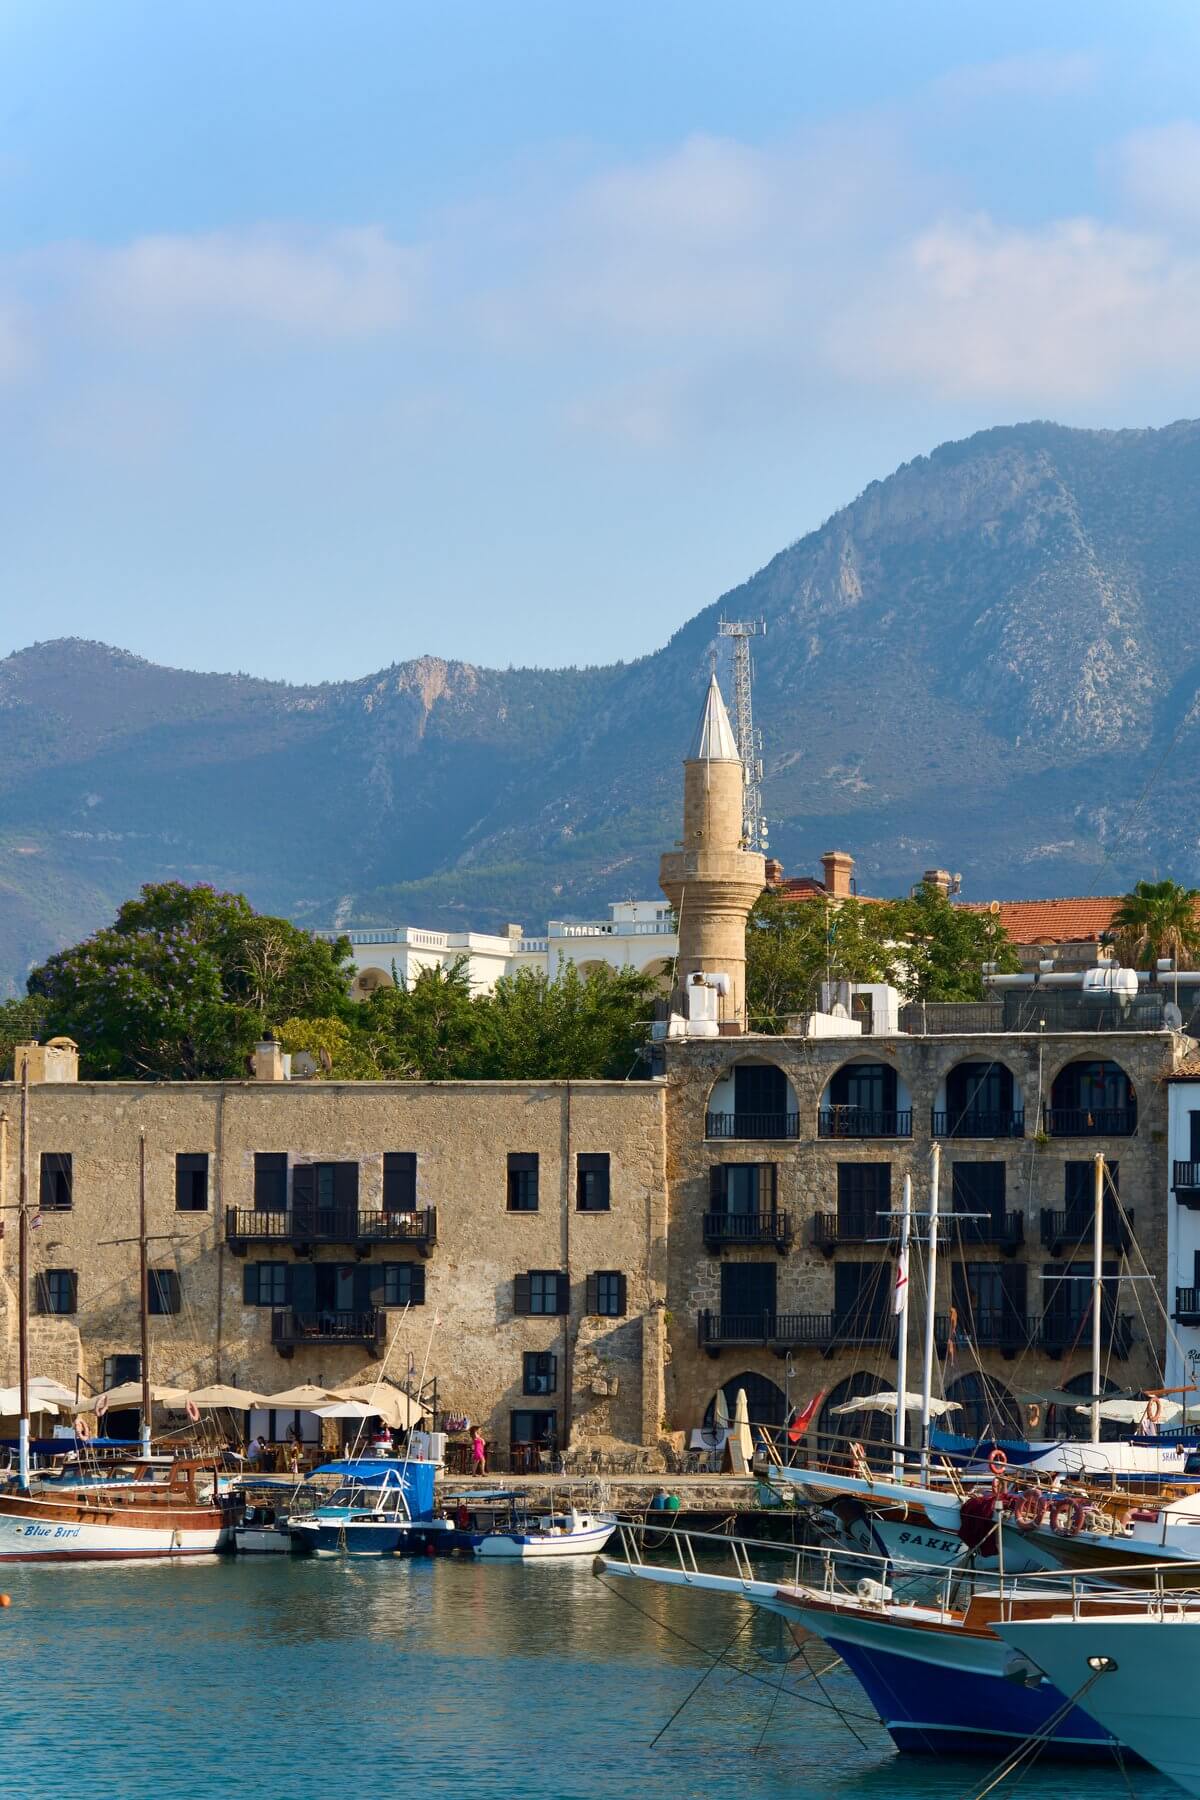
August — Northern Cyprus
Northern Cyprus was my "hidden gem" trip of 2024. The Turkish side of the island is virtually untouched by tourism, the beaches are empty, and the prices are a fraction of those in Greece. The ruins of Famagusta, the beaches of the Karpaz Peninsula, the mountain villages in the Besparmak Mountains—all almost entirely without tourists.
What you need to know: Entering Northern Cyprus is straightforward, but you should enter via the south (Larnaca) and then cross a checkpoint into the north. Rental car insurance is often not valid in the north—check beforehand!
Costs for August (2 weeks): ~1,900 € (flight 220€, hotel 680€, rental car 380€, food 420€, activities 200€)


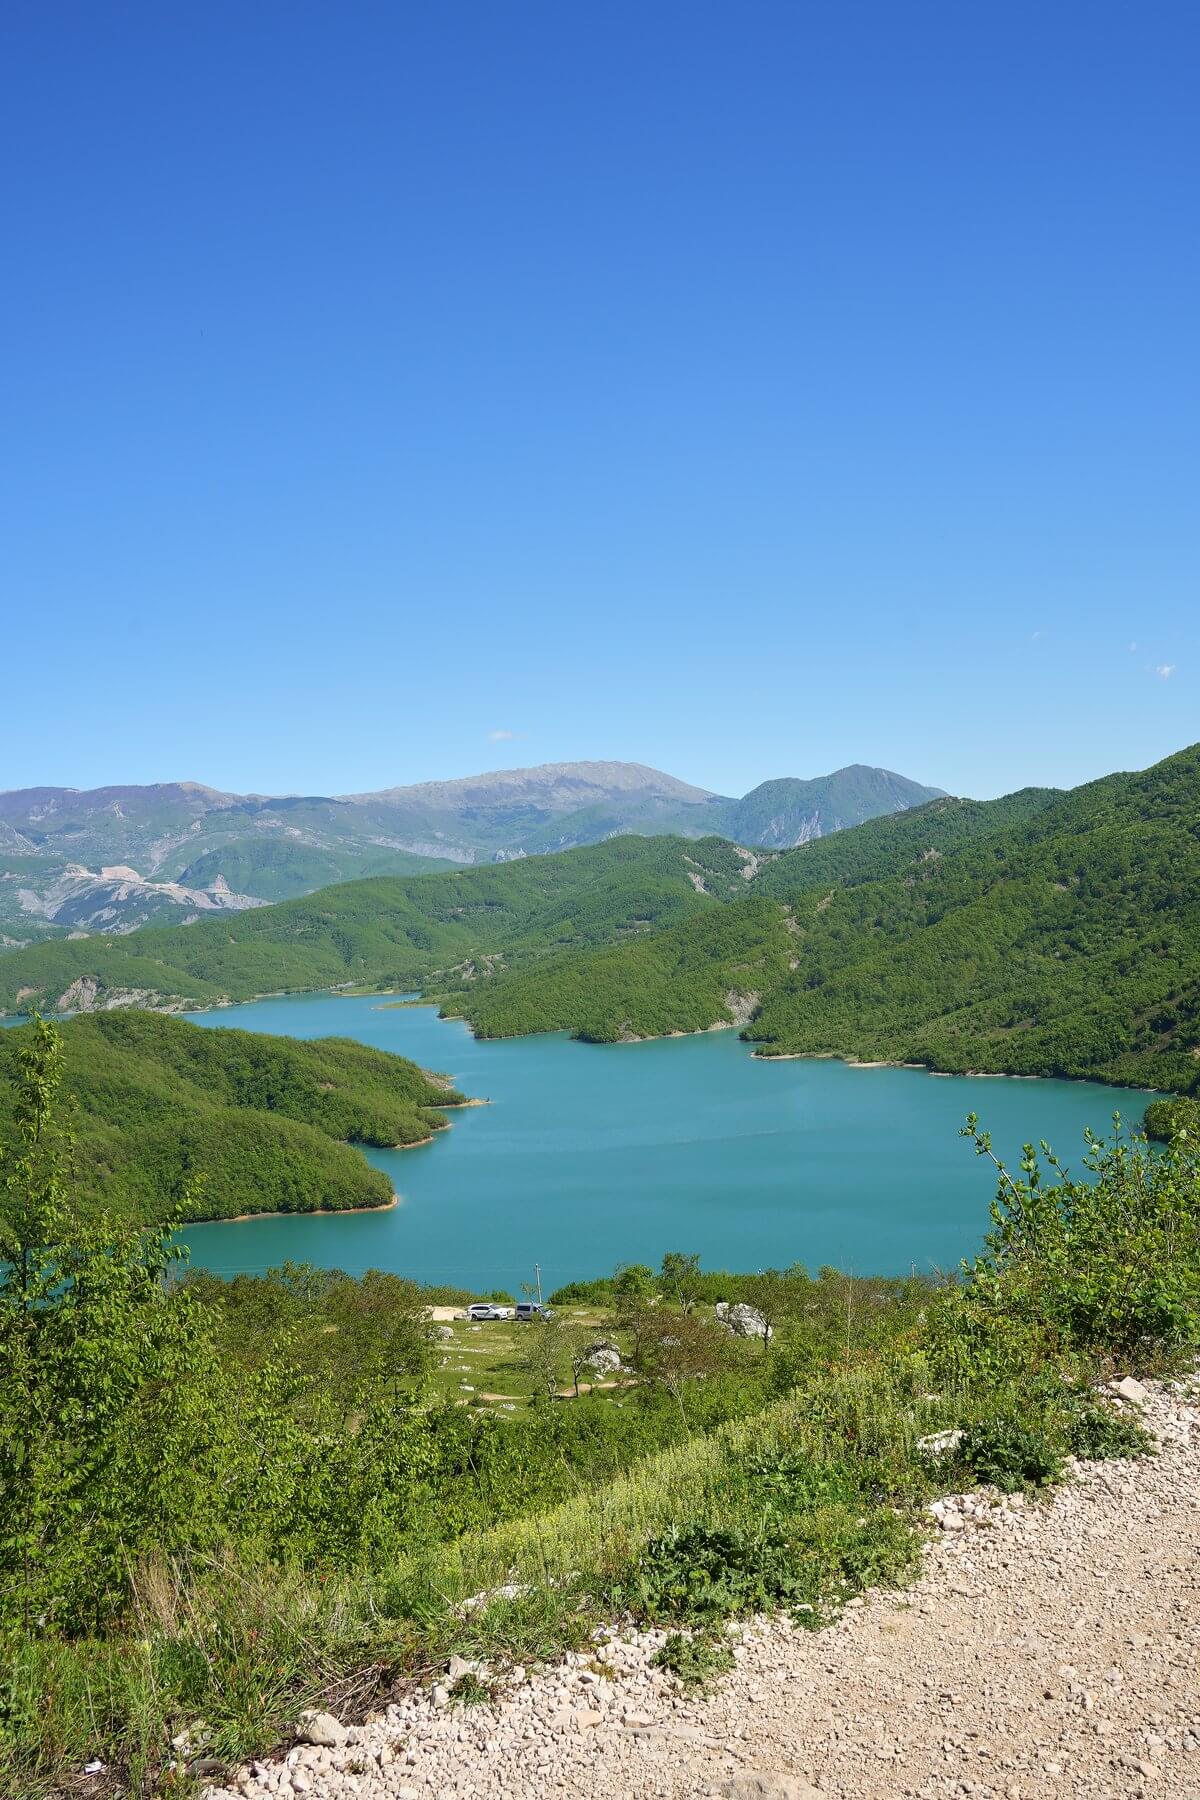
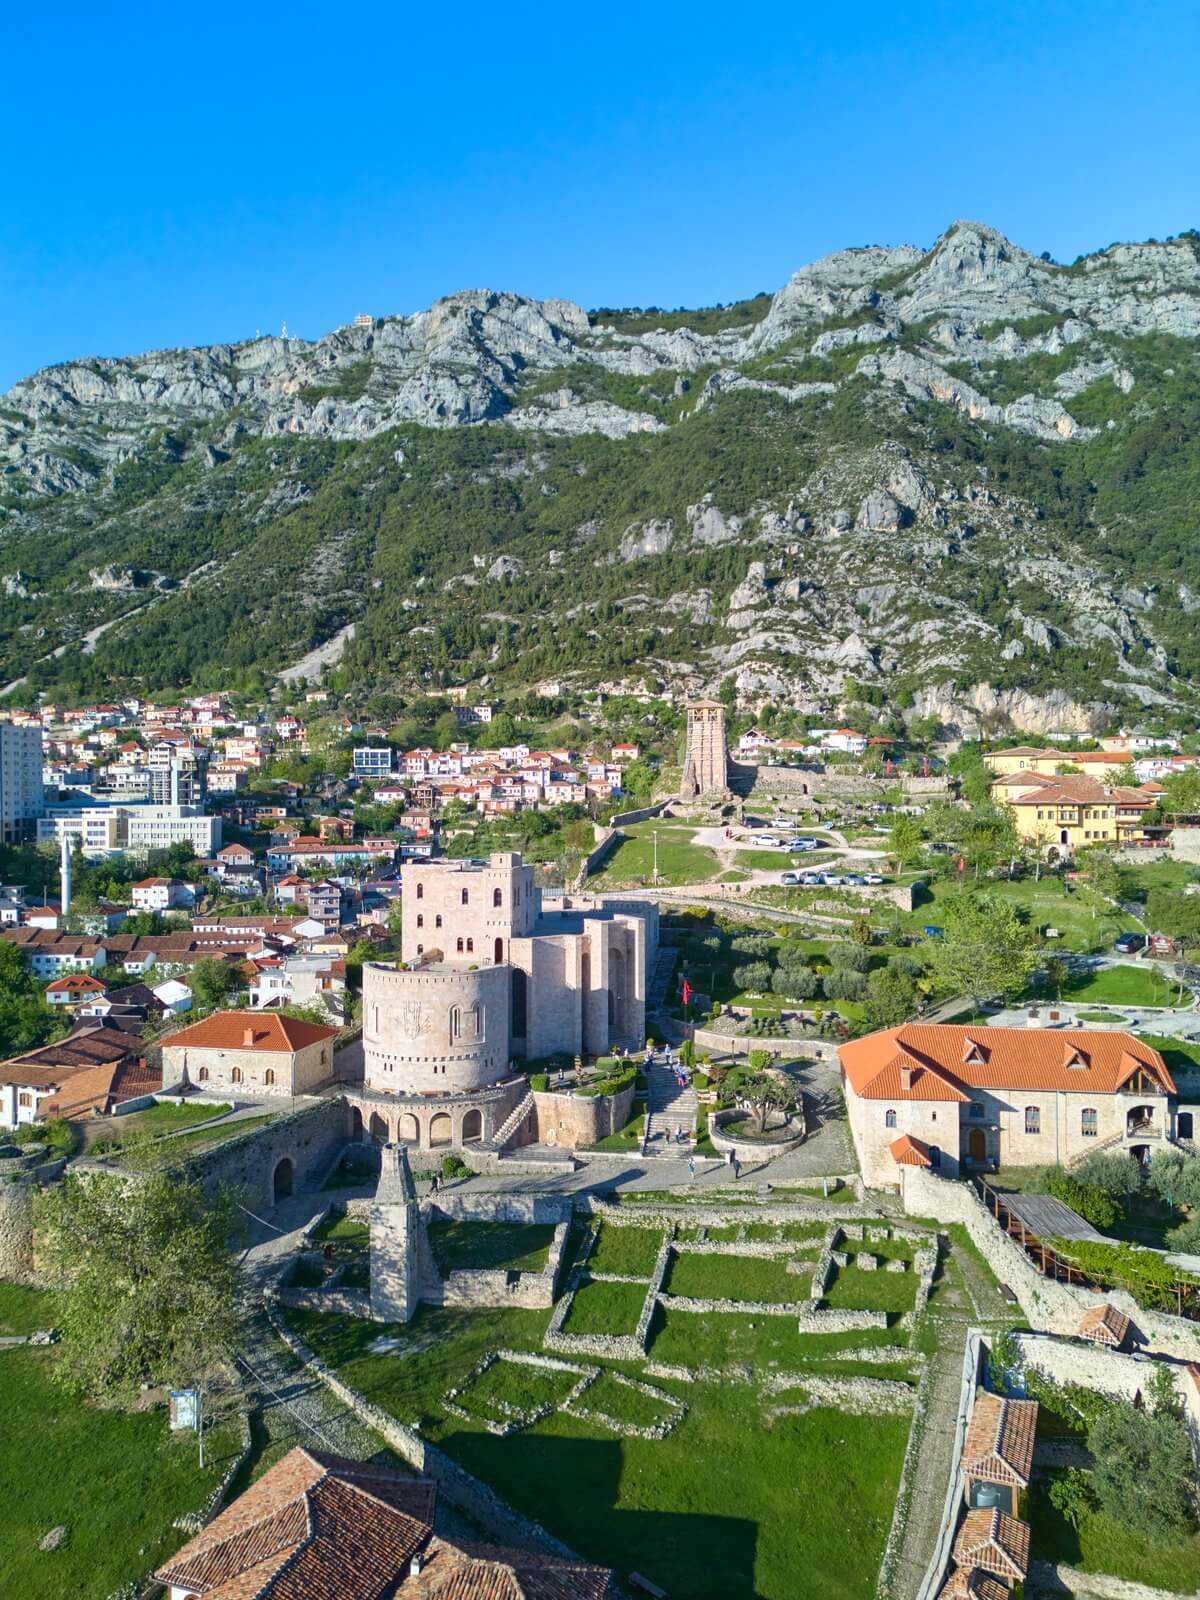
September-October — Bovilla Reservoir, Albania
Albania was the biggest surprise of the year. The Albanian Riviera (Ksamil, Himara, Dhermi) has beaches that easily rival those in Greece—at a third of the cost. Saranda and the Blue Eye (Syri i Kaltër) are photographically stunning, and the hospitality of the Albanian people is incredible.
Montenegro in October: Autumn on the Kotor Fjord is magical. The mountains turn vibrant colors, the tourists are gone, and the light on the water is perfect for photography. My drone flight over the Bay of Kotor—a 360° panorama with autumn colors—became my second-best Instagram reel of 2024.
Costs Sep-Oct: ~€2,600 (flights €340, accommodation €820, car rental €560, food €580, activities €300)
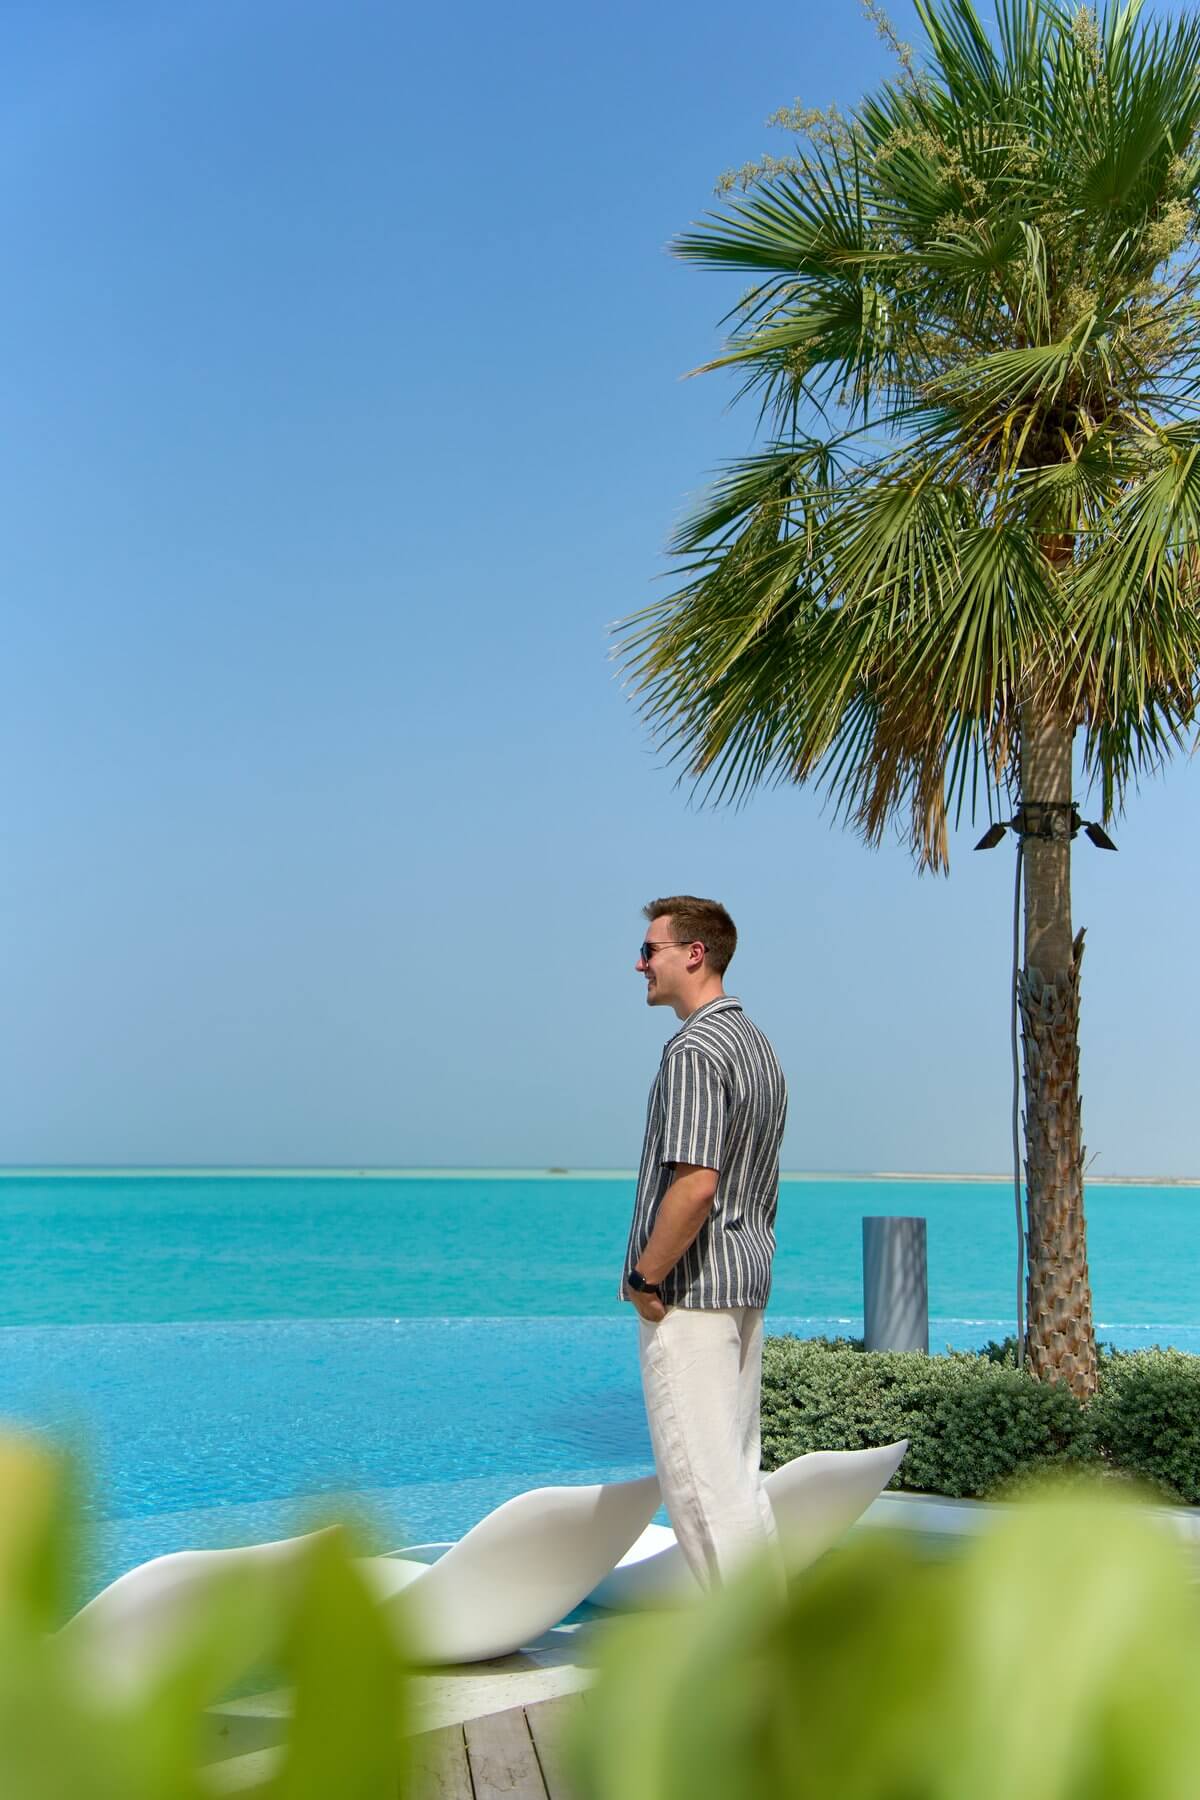
November — Red Sea (cooperation)
In November, I flew to Saudi Arabia for a tourism board collaboration. Al Ula, Jeddah, the Rub' al Khali desert. Saudi Arabia is currently opening up massively to tourism, and the landscapes are breathtaking—the rock formations of Al Ula are reminiscent of another planet.
What impressed me was the gigantic scale of the investment in tourism infrastructure. New hotels, restaurants, roads—Saudi is serious about it. Whether it will work in the long run remains to be seen, but the scenery alone is worth the trip.
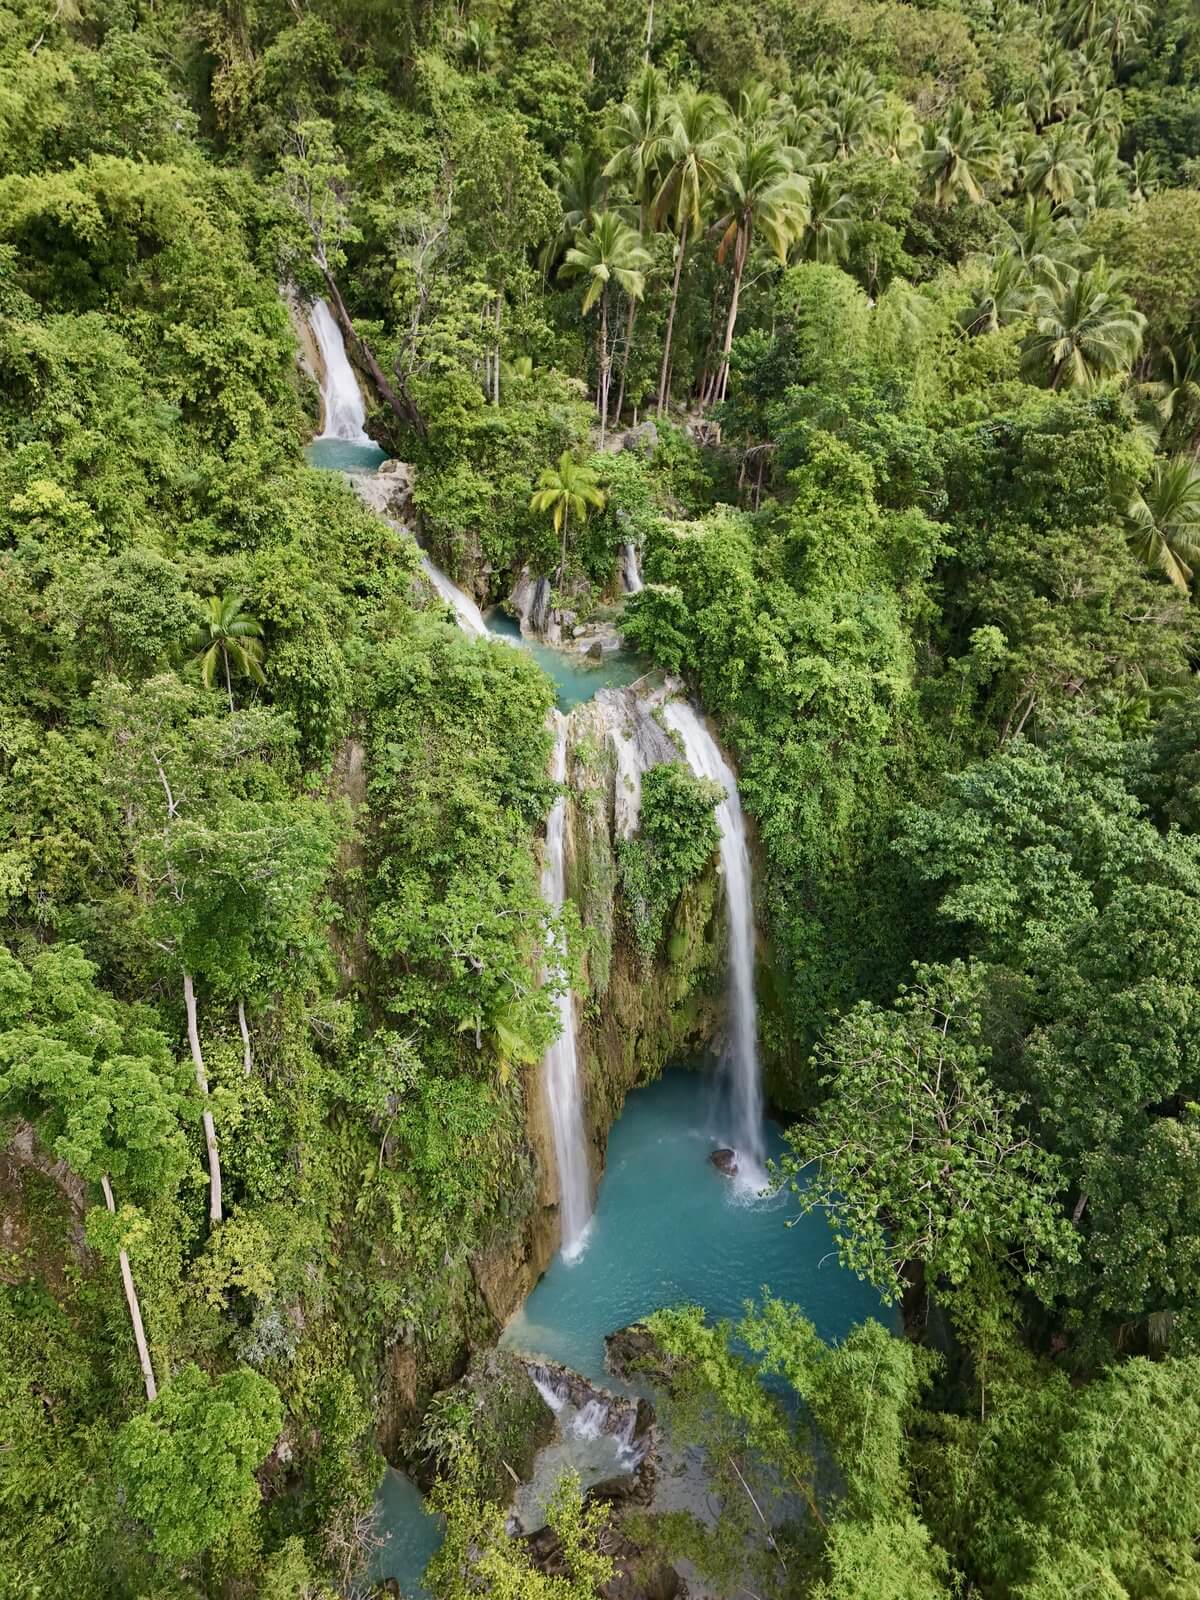
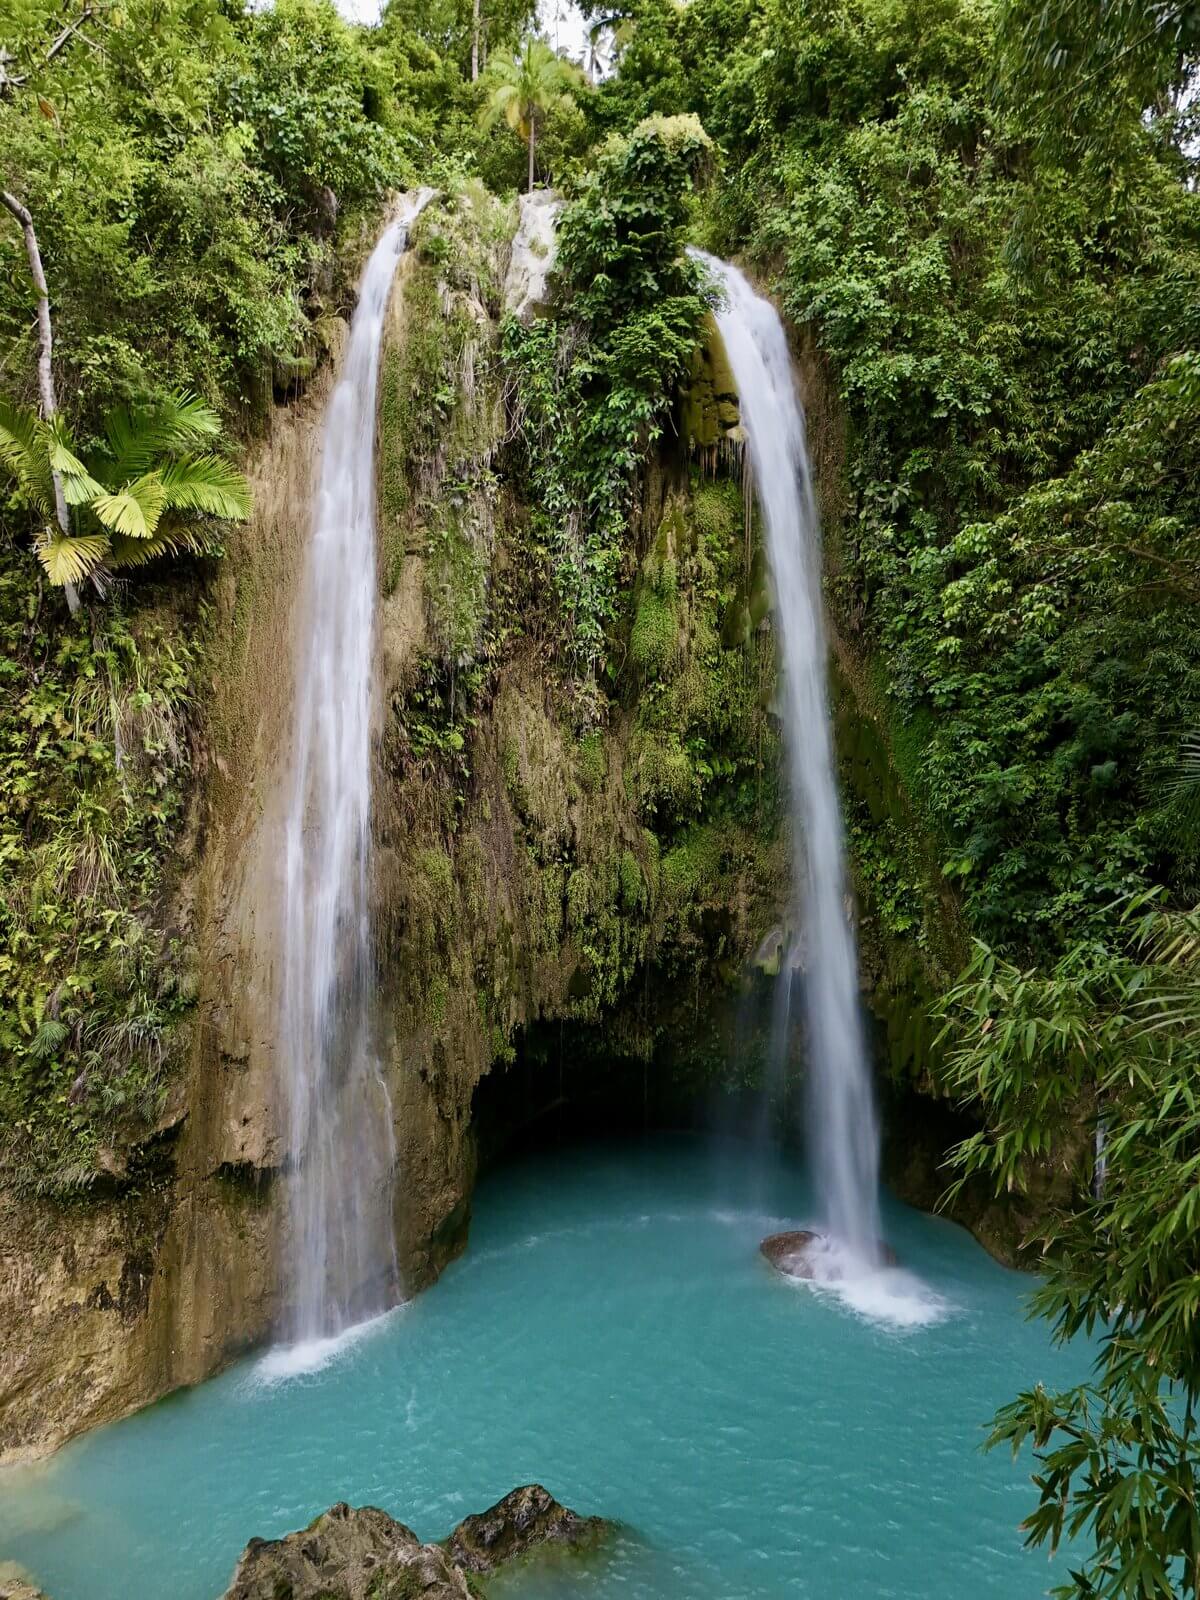
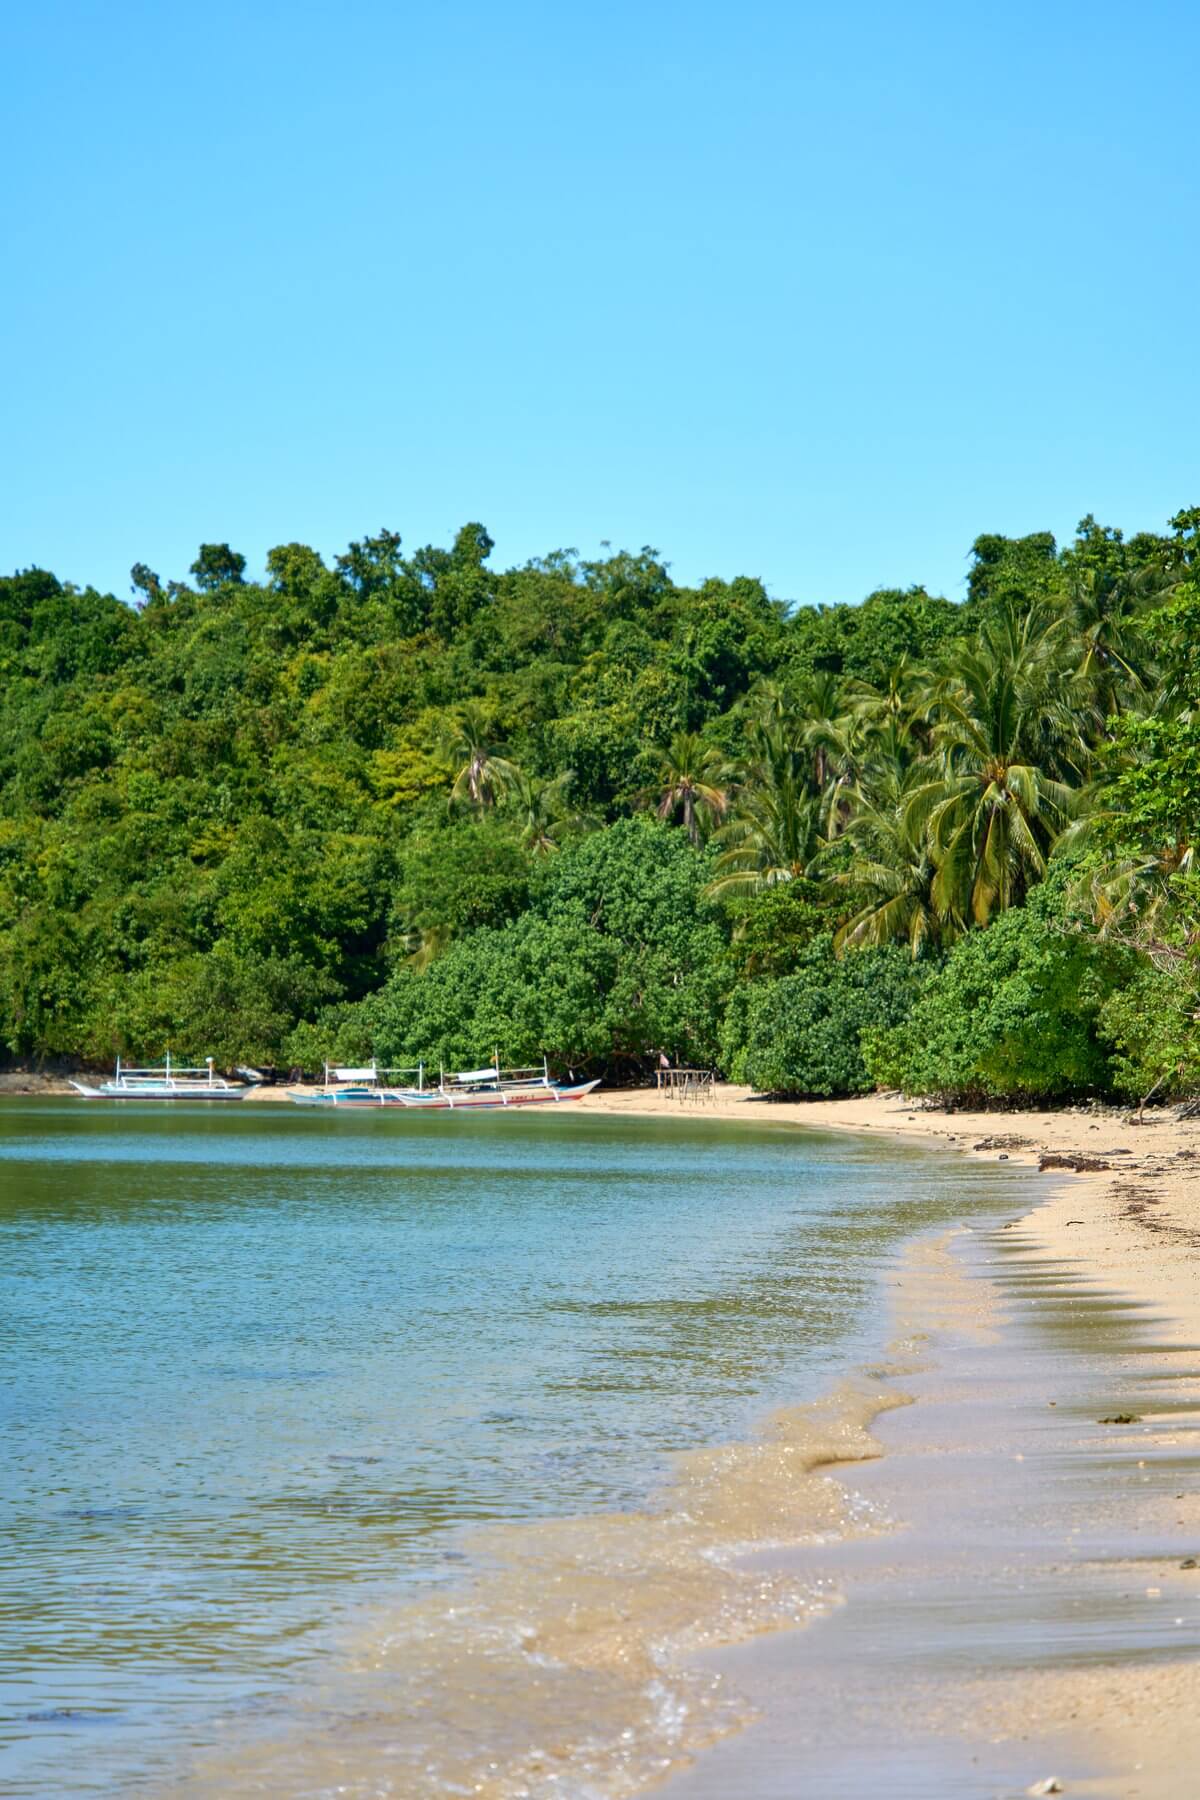
December — Philippines
The year ended in the Philippines — Siargao, Cebu, Bohol. I had originally planned to stay for three weeks, but after ten days on Siargao (surf spot, palm groves, mangroves) I fell so in love with it that I only briefly visited the other islands. The Philippines are my top destination for 2025 — I'll be back, with more time.
Costs for December (3 weeks): ~€3,100 (Flights €680, domestic flights €220, hotels €780, food €520, activities €600, boat transfers €300)
The annual statement — What did 2024 cost?
| Month | Goal | Cost |
|---|---|---|
| January | Canary Islands & Madeira | 2.800 € |
| February | Germany (Base) | 800 € |
| March | Portugal | 3.200 € |
| April-May | E5 Alpine Crossing | 1.400 € |
| June-July | Italy | 4.500 € |
| August | Northern Cyprus | 1.900 € |
| Sep-Oct | Albania & Montenegro | 2.600 € |
| November | Saudi Arabia | cooperation |
| December | Philippines | 3.100 € |
| In total | 12 countries | ~20.300 € |
In addition, there are fixed costs: health insurance (~€200/month), equipment maintenance (~€800/year), cloud storage and software (~€50/month). In reality, this amounts to more like €24,000-€25,000 for a year of full-time travel in 12 countries.
The Highlights — My Top 3 Moments of 2024
1. Sunrise over the Similaun Glacier (E5)
At 2,500 meters altitude, 5 a.m., minus 3°C. The first rays of sunlight hit the glacier and everything turned gold. No camera could have captured this moment, but I tried anyway — and the result was my best photo of 2024.
2. Drone flight over the Bay of Kotor (Montenegro)
A 360° panorama in October: autumn colors, mirror-smooth water, mountains shrouded in mist. The DJI Mini 5 Pro at an altitude of 120 meters—the result looked like a painting. 240,000 likes on Instagram.
3. Christmas on Siargao (Philippines)
An entire island is celebrating, complete strangers invite you to join in, fireworks light up the Pacific Ocean. The warmth of the Filipinos deeply touched me.
The Flops — What didn't work
Northern Cyprus car rental
My rental car insurance wasn't valid in the north—I only found that out at the checkpoint. I had to buy local insurance on the spot for €40 per day. Annoying and avoidable.
Philippines planning
Three weeks in the Philippines weren't enough. I should have planned at least five. Siargao alone earns two weeks' worth. Lesson learned for 2025.
Equipment balance sheet 2024
My camera took around 42,000 shots in 2024 (total now at ~180,000). The drone completed 287 flights with a total flight time of 48 hours. Both devices are working perfectly — investing in good equipment pays off in the long run.
FAQ — Full-time Travel 2024
How do you finance that?
Through paid collaborations with tourism boards, hotels, and brands. This is supplemented by Instagram income and content licensing. Full-time travel is my job, not my hobby.
How do you plan your routes?
Roughly 3 months in advance, flexible with the details. I book flights 6-8 weeks in advance, hotels a maximum of 2 weeks in advance. Cooperation trips are of course planned earlier.
Don't you miss having a home?
Sometimes. But then I remember why I do this: freedom, experiences, personal growth. My "home" is wherever my backpack is.
What was your cheapest travel destination in 2024?
Albania — by far. 35-45 euros per day for hotel, food and rental car. With stunning beaches and warm hospitality. A real insider tip.
What are your goals for 2025?
More time per country (less is more), Philippines Part 2, New Zealand in the New Zealand autumn (April-May) and at least one longer van tour through Scandinavia.
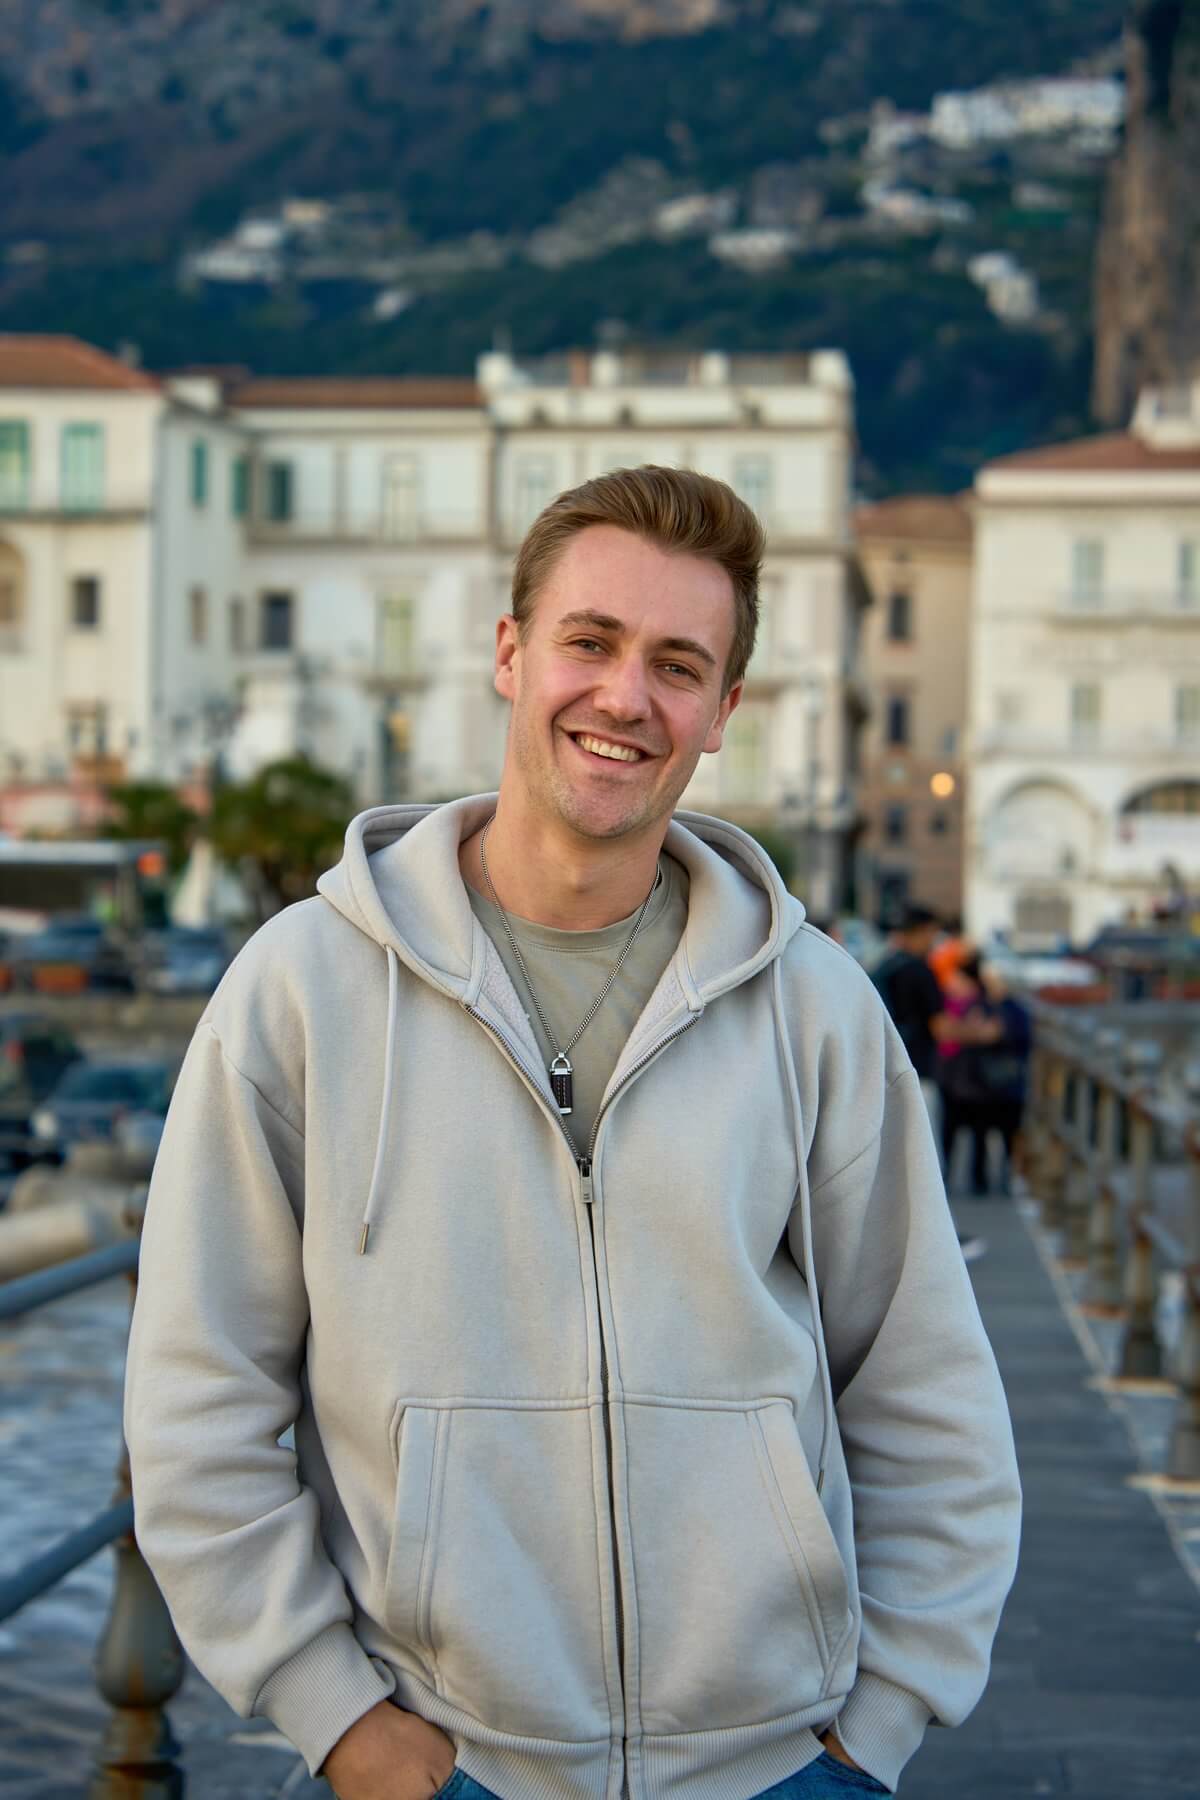
Max Haase
Travel Content Creator · Drone Photographer · Visual Storyteller
Since over 10 years professional travel creator with over 4.2 million followers. Specializing in high-end tourism board collaborations and visual travel storytelling.