Switzerland by campervan: Mountain lakes, Alpine passes & campsites
TL;DR — The most important points at a glance:
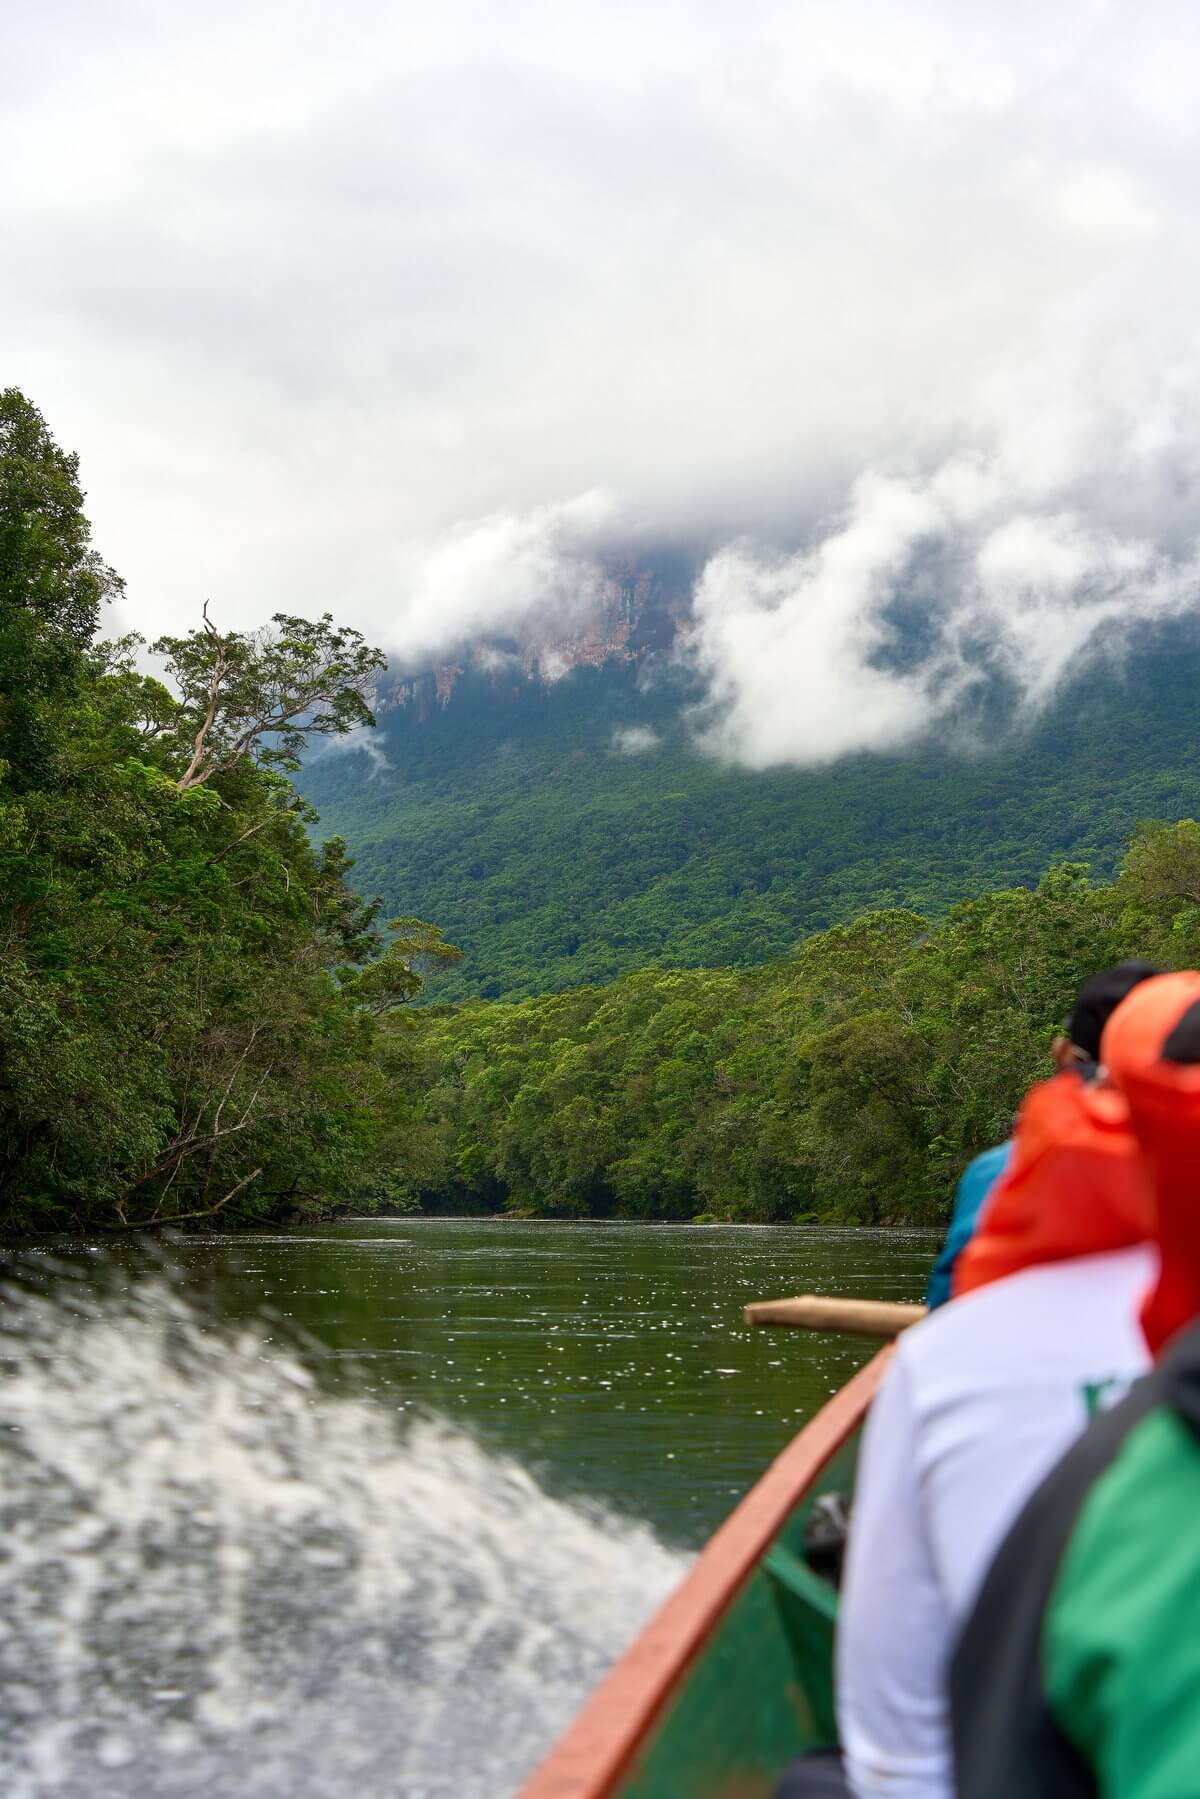
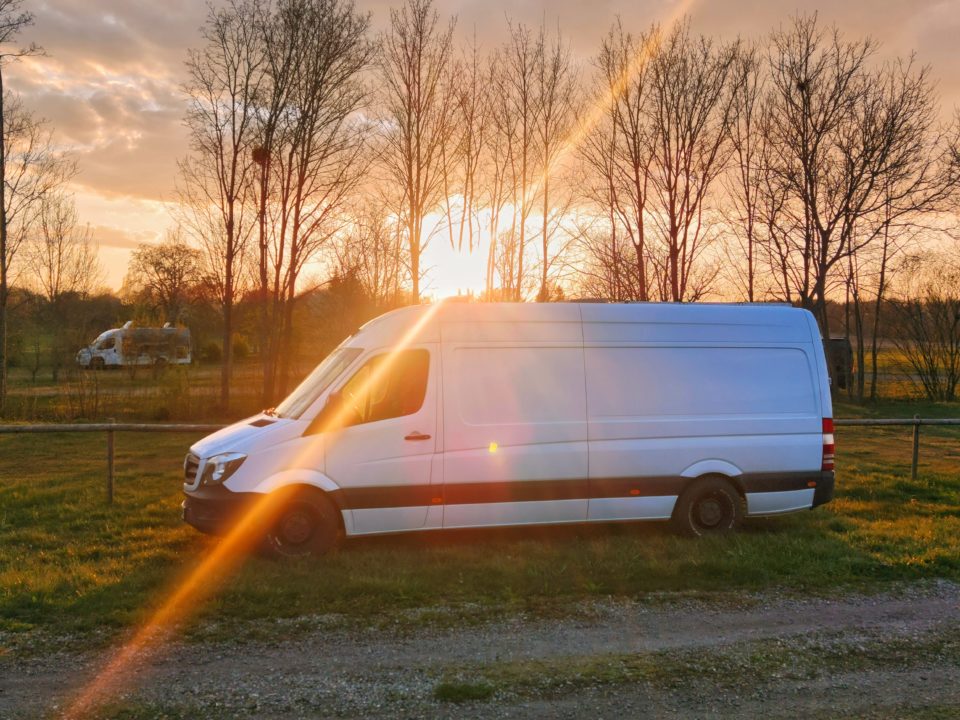
Traveling through Switzerland by campervan is one of the most intense Alpine experiences in Europe. Emerald-green mountain lakes, spectacular Alpine passes, well-equipped campsites for motorhomes, and one of the cleanest and most organized...
- Switzerland Camper Route: From Geneva across the Alps to Lugano
- Swiss vignette, toll obligations and driving rules for campers
- Swiss Alpine Passes: The most spectacular mountain roads for campers
- Mountain lakes in Switzerland: The most beautiful places for photos and swimming
The Switzerland by campervan Traveling through the Alps is one of the most intense Alpine experiences in Europe. Emerald-green mountain lakes, spectacular Alpine passes, well-developed roads Parking spaces for motorhomes, plus one of the cleanest and most organized natural landscapes on the continent. I've traveled through Switzerland twice for several weeks in a campervan – once in summer to the mountain lakes, and once in autumn across the... Alpine passes. In this guide, I'll show you the best routes through Bernese Oberland, Valais, Graubünden and Ticino, all the important campervan pitches, which most beautiful mountain lakes in Switzerland, Tips on the Alpine passes (Grimsel, Furka, San Bernardino), vignette requirements, and all costs. Switzerland is more expensive than other European countries for campers – but the wow factor is also higher.
- Camper route Switzerland: Geneva → Lausanne → Bern → Interlaken → Lucerne → Zurich → Graubünden → Ticino. 850 km of mountain roads in 10–14 days.
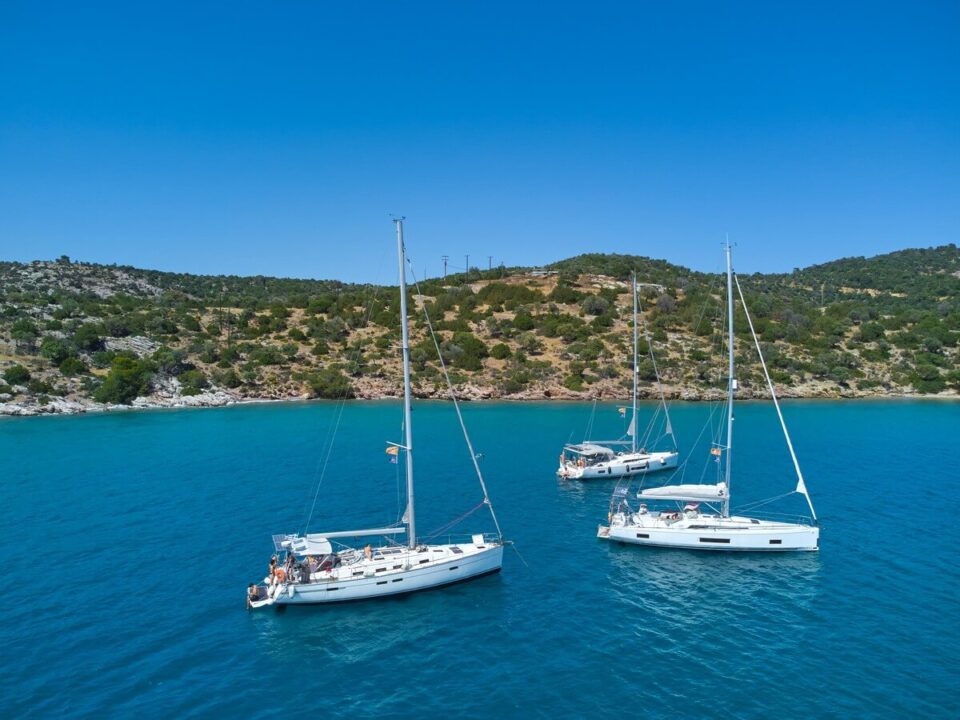
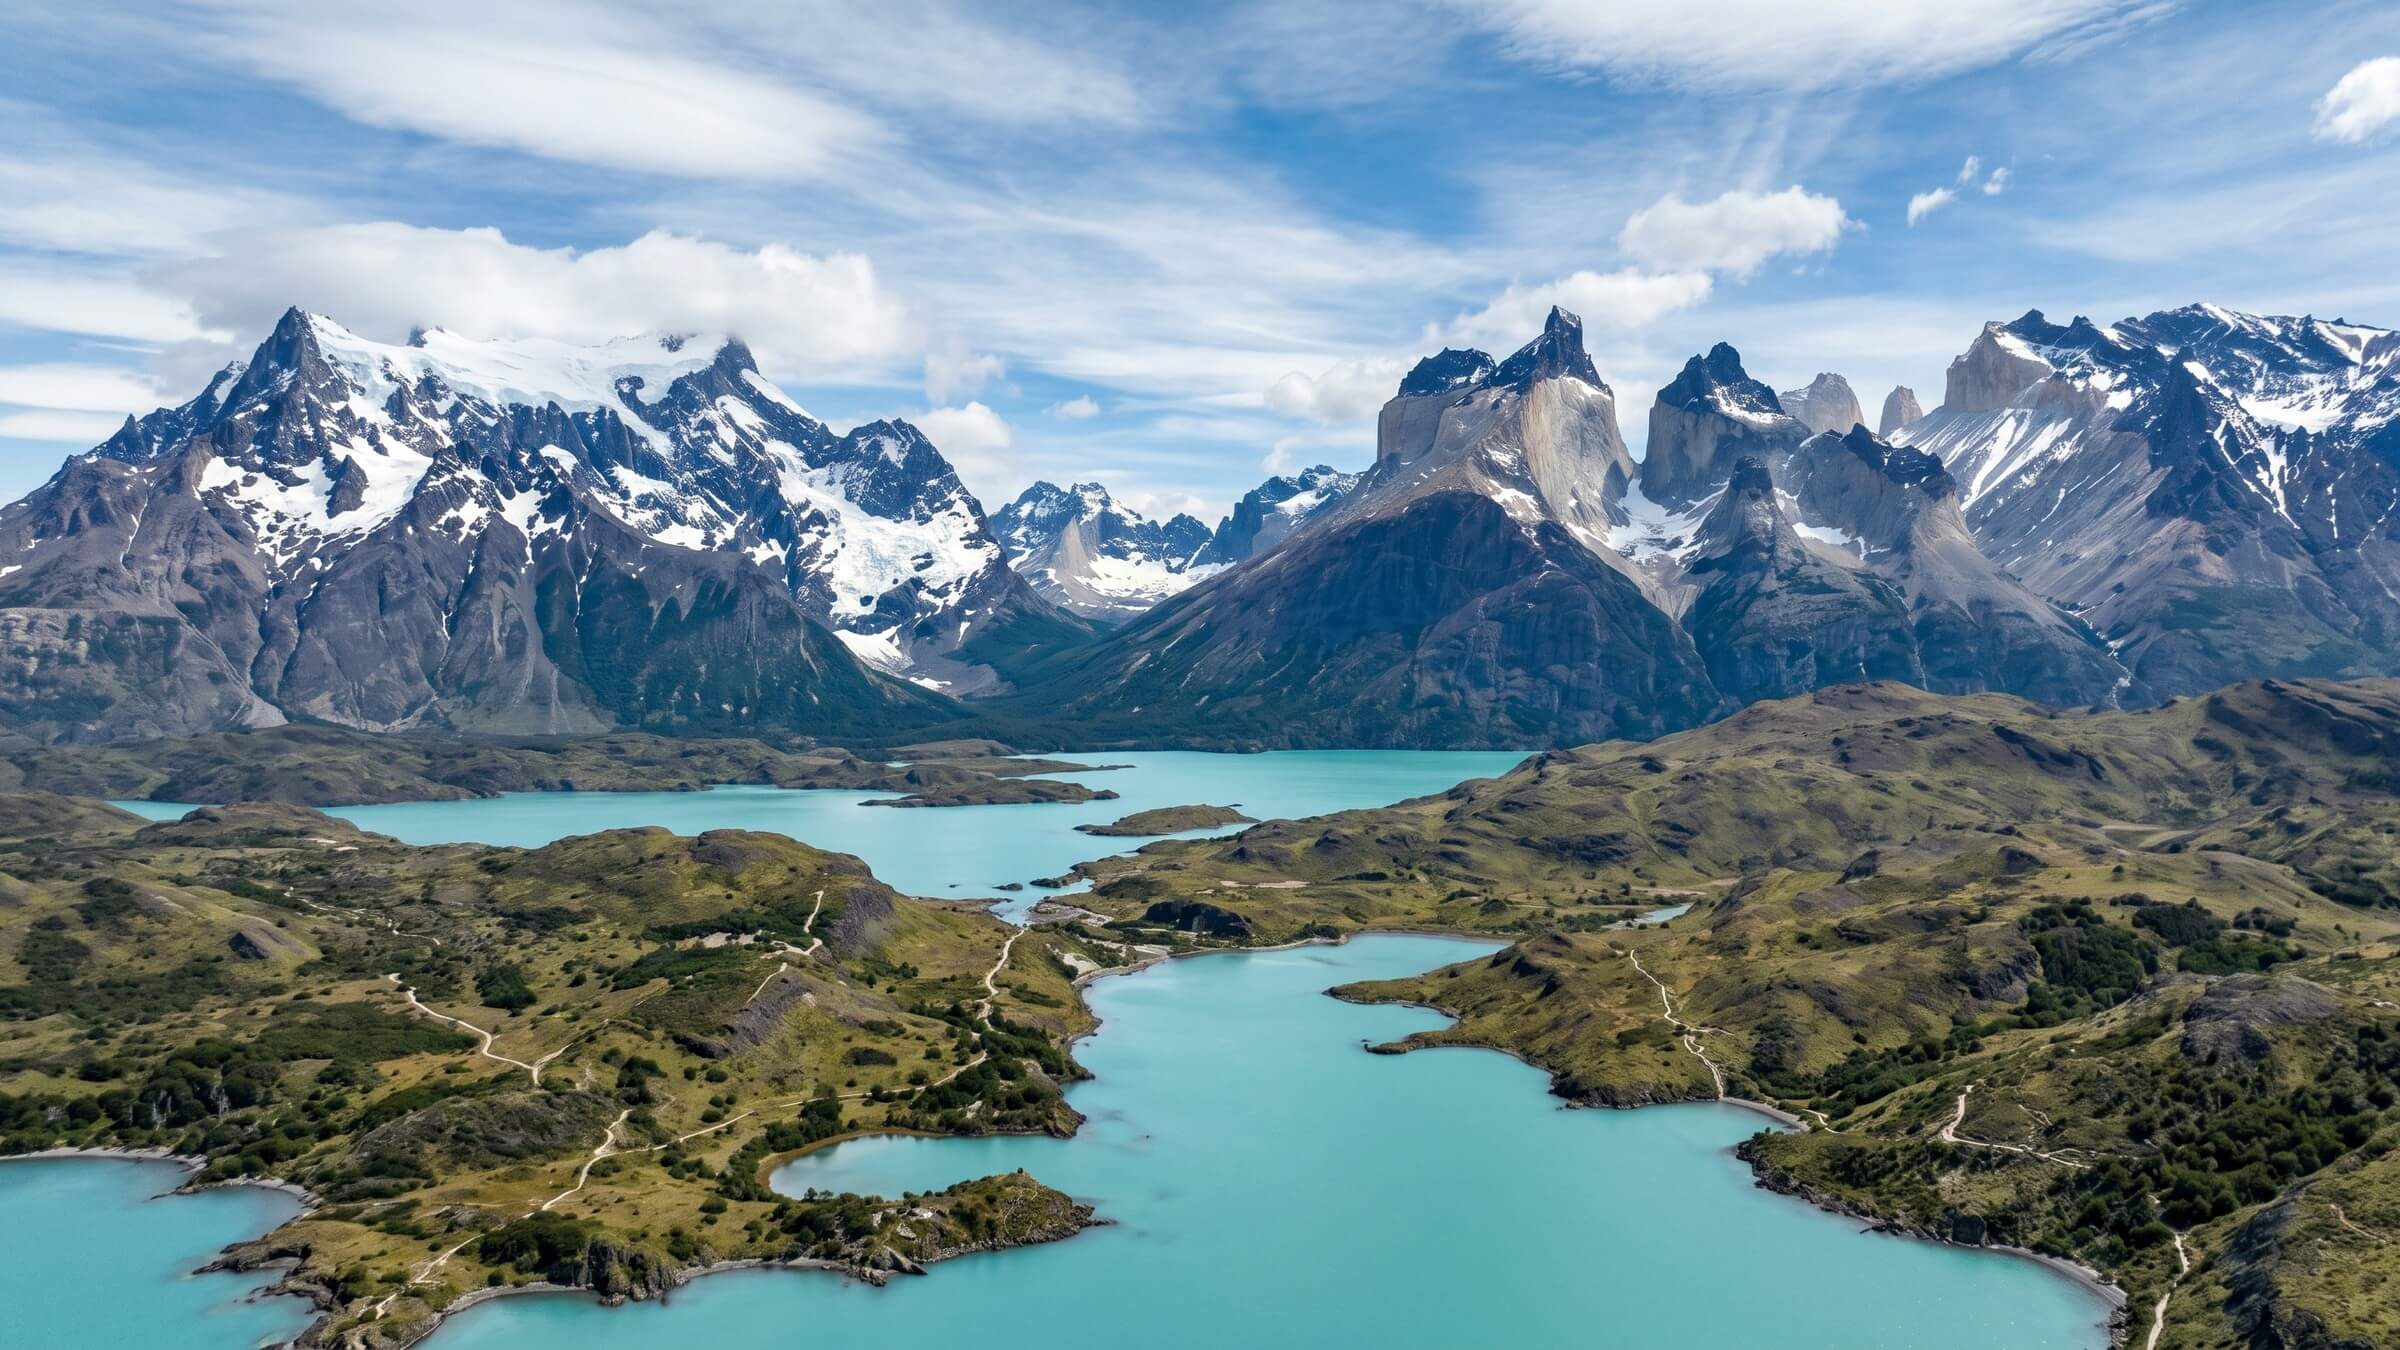
- Best mountain lakes: Lake Oeschinen (Bernese Oberland), Lake Cauma (Graubünden), Lake Bachalpsee (above Grindelwald), Lake Blausee (Kandertal), Lake Lugano (Ticino). Crystal clear, emerald to turquoise.
- Classic Alpine Passes: Grimsel Pass, Furka Pass, Susten Pass, Gotthard Pass, Klausen Pass, Umbrail Pass. All open June–October, closed in winter.
- Parking spaces and prices: Camping 38–65 CHF/night (35–60 €), motorhome pitch 15–30 CHF. Vignette 40 CHF/year mandatory. Diesel 1.95 CHF/L.
- Campervan rental costs in Switzerland: €100–150 per day for 2 people (budget) to €180–250 per day (comfort). Switzerland is one of the most expensive countries in Europe for camping.
Switzerland Camper Route: From Geneva across the Alps to Lugano
The classic Campervan route through Switzerland It leads right across the country – from the French-speaking west through the German-speaking center to the Italian-speaking Ticino. Total distance: approximately 850 km of mountain roads, doable in 10 to 14 days. Those with more time can extend the trip with detours to the national parks or descents to individual mountain lakes.
The 4 core regions in detail:
1. French-speaking Switzerland (Geneva, Lausanne, Montreux): Starting point at Lake Geneva – sophisticated cities, castles like the Chillon Castle (Lord Byron fabric) and vineyard terraces of the Lavaux (UNESCO World Heritage Site).
2. Bernese Oberland (Bern, Interlaken, Grindelwald): The heart of alpine Switzerland. Jungfrau, Mönch, Eiger. The Jungfrau Railway At 3,454 m is the highest train station in Europe (tickets from 224 CHF – expensive, but unforgettable).
3. Central Switzerland and Graubünden (Lucerne, St. Moritz): Lake Lucerne near Lucerne, dramatic mountain passes towards Graubünden, St. Moritz as a glamorous mountain village, Swiss National Park with wolf packs.
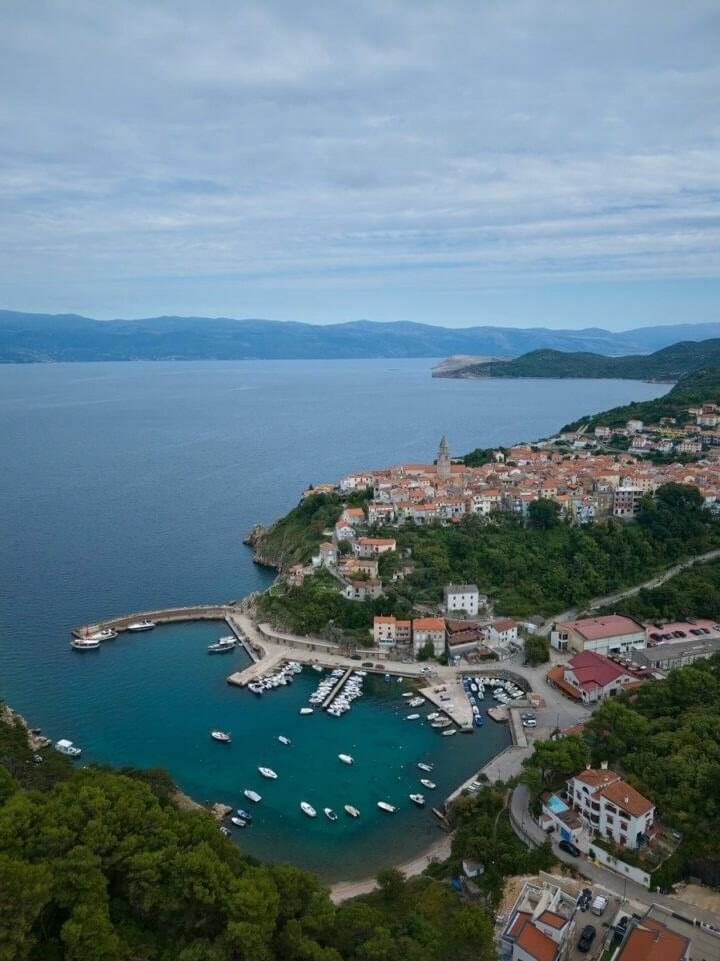
4. Ticino (Italian Switzerland): After the Gotthard Tunnel, suddenly a southern flair – palm trees, Italian food, the Lake Maggiore and Lake Lugano. The climate is up to 10 degrees warmer than north of the Alps.
Ideal sequence for 10 days: Days 1–2 Lake Geneva + Lavaux, Days 3–5 Bernese Oberland + Jungfrau Region, Day 6 Lucerne + Lake Lucerne, Days 7–8 Graubünden via Furka Pass, Days 9–10 Ticino (Lugano, Locarno). Day 11+ return via San Bernardino.


Swiss vignette, toll obligations and driving rules for campers
Switzerland differs from Germany or Italy regarding tolls: Vignette requirement instead of kilometer-based toll. For all motorways and expressways (white "A" on a green background) you need the Swiss vignette (motorway vignette).
- Camper vignette: CHF 40 per year (as of 2026) for vehicles under 3.5 t. Valid for 14 months (December to January of the following year). No monthly or weekly rates available.
- Vignette for campers over 3.5 t: No vignette. Instead, daily tolls. Heavy vehicle tax (LSVA) – depending on weight and emission class, 1–3 CHF per km. Charges are calculated using a special device (LSVA recording device) billed, or alternatively a flat rate per day.
- Where to buy: At all border crossings, petrol stations near the border, online at vignette.ch. Purchase before entry is recommended – without a vignette, a fine of 200 CHF + additional purchase is possible.
- Tunnel toll: Great St. Bernard Tunnel (Italy) 34 CHF, Munt La Schera Tunnel 15 CHF. All other Swiss tunnels are covered by a vignette.
Swiss traffic rules for campers: Speed limit 120 km/h on motorways, 100 km/h on expressways (vehicles over 3.5 t only 80 km/h on motorways). 0.5 per mille blood alcohol limit, 0.1 per mille for novice and professional drivers. Daytime running lights are mandatory (LED or dipped beam). Swiss police enforce the rules strictly; fines are high (200–2,000 CHF).
Driving over Alpine passes with a camper van: Most Swiss Alpine passes are very well developed and easily accessible even for 7-meter campervans. Exceptions: Umbrail Pass (very narrow, not recommended above 6.5 m), Klausen Pass (narrow at the beginning). All passes are closed in winter (October to May/June) – then use the [other route/route]. Gotthard Tunnel to use.
Swiss Alpine Passes: The most spectacular mountain roads for campers
The Swiss Alpine passes For many, these mountain passes are the highlight of any campervan trip. The combination of spectacular engineering, breathtaking landscapes, and the feeling of driving across the roof of Europe is unique. Here are the best mountain passes for campervan travel:
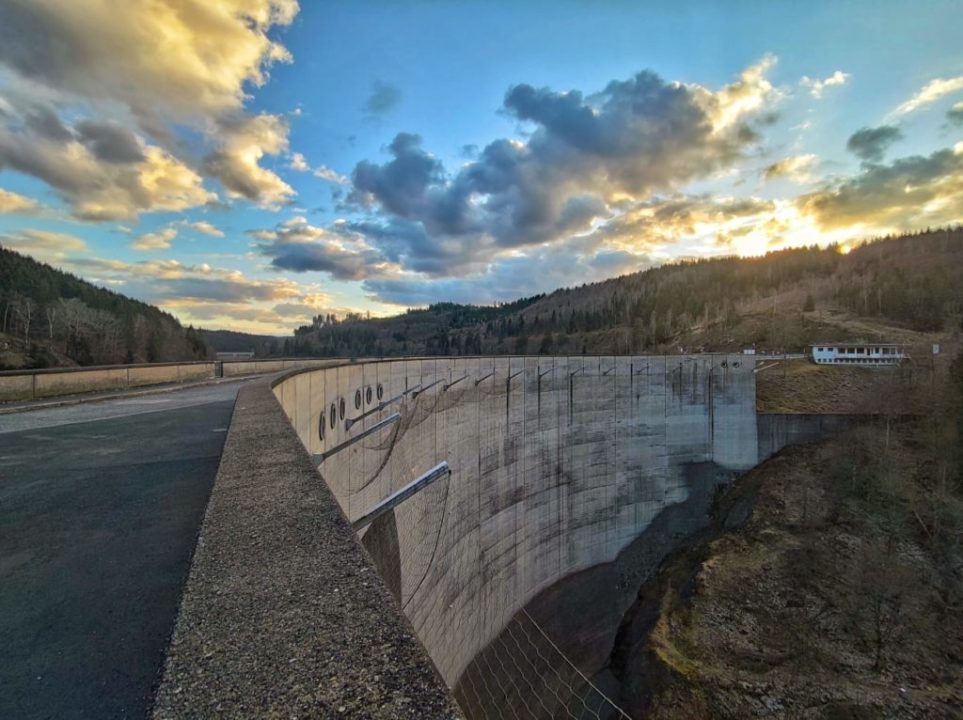
1. Grimsel Pass (2,164 m): Between the Bernese Oberland and Valais. Spectacular switchbacks above the reservoir. Grimselsee. Worth a day trip from Interlaken – one of the most dramatic Alpine passes. Open June to October.
2. Furka Pass (2,429 m): Second Swiss Alpine pass. This is where the famous James Bond scene from "Goldfinger" took place. View of the Rhone Glacier Featuring a walk-through ice tunnel (7 CHF entry fee, contrasting blue glacier chambers). Open June to October.
3. Susten Pass (2,260 m): Connects the Bernese Oberland with the founding cantons. One of the best passes for campers – wide road, good asphalt quality, constantly winding. Highlight: the view of the Stein Glacier. Open June to October.
4. Gotthard Pass (2,106 m): The legendary historic pass between German- and Italian-speaking Switzerland. The old pass road (Tremola) is one of the most beautiful cobblestone streets in the world. With a campervan: yes, but be careful – it's narrow and steep. The modern Gotthard Tunnel It is open all year round, the mountain pass road from June to November.
5. San Bernardino (2,066 m): An alternative to the Gotthard Pass, quieter and more scenic. A wide road, suitable for any camper. One of the shortest north-south routes through Switzerland.
6. Flüela Pass (2,383 m): In Graubünden, it connects Davos with the Lower Engadine. Less well-known, therefore often less crowded. Spectacular views of the Silvretta Group. Open May to October.
7. Umbrail Pass (2,501 m): Highest Swiss Alpine pass. The Swiss side is still winding and narrow, while the Italian side is well-developed. Not recommended for vehicles over 6.5 m. Open from July to September.
Pass tip for campers: Drive mountain passes in the morning (before 10 a.m.) – traffic is minimal then. From 11 a.m. onwards, tour buses and motorcycle groups arrive. In the off-season (June, September), all passes are significantly less crowded than in July/August.


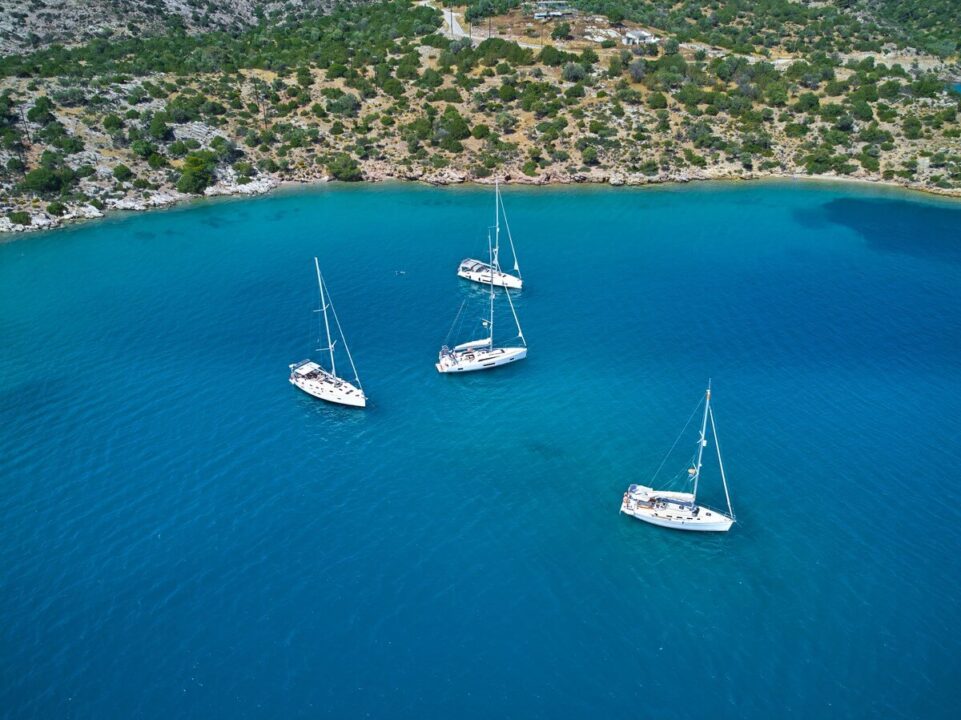
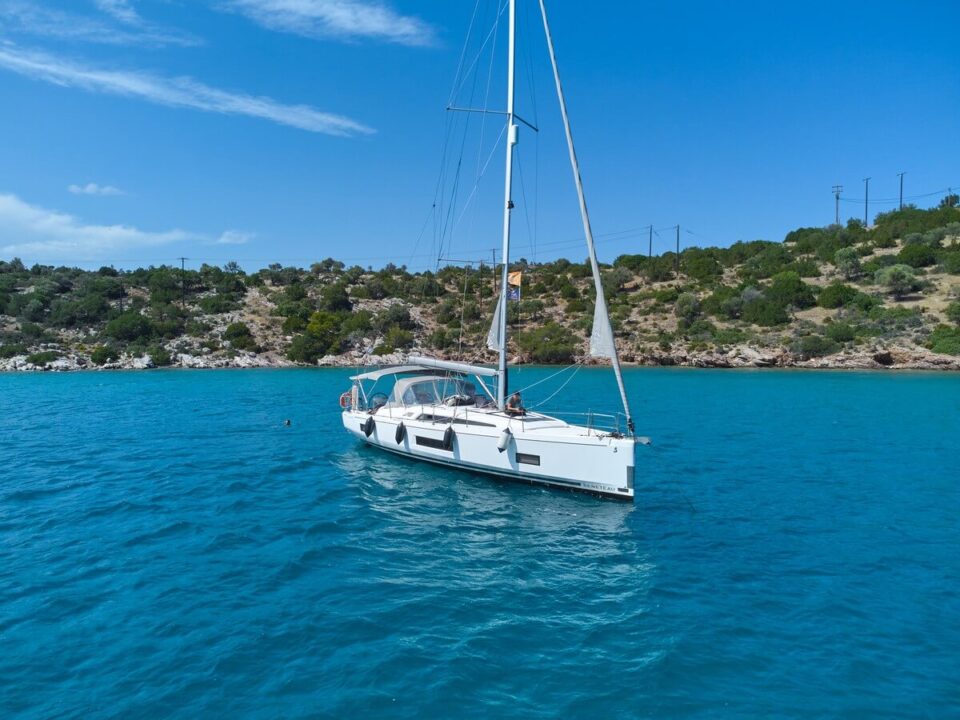
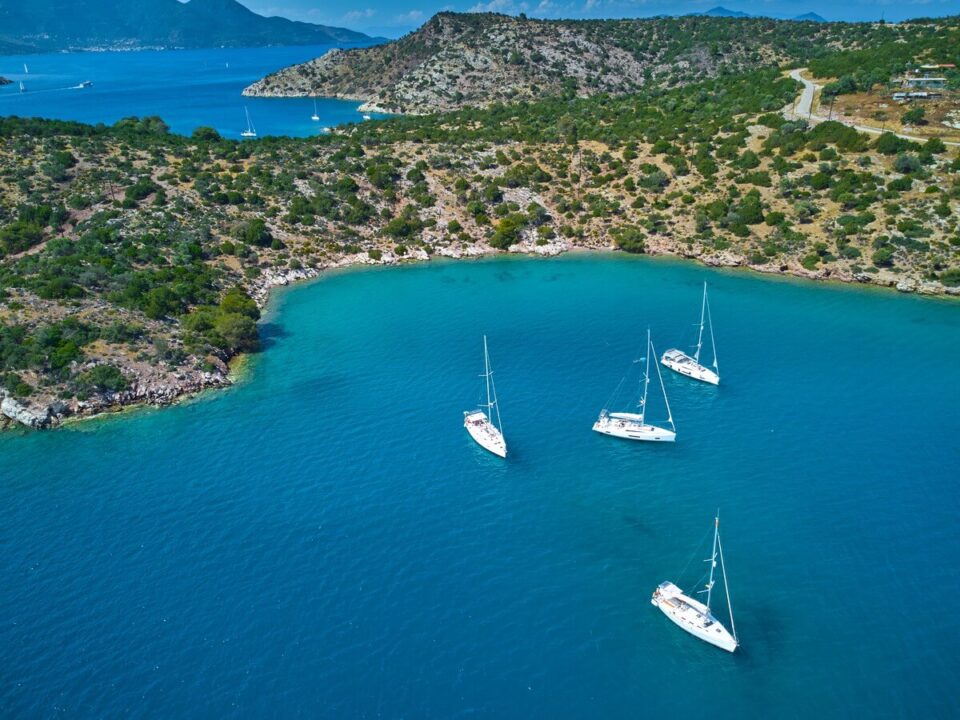
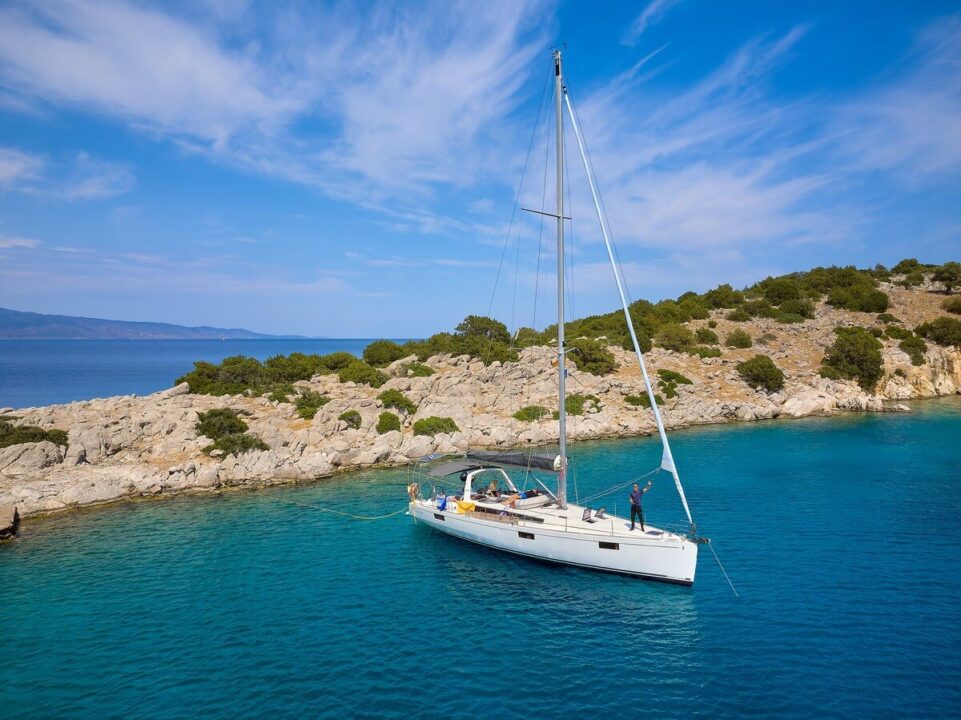
Mountain lakes in Switzerland: The most beautiful places for photos and swimming
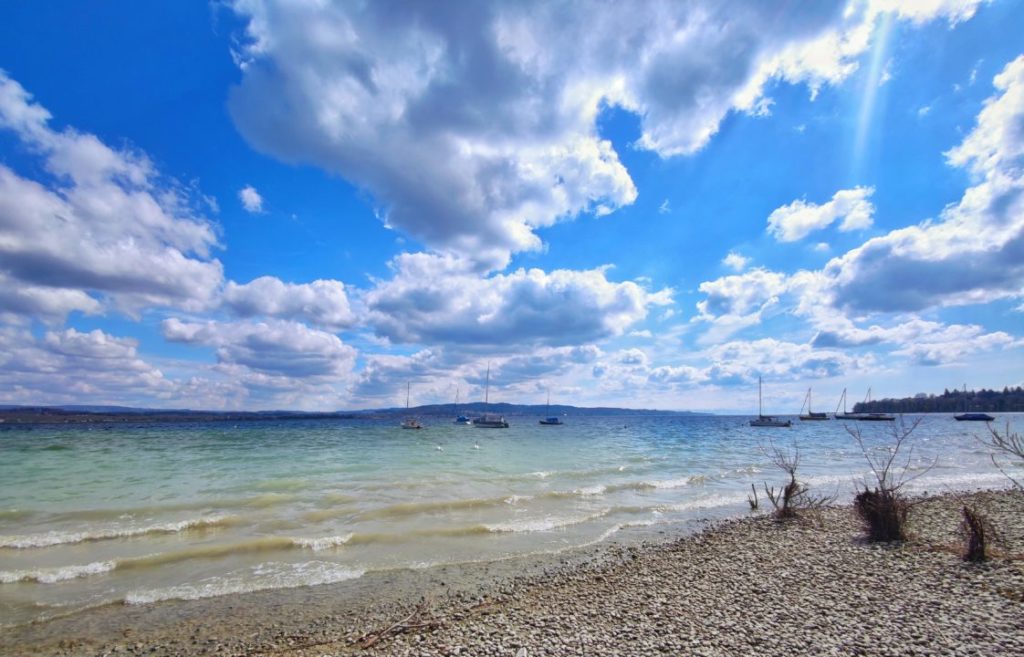
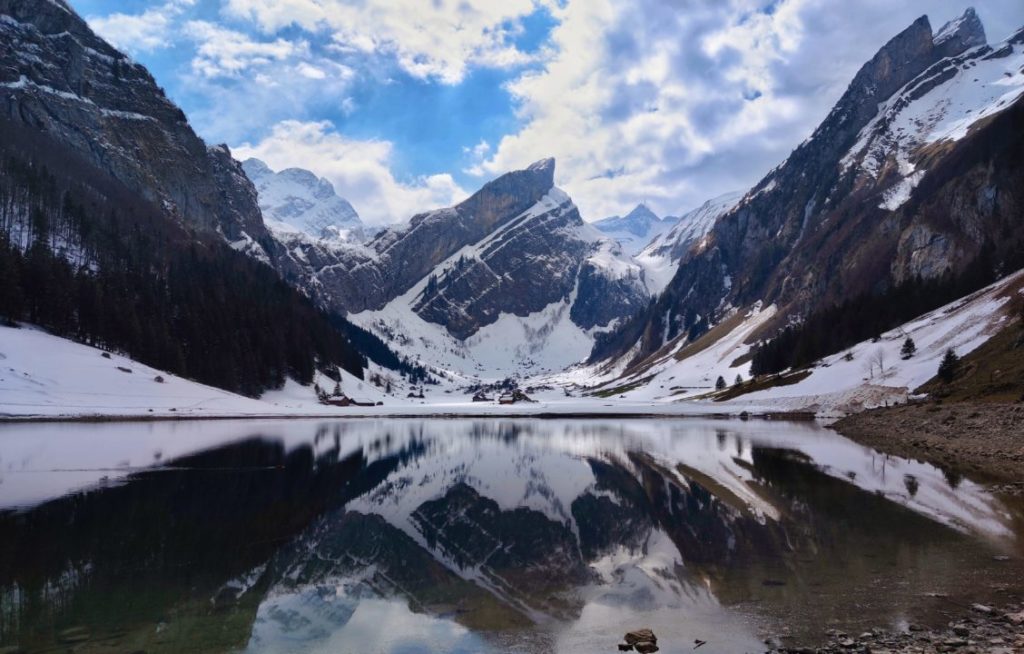
The Swiss mountain lakes Besides the Alpine passes, they are the biggest photographic highlight of any campervan trip. Crystal-clear water, turquoise and emerald green colors, dramatic mountain scenery. Here are my top 7:
1. Oeschinensee (Bernese Oberland, 1,578 m): The most famous Swiss mountain lake. Accessible by cable car from Kandersteg or via a 1-hour hike. Turquoise water, framed by 3,000-meter peaks. Slide on the shore for children, rowboat rental CHF 20/hour. Camping in Kandersteg at the foot of the lake.
2. Lake Cauma (Graubünden, 1,000 m): The "Caribbean Lake" of the Alps. Crystal-clear turquoise water in a forest. Free shower and bathing beach, warmer than Lake Oeschinen. Accessible by lift from Flims (5 CHF) or a 20-minute hike.
3. Bachalpsee (Bernese Oberland, 2,265 m): High mountain lake above Grindelwald. Mirror-like reflections of the Eiger, Mönch and Jungfrau mountains. 1-hour easy hike from First station (cable car 66 CHF from Grindelwald).
4. Blausee (Bernese Oberland, 887 m): A small but magical lake in the Kandertal valley. Crystal clear, with trout. Entrance to the nature park is CHF 9. Perfect for families, with a playground and restaurant right on the lake.
5. Aletschsee/Märjelensee (Valais): At the foot of the Aletsch Glacier (Longest glacier in the Alps). Pure wilderness, hardly any tourists. Access only by hiking from Fiescheralp (Cable car).
6. Lake Ritom (Ticino, 1,850 m): A mountain lake in Ticino, accessible via one of the steepest funicular railways in the world (88° % gradient!). Perfect for a day trip from the Ticino region.
7. Lejin da Staz (Engadine, 1,809 m): Small mountain lake near St. Moritz, with a wooden jetty for swimming. Warm enough for swimming in summer (18–21 °C). 20-minute walk from St. Moritz train station.


Camping and pitches in Switzerland: Where motorhomes are welcome
The Swiss parking infrastructure It's excellent for motorhomes – over 400 official campsites, many directly on mountain lakes or in the Alps. Prices are high (Switzerland is one of the most expensive camping countries in Europe), but the quality is almost universally good.
Parking space categories:
- Top campsites (Jungfrau, Interlaken, St. Moritz): CHF 55–75 per night in high season. Premium amenities, pool, playground, restaurants. Directly on lakes or with mountain views.
- Standard camping (TCS camping): CHF 38–55 per night. Solid infrastructure without luxury. My favorite in terms of value for money.
- Village Camping (Municipal): CHF 22–35 per night. Usually simpler, but in charming villages. Often only open from June to September.
- Motorhome pitches (camper park): 15–30 CHF/night. Classic Aires-style pitches with water/waste disposal, without sanitary facilities.
Wild camping in Switzerland: Officially prohibited, fines 100–500 CHF. Strictly forbidden in nature reserves and above the tree line. In some cantons (Uri, Glarus), overnight stays below the tree line are tolerated. Swiss Alpine Clubs offer SAC huts As an alternative – on the mountain passes and in the Alps, 35–50 CHF per night with half board.
My top 5 campsites in Switzerland:
- Camping Jungfrau (Lauterbrunnen): CHF 68 per night, directly in the Lauterbrunnen Valley with a view of the Staubbach Falls. From here, take the cable car to the Jungfrau. One of the most beautiful campsites in Europe.
- TCS-Camping Gwatt (Lake Thun): 48 CHF/night, on Lake Thun, quiet, very well equipped.
- Camping Morteratsch (Engadin): 52 CHF/night, directly on the Morteratsch Glacier, fantastic mountain scenery.
- Camping Davos Wolfgang: 45 CHF/night, starting point for all hikes around Davos and Klosters.
- Camping TCS Lugano (Agno): 50 CHF/night, Ticino climate, with pool, directly on Lake Lugano.
Bernese Oberland: Interlaken, Grindelwald and Jungfrau Region
The Bernese Oberland is the heart of alpine Switzerland. Around the Jungfrau Region With Interlaken as your base, you'll find a density of natural attractions like nowhere else in Switzerland. Plan at least 3 days.
Interlaken: The small town between Lake Thun and Lake Brienz is the region's tourist base. All mountain railways, paragliding flights, and boat trips depart from here. Campervan pitches: Camping Hobby 3 in Unterseen (45 CHF/night). The Harder Kulm Railway (Valley station Interlaken) takes you to the local mountain with 360° panoramic views of the Jungfrau and both lakes.
Lauterbrunnen Valley: One of the most beautiful valleys in the Alps. 72 waterfalls (!), dominated by the 300 m high mountain. Staubbach Falls. The small villages Wengen and Mürren They are car-free and only accessible by cable car. Campers park in Lauterbrunnen village.
Jungfraujoch – Top of Europe: The Jungfraujoch Railway It takes you to 3,454 m – the highest train station in Europe. Ice Palace, Sphinx Observatory, indoor ski slope with toboggan run in summer (!), and breathtaking glacier views. Tickets: CHF 224 per person from Interlaken. Expensive, but unforgettable.
An alternative for budget-conscious travelers – First Cliff Walk: Away Grindelwald take the cable car up to the First (2,167 m). Cliff walk at 2,000 m altitude along a rock face, free of charge. From here the hike to Bachalpsee (1 hour) – the quintessential postcard hike in Switzerland.
Trümmelbach Falls: Ten waterfalls inside a rock – accessible only through tunnels and elevators. Unique. Admission 14 CHF, allow 1 hour.
Activities: Paragliding from Interlaken 170 CHF, canyoning in the Saxeten Gorge 120 CHF, Skyline Zipline in Grindelwald 45 CHF, boat trip on Lake Thun 45 CHF.


Campervan costs in Switzerland: What an Alpine road trip really costs
The Switzerland It's the absolute top end of the price spectrum for European campervan destinations. Everything is €40-60 more expensive than in Germany, and €70-90 more expensive than in Spain or Portugal. But you also get the highest quality and organization. Here's the complete budget:
- Campsites: CHF 38–75 per night (€35–70). Average price: CHF 50. Motorhome pitches: CHF 15–30.
- Diesel: 1.95 CHF/L (1.85 €/L). Total fuel costs for 850 km within Switzerland: 220–280 CHF.
- Vignette: 40 CHF/year (one-time fee).
- Restaurant: Lunch menu (daily special) 22–32 CHF, dinner à la carte 45–75 CHF per person, beer 7 CHF, wine 8–12 CHF/glass. French fry stand, hot dog 8 CHF.
- Supermarket (Coop/Migros): Weekly grocery shopping for 2 people: 150–220 CHF. Expensive, but very good quality.
- Mountain railways: Jungfraujoch 224 CHF, First (Grindelwald) 65 CHF, Harder Kulm (Interlaken) 38 CHF, Pilatus (Lucerne) 80 CHF. This is where the budget goes.
- Attractions: Museum/Castle: 15–25 CHF entrance fee. Boat trip on Lake Thun: 45 CHF. Trümmelbach Falls: 14 CHF.
Total budgets (2 people):
- Switzerland Camper 7 Days: Economical: CHF 850–1,200 | Comfortable: CHF 1,500–2,200
- Switzerland Camper 14 days: Economical: CHF 1,700–2,400 | Comfortable: CHF 3,000–4,500
Plus travel to and from Germany: €200–300 (fuel + vignette, no tolls in Germany). The biggest cost drivers: mountain railways (especially Jungfraujoch), restaurants, premium campsite locations.
Money-saving tips for Switzerland: Self-catering in a campervan is the most important way to save money (restaurants are three times as expensive as supermarkets). Lunch at a Coop/Migros restaurant is okay (CHF 18–24). Mountain railways are available as Swiss Travel Pass-Combo – for 5 days CHF 311, worthwhile if you plan to use 3 or more mountain railways. A centrally located overnight stay at a budget campsite + day trip saves money compared to premium camping in tourist villages.
Best time to travel to Switzerland for campers and practical tips
The Best time to travel for camping in Switzerland is more clearly defined than in Southern Europe – the season is shorter, but therefore predictable.
- May to June: 14–22 °C in the valley, meadows in bloom, snow on high passes until mid-June. Mountain lakes still cool (8–15 °C). A beautiful time for meadow photos, but not all passes are open.
- July to August: 22–28 °C in the valley, all Alpine passes open, mountain lakes 16–21 °C (perfect for swimming). High season, campsites full and 20 EUR more expensive. My recommendation for swimming + passes.
- September: 18–24 °C, all mountain passes still open until mid-October. Water temperatures still 18–20 °C in the warmer lakes (Lake Cauma, Lake Lugano). My absolute favorite – fewer tourists, perfect temperatures.
- October: Temperatures of 10–18 °C, autumn colors in the forests, the first mountain passes close from mid-October. No longer suitable for swimming, but ideal for photography and hiking.
- November to April: The camper season is over. Campsites are closed (except for a few that are open year-round in Ticino and the valleys). Alpine passes are closed. Only cities (Geneva, Zurich, Bern) are realistically accessible by camper.
Swiss etiquette: The Swiss are polite, punctual, and rather reserved. Avoid making noise after 10 p.m. Waste separation is strictly enforced, and in many cantons it even incurs a fee (special garbage bags cost 2–3 CHF each). Never eat on the street in cities (it's considered impolite in quieter neighborhoods).
Currency: Swiss Franc (CHF). 1 CHF ≈ 0.95 € (as of 2026). Euros are often accepted in border towns, but the exchange rate is poor (usually 1:1). It's better to pay in CHF. Credit cards are accepted everywhere, even for small amounts.
Language: Swiss German in the north (Swiss German, often difficult for Germans to understand), French in the West (French-speaking SwitzerlandItalian is spoken in Ticino, Romansh in the Engadine. Standard German and English are spoken everywhere in the tourist area. Greetings: "Grüezi" (German-speaking Switzerland), "Salü" (informal), "Bonjour" (French-speaking Switzerland), "Ciao/Buongiorno" (Ticino).
Drone rules in Switzerland: Drones over 500g must be checked when FOCA Drones must be registered. Flights are prohibited over: national parks, bird sanctuaries, military installations, airports (5 km radius), and large crowds. In the Alps: permitted, but a minimum distance of 150 m to wildlife must be maintained. Photographing the Alps without a drone is also spectacular.
My personal highlight from two trips to Switzerland: A sunrise on Bachalpsee (2,265 m) in September 2023 – a mirror-smooth mountain lake, the Eiger North Face in the first light, a herd of cows on the alpine pasture. That and a raclette evening in the Lauterbrunnen-Valley with a view of the Staubbach Falls.


FAQ: Campers in Switzerland – Frequently Asked Questions
How long does a campervan trip to Switzerland take?
7 days for the essence (Lake Geneva + Jungfrau Region + Lucerne). 10 days the sweet spot (plus Graubünden or Ticino). 14 days ideal for a complete tour through all 4 regions. Less than 7 days is hardly worthwhile – travel from Germany takes 1 day and each region requires at least 2 days.
How much does a campervan holiday in Switzerland cost for 2 people?
CHF 850–1,200 (€800–1,100) for 7 days on a budget, CHF 1,500–2,200 for a comfortable stay. CHF 1,700–2,400 for 14 days on a budget, up to CHF 4,500 for a comfortable stay. Plus €200–300 for travel to and from Germany. Switzerland is one of the most expensive countries in Europe for campervans – roughly twice as expensive as Spain or Portugal.
Do I need a vignette for Switzerland with my campervan?
Yes, a vignette is mandatory for all campervans under 3.5 tons on motorways and expressways. It costs CHF 40 (as of 2026) and is valid for 14 months. Purchase at border crossings, petrol stations, or online in advance at [website address missing]. vignette.ch. Without a vignette, a fine of CHF 200 will be imposed, plus the cost of purchasing a vignette later. Campers over 3.5 tons pay the heavy vehicle tax (LSVA) instead.
Is it possible to camp freely with a motorhome in Switzerland?
Officially prohibited, fines 100–500 CHF. Strictly forbidden in nature reserves and above the tree line. In some cantons (Uri, Glarus), a single overnight stay below the tree line is tolerated. Alternatives: Swiss Alpine Club (SAC) huts (35–50 CHF with half board) or official campsites (15–30 CHF).
Which Alpine passes are the most beautiful for campers?
Top 5: Grimsel Pass (2,164 m, dramatic switchbacks), Furka Pass (2,429 m, glacier views), Susten Pass (2,260 m, easily passable), Gotthard Pass (historic), San Bernardino (alternative to the Gotthard). All open June to October; in winter, use the Gotthard Tunnel. Drive in the morning (before 10 a.m.) for less traffic.
Which mountain lakes in Switzerland are a must-see?
Top 7: Oeschinensee (Bernese Oberland), Caumasee (Graubünden – "Caribbean of the Alps"), Bachalpsee (above Grindelwald), Blausee (Kandertal, perfect for families), Märjelensee (Valais on the Aletsch Glacier), Lago Ritom (Ticino), Lej da Staz (Engadine near St. Moritz). All crystal clear, most accessible via a short hike.
When is the best time to travel to Switzerland with a campervan?
July and August are ideal for swimming and all mountain passes are open (22–28 °C, but expensive and crowded). September is the sweet spot: fewer tourists, 18–24 °C, lakes still 18–20 °C, all passes open until mid-October. June and October are shoulder season – some passes are still/already closed, but very quiet. November–April: camper season is over, only cities are a realistic option.
Are Swiss campsites expensive in comparison?
Yes, significantly more expensive than in Germany or Italy. Standard campsites cost CHF 38–55 per night (€35–50), premium campsites CHF 55–75. For comparison: Italy €30–45, Spain €22–35. Cheaper options include motorhome pitches (CHF 15–30) or TCS camping (CHF 38–50). For long-term stays, TCS membership is worthwhile (CHF 60 per year, 20% discount for %).
What are the must-see sights in Switzerland?
Top 10: Jungfraujoch (Top of Europe), Oeschinensee, Grindelwald + First Cliff Walk, Lauterbrunnen Valley (72 waterfalls), Matterhorn + Zermatt, St. Moritz + Engadine, Lucerne Old Town + Chapel Bridge, Lake Geneva + Chillon Castle, Rhone Glacier Ice Tunnel, Bernina Express (most beautiful train route in the world).
Can I travel around Switzerland without a campervan?
Absolutely – Switzerland probably has the best public transport system in the world. Swiss Travel Pass (CHF 311 for 5 days) includes all trains, buses, boats, and many mountain railways. You can reach every village and almost every mountain by train. However, with a campervan, you have maximum flexibility for mountain lakes and Alpine passes that are difficult to reach by public transport.
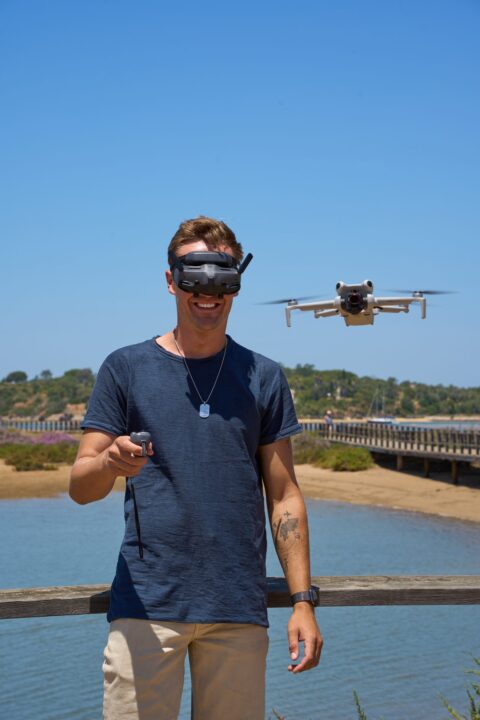
Max Haase
Travel Content Creator · Drone Photographer · Visual Storyteller
Since over 10 years professional travel creator with over 4.2 million followers. Specializing in high-end tourism board collaborations and visual travel storytelling.